Blueprint Intro
- 1 Minute to read
- Print
- DarkLight
- PDF
Blueprint Intro
- 1 Minute to read
- Print
- DarkLight
- PDF
Article summary
Did you find this summary helpful?
Thank you for your feedback!
Blueprint Now Available in Private Preview
We are excited to announce that our new Blueprint engine is now available to a select group of preview customers!
If you're interested in joining the private preview, click here to request access.
Introduction
Blueprint is Rivery's new low-code connector builder that simplifies the process of creating custom connectors. With its intuitive editor interface, Blueprint allows users to build connectors using YAML, enabling seamless data migration within the Rivery platform. This tool is designed to be the easiest and most efficient way to develop and maintain connectors and data pipelines, all within your Rivery workspace.
When to Use Blueprint
Before creating a new connector with Blueprint, check if the connector you need is already available in Rivery’s pre-built Sources library. If a suitable connector exists, you can use it directly without needing to build a new one. However, if the required connector is not available, Blueprint provides a straightforward solution for building custom connectors.
Blueprint is particularly ideal for connecting to HTTP APIs that expose data as JSON records with fixed endpoints. It is especially useful when working with APIs that don’t have a pre-built integration in Rivery.
Workflow for Using Blueprint
To get started with Blueprint, follow these steps:
Access Blueprints
Navigate to the left-hand sidebar in your Rivery workspace and select "Blueprints." Here, you can view, manage, and create your Blueprints.Create a New Blueprint
- On the Blueprints page, click the "Add Blueprint" button to open the Blueprint editor.
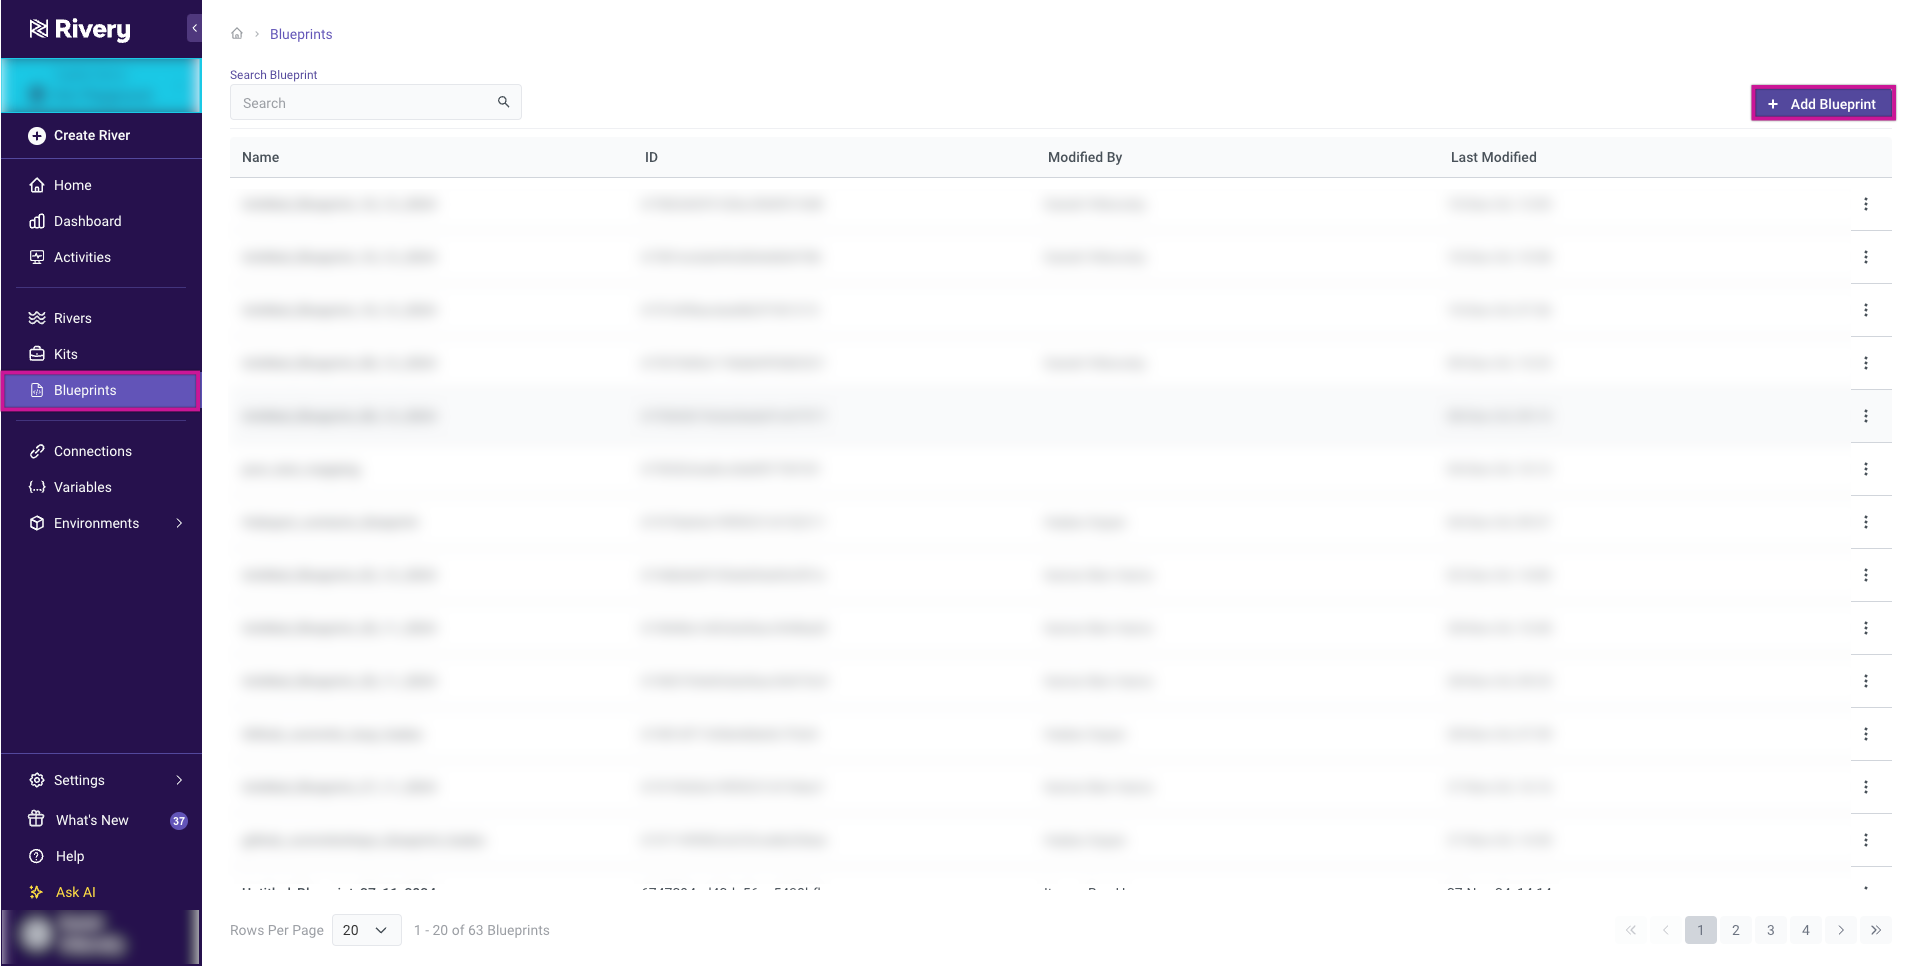
- You can also utilize YAML templates created with Rivery's Data Connector Agent feature.
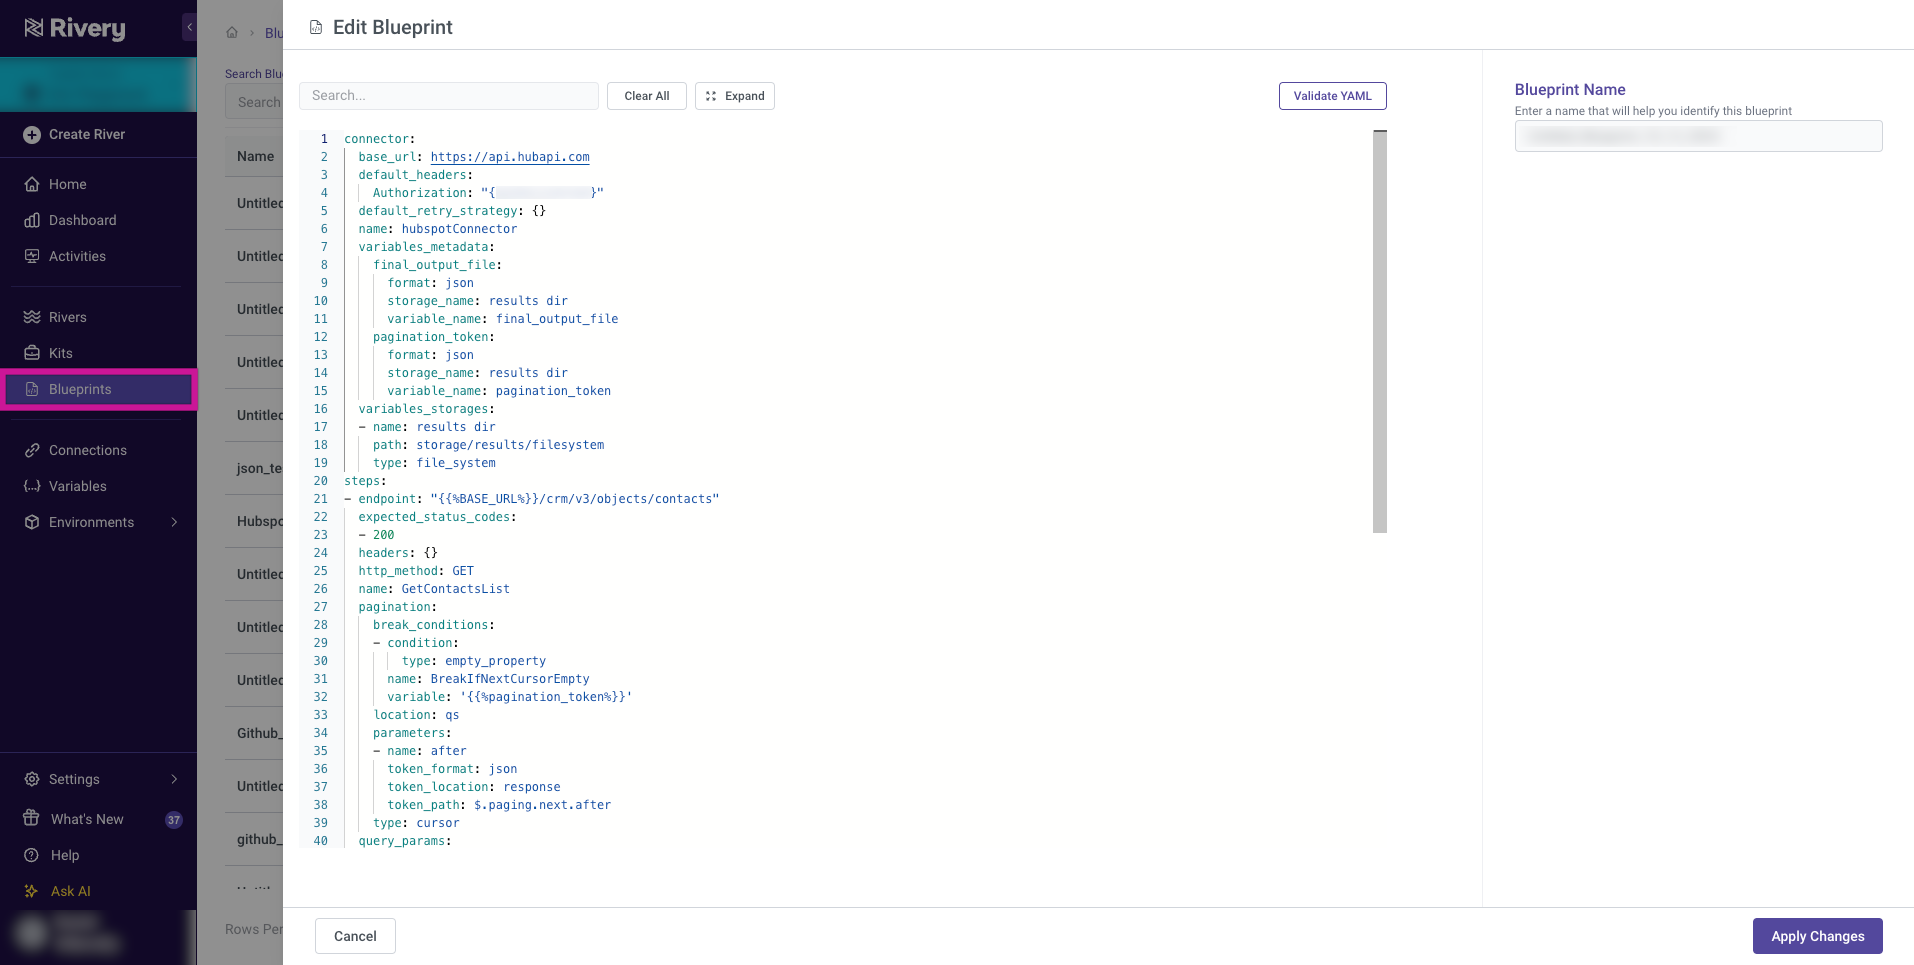
Edit Your Blueprint
In the Blueprint editor, you'll be presented with a scaffold YAML file. This serves as a template to guide you in building your custom connector. You can modify this YAML file to meet the specific requirements of the API you're connecting to.Validate YAML
After editing the YAML file, ensure its syntax and structure are valid. Use the built-in validation tools in the editor to check for errors and confirm that your Blueprint is correctly configured.- Fix any issues highlighted during validation before proceeding.
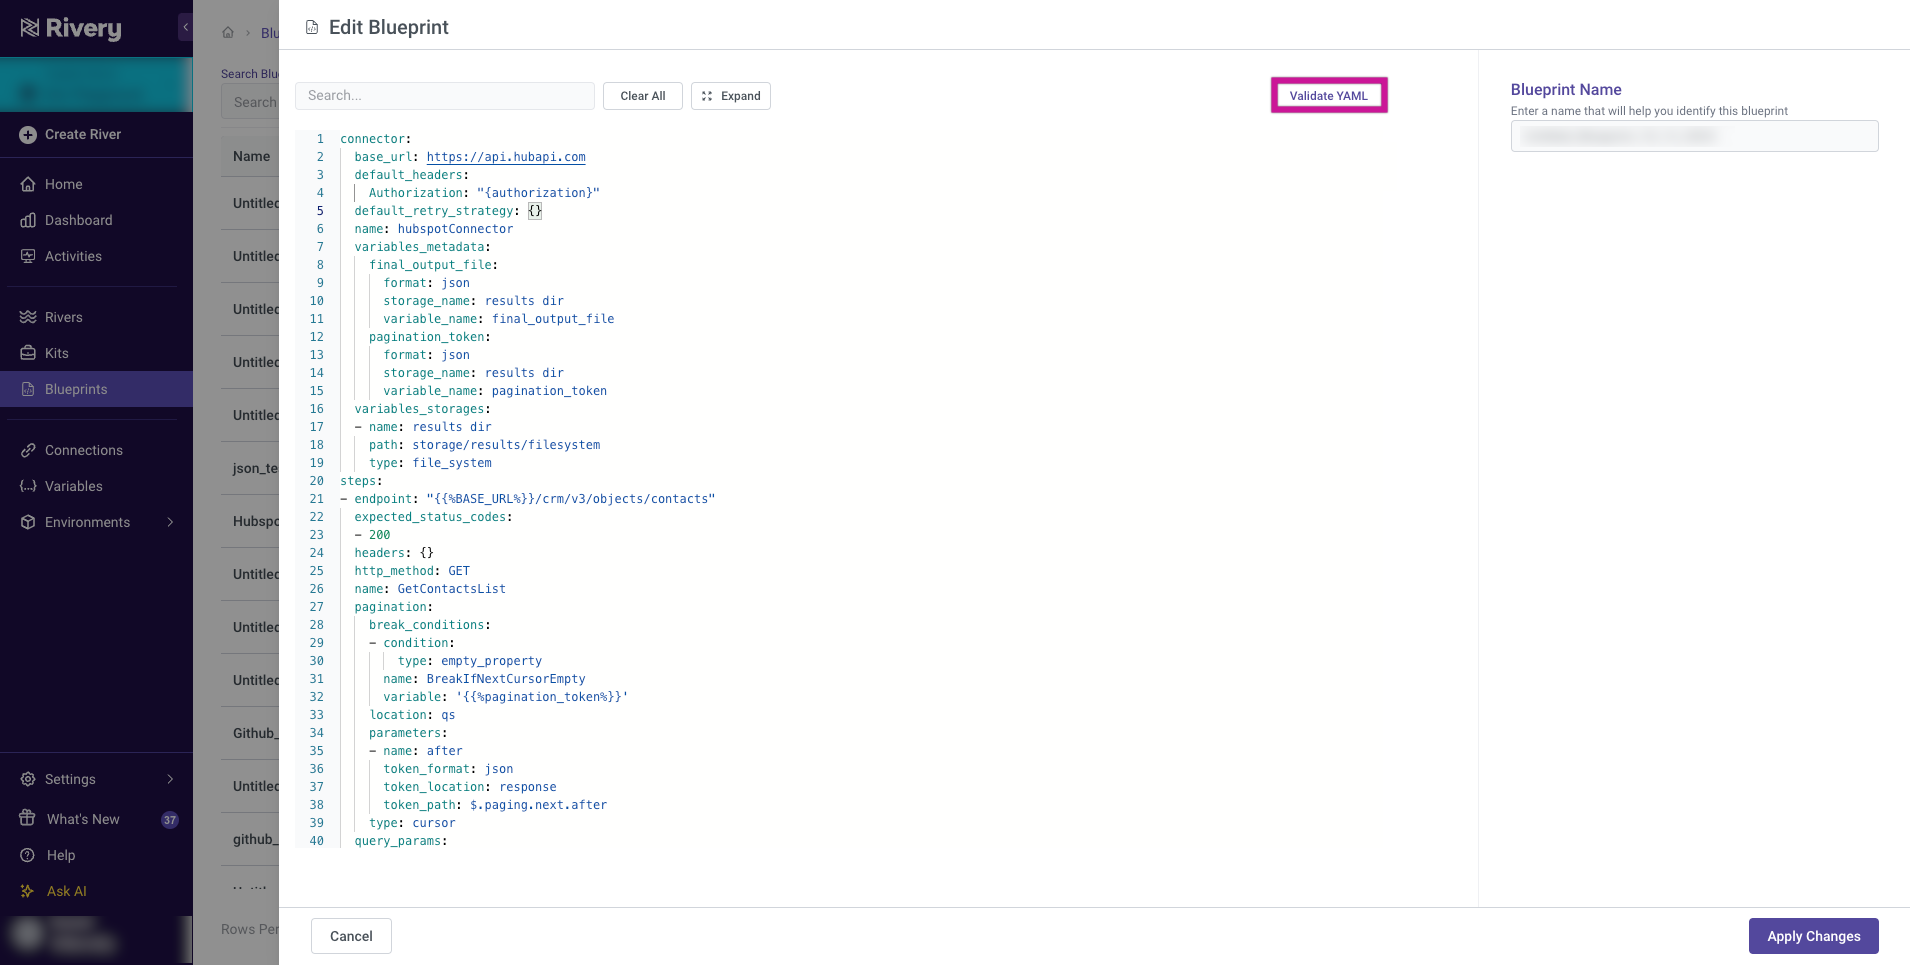
- Fix any issues highlighted during validation before proceeding.
Save and Use the Blueprint
Once you’ve completed the customization, save your Blueprint. After saving, the Blueprint file can be used as a Source in a Source-to-Target River, enabling you to integrate your custom connector into your data pipeline.
Was this article helpful?