Azure SQL as a Target
- 4 Minutes to read
- Print
- DarkLight
- PDF
Azure SQL as a Target
- 4 Minutes to read
- Print
- DarkLight
- PDF
Article summary
Did you find this summary helpful?
Thank you for your feedback!
This is a step-by-step tutorial for Setting Azure SQL as a Target.
Overview
Azure SQL Database is a fully managed platform as a service database engine that handles the majority of database management tasks like upgrading, patching, backups, and monitoring without user involvement.
Prerequisites
- You must first create a new user for Rivery in your database, which you can do by copying the following commands:
CREATE LOGIN [ < RiveryUsername>] WITH PASSWORD='< myPassword >'
Note: Set up your password following the review of the Microsoft Password Policy.
Use the database from which you want to pull data. Replace <database> with the name of your current database:
USE [< database >]
Allow the new user you created above to access the database:
CREATE USER [< RiveryUsername >] FOR LOGIN <database>
Now grant the table or schema you want to extract data from to the new user you just created. Change the <database>, <schema>, and <table> to your existingdatabse, schema, and table names:
GRANT SELECT to [< RiveryUsername >]
Use the following syntax to grant a SELECT operation to a specific schema:
GRANT SELECT on SCHEMA :: [< schema >] TO [< RiveryUsername >]
Grant Rivery permissions to the metadata of the tables in order to get the correct mapping of the tables in the schema or database:
GRANT CONTROL ON [<db-object>] TO [< RiveryUsername >]
GRANT ALTER ON [<db-object>] TO [< RiveryUsername >]
- If you want to connect using Azure Active Directory, make sure you configure and manage Azure AD authentication with Azure SQL.
Connection Procedure
You can connect to Azure SQL using one of two methods:
- SQL Server Authentication
- Azure Active Directory
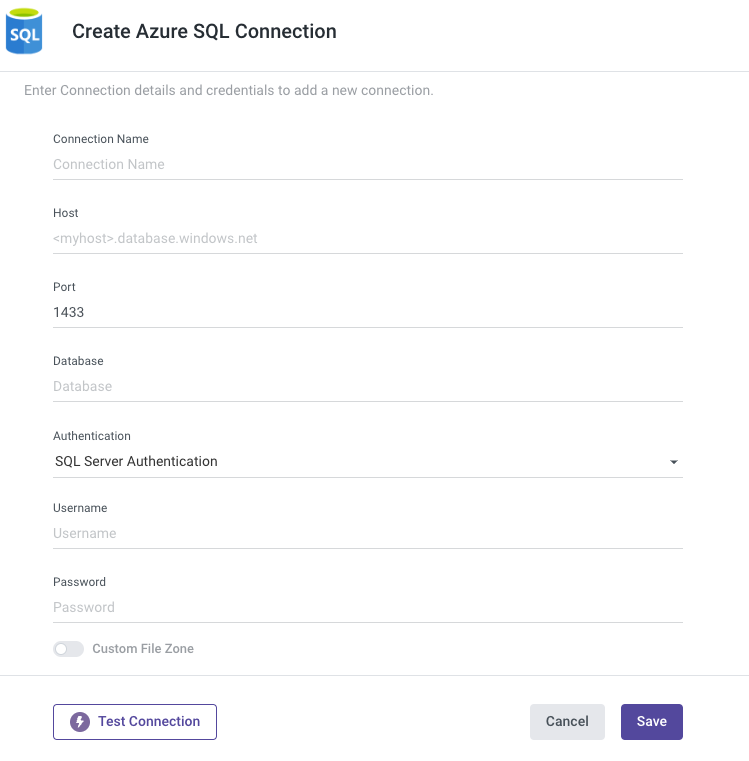
SQL Server Authentication
- Whitelist our IPs.
- Choose your Connection Name.
- Enter Host.
- Fill in the Port Number.
- Enter your Database.
- Select SQL Server Authentication method.
- Enter your Username and Password
- Use the Test Connection function to see if your connection is up to the task.
If the connection succeeded, you can now use this connection in Rivery.
Azure Active Directory
- Whitelist our IPs.
- Choose your Connection Name.
- Enter Host.
- Fill in the Port Number.
- Enter your Database.
- Select Azure Active Directory authentication method.
- Enter your Username and Password
- Use the Test Connection function to see if your connection is up to the task.
If the connection succeeded, you can now use this connection in Rivery.
Custom File Zone
Rivery allows you to create a custom File Zone, to manage your data in your own Azure service.
Once you've finished creating the container and connecting to Azure Blob storage in Rivery, take the following actions:
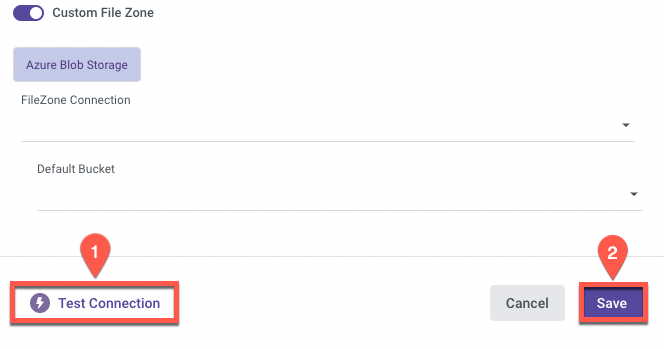
- Toggle the Custom File Zone to true.
- By clicking on FileZone Connection, you can select the previously configured FileZone Connection.
- Choose a Default Bucket (Container) from the drop-down list.
- Use the Test Connection function to see if your connection is up to the task.
If the connection was successful, click Save.
Configuration Process
- Now that you've established a Connection, select your Target Connection from the drop-down list.
- Click the curved arrow next to Schema on the right side of the row. After the refresh is complete, click the row and choose the Schema where the data will be stored.
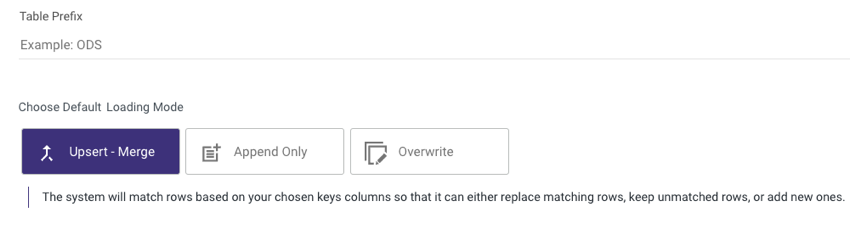
- Enter the Table Prefix.
- Set the Loading Mode.
Loading Modes:
Upsert Merge - Based on the keys columns you've selected, the system will match rows and decide whether to replace matching rows, keep unmatched rows, or add new ones.
This mode is recommended for continuous merge runs because it does not retain duplication and creates an index for better performance.
Upsert Merge includes two merge techniques:
- Delete-Insert- Delete all data from the table, then INSERT INTO it using the column mapping's defined keys. In this mode, new indexes are inserted to the table after existing rows are deleted (when keys between the new and existing data match).
- Merge - Use the MERGE INTO clause to perform an upsert based on the primary keys chosen for the table mapping.
Append Only - This will append any new records while keeping all of the current records using INSERT INTO the Target Table (matching on columns).
Overwrite - This will TRUNCATE the old records and INSERT the new records in the target table.
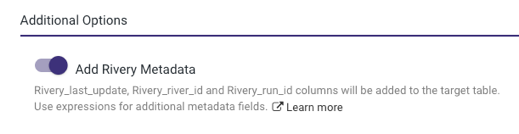
- In the Additional Options, keep the Toggle set to True if you want Rivery Metadata to be added to the Target table.
Please Note:
When the Source is in Multi Table mode, this option becomes available.
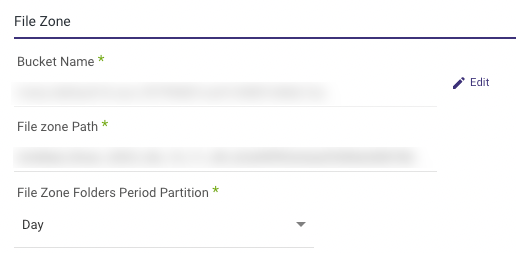
Choose a Bucket (Container) and a path for your data to land.
Set the period partition timeframe for a FileZone folder.
Note: You can instruct Rivery to divide the data according to the data insertion day, the Day/Hour, or the Day/Hour/Minute. This means that Rivery will produce data files from your sources under folders that correspond to the correct partition you've selected.Any Source (with the exception of Webhook and CDC method Sources) to Target River can now send data to your Azure SQL Container.
Was this article helpful?