Azure Blob Storage as a Target
- 3 Minutes to read
- Print
- DarkLight
- PDF
Azure Blob Storage as a Target
- 3 Minutes to read
- Print
- DarkLight
- PDF
Article summary
Did you find this summary helpful?
Thank you for your feedback!
This is a step-by-step tutorial for setting up Azure Blob Storage as a Target.
Prerequisites
- If you're new to Azure Blob Storage, start with the Microsoft documentation.
Create an Azure Blob Storage Account and Container
Follow the Microsoft documentation to create a Standard Azure Account.
Please Note: Only Standard Azure accounts can use Azure Blob Storage Containers (Custom Filezones) with Rivery, Make sure to choose Standard in the Performance section.
Make sure all of the settings are correct before clicking Create. The creation of a Blob account may take a few minutes.
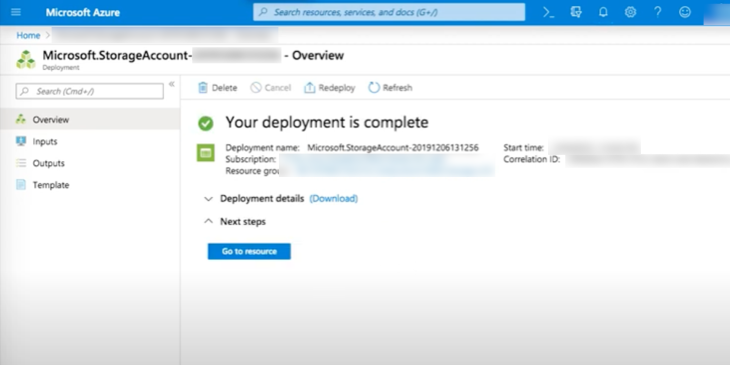
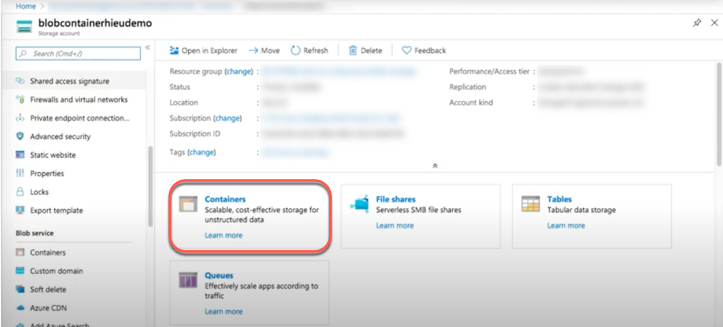
- Click on Go to resource.
- Choose Containers (Alternatively, scroll down the main menu to Blob Service and select Containers).
- In the upper left corner, click on +Containers.
- Give the container a Name.
- From the Public access level drop-down menu, select Container.

Click Ok.
Go to Access Keys in the storage account menu.
Copy and save your keys.
When connecting to Azure Blob Storage in Rivery, this will be used.
Setting Azure Blob Storage as a Target
- Navigate to the Target tab in your Source to Target River.
- Select Azure Blob Storage.
- You will be automatically redirected to the connection form; for more information, see our documentation.
- Enter you Bucket (Container ) Name.
- Enter the FileZone path to your storage Container where Rivery will send the data files.
- Set the period partition timeframe for a FileZone folder.
Note: You can instruct Rivery to divide the data according to the data insertion day, the Day/Hour, or the Day/Hour/Minute. This means that Rivery will produce data files from your sources under folders that correspond to the correct partition you've selected. - Any Source to Target River can now send data to your Container.
Azure Blob Target – Parquet File Format Support
Overview
The Azure Blob target now supports writing data in Parquet file format as part of standard extraction workflows.
Key Features
Parquet Format Support
Data can now be extracted and written to Azure Blob Storage in the optimized, columnar Apache Parquet format.Standard Extraction Support
This functionality is integrated into the standard extraction process and works seamlessly across all supported source connectors.
Custom Partition
Custom partition granularity path allows you to specify the exact partitions that are used when loading data. This can help optimize the performance of your Rivers.
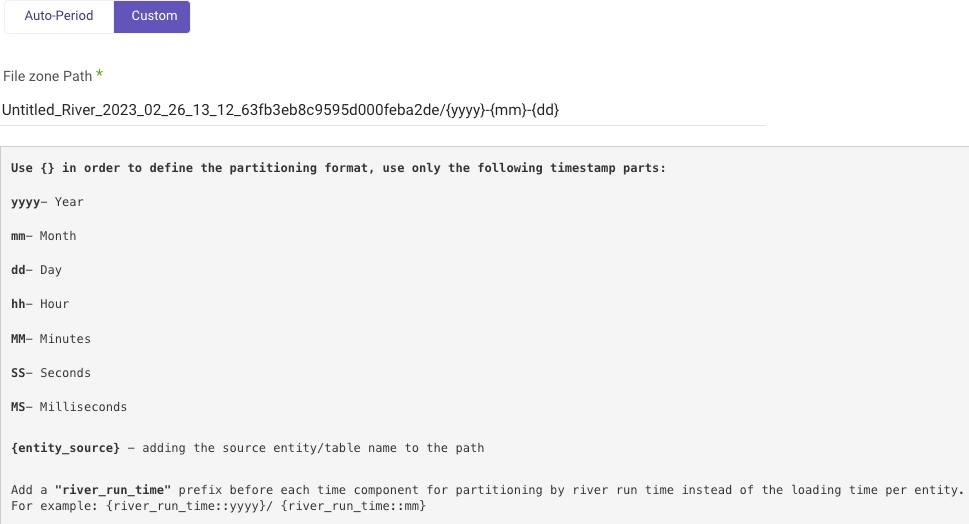
To configure custom partition granularity path:
a. Type in your Bucket Name.
b. Enter the Custom FileZone Path from your Azure blob storage.
Using the template:
{river_name}_{river_id}/{yyyy}{mm}{dd}_{hh}{MM}{SS}{MS}/{entity_source}.
c. Specify the granularity variables:
- yyyy - The numerical value representing a specific year (4 digits).
- mm - The month's numeric identifier within a calendar year (01, 03, 05, 12 ,etc).
- dd - The corresponding day on the 7 day week (1, 2, 7, etc).
- hh - The corresponding hour on the 24-hour clock (9, 10, 12, etc)
- SS - Seconds
- MS - Milliseconds
- entity_source - Using entity names for multi-tables Sources is beneficial as it allows for the creation of a separate folder for each table within the entity.
- entity_target - Including the name of the Target entity/table in the path.
- river_run_time - To partition by River run time rather than loading time per entity, use the "river_run_time" prefix before each time component. This means adding "river_run_time" before the year, month, day, or any other time component you want to use.
Please Note:
You are not required to input all variables, rather just input the ones that are most effective for your needs.
The option is only available for the sources listed below:
- Adobe Analytics
- Airtable
- App Store Connect - Sales
- Bing Ads
- Bluesnap
- Delta projects
- Display & Video 360
- DoubleClick Campaign Manager
- Facebook Ads
- Google Ad Manager
- Google Ads
- Google Analytics
- Google Cloud Storage
- Hasoffers
- Hubspot
- Linkedin Ads
- Mixpanel
- Moat Analytics
- MySQL
- Oracle
- Outbrain
- PostgreSQL
- Salesforce
- Sprinklr
- SQL Server
- Stripe
- Tiktok
- Twitter Ads
- Verta Media
- Snowflake Source
Was this article helpful?