Coupa Connection
- 1 Minute to read
- Print
- DarkLight
- PDF
Coupa Connection
- 1 Minute to read
- Print
- DarkLight
- PDF
Article summary
Did you find this summary helpful?
Thank you for your feedback!
Introdcution
This document provides instructions for setting up integration with Coupa, focusing on finding the hostname and obtaining the client ID and client secret required for OAuth2 authentication.
Prerequisites
Find Instance URL (Hostname)
Access Your Coupa Account: Begin by logging in to your Coupa account using your credentials.
Identify Hostname in URL: Once logged in, examine the URL of your Coupa account. The hostname typically follows this format:
{customer_name}.coupahost.com or {customer_name}.coupacloud.com
Exclude the protocol (e.g., https:// or http://) from the URL as it is not part of the hostname.
Find Client ID and Client Secret
- Proceed to the Setup tab within your Coupa account.
- In the Integrations section, navigate to Setup > Oauth2/OpenID Connect Clients.
You can speed up this process by utilizing the search function and inputting 'oauth'. - Click on the 'Create' button
- Configuring Client Details:
Choose 'Client credentials' as the Grant Type.
Provide the following details:
- Name for the client.
- Login.
- Contact Firstname.
- Contact Lastname.
- Contact Email.
Select the required OIDC scopes listed below:
core.accounting.read
core.approval.read
 core.budget.read
core.business_entity.read
core.catalog.read
core.comment.read
core.common.read
core.contract.read
core.contracts_template.read
core.easy_form_response.read
core.easy_form.read
core.expense.read
core.expense.secure.read
core.financial_counterparty.read
core.global_navigation.read
core.integration.read
core.inventory.adjustment.read core.inventory.asn.read
core.inventory.balance.read
core.inventory.common.read
core.inventory.consumption.read
core.inventory.cycle_counts.read
core.inventory.pick_list.read
core.inventory.receiving.read
core.inventory.return_to_supplier.read
core.inventory.transfer.read
core.invoice.read core.item.read
core.legal_entity.read
core.object_translations.read
core.order_pad.read
core.pay.charges.read
core.pay.payment_accounts.read
core.pay.payments.read
core.pay.statements.read
core.pay.virtual_cards.read
core.payables.allocations.read
core.payables.expense.read
core.payables.external.read
core.payables.invoice.read
core.payables.order.read
core.project.read
core.purchase_order_change.read
core.purchase_order.read
core.requisition.read
core.sourcing.pending_supplier.read
core.sourcing.read core.sourcing.response.read
core.supplier_information_sites.read
core.supplier_information_tax_registrations.read
core.supplier_sharing_settings.read
core.supplier_sites.read
core.supplier.read
core.supplier.risk_aware.read
core.uom.read
core.user_group.read
core.user.read
- Obtaining Client ID and Client Secret:
- Save the Client ID, which appears alongside the Identifier, in a secure location.
- To reveal the Client Secret, select 'Show/Hide' under Secret. Remember to save it in a safe location.
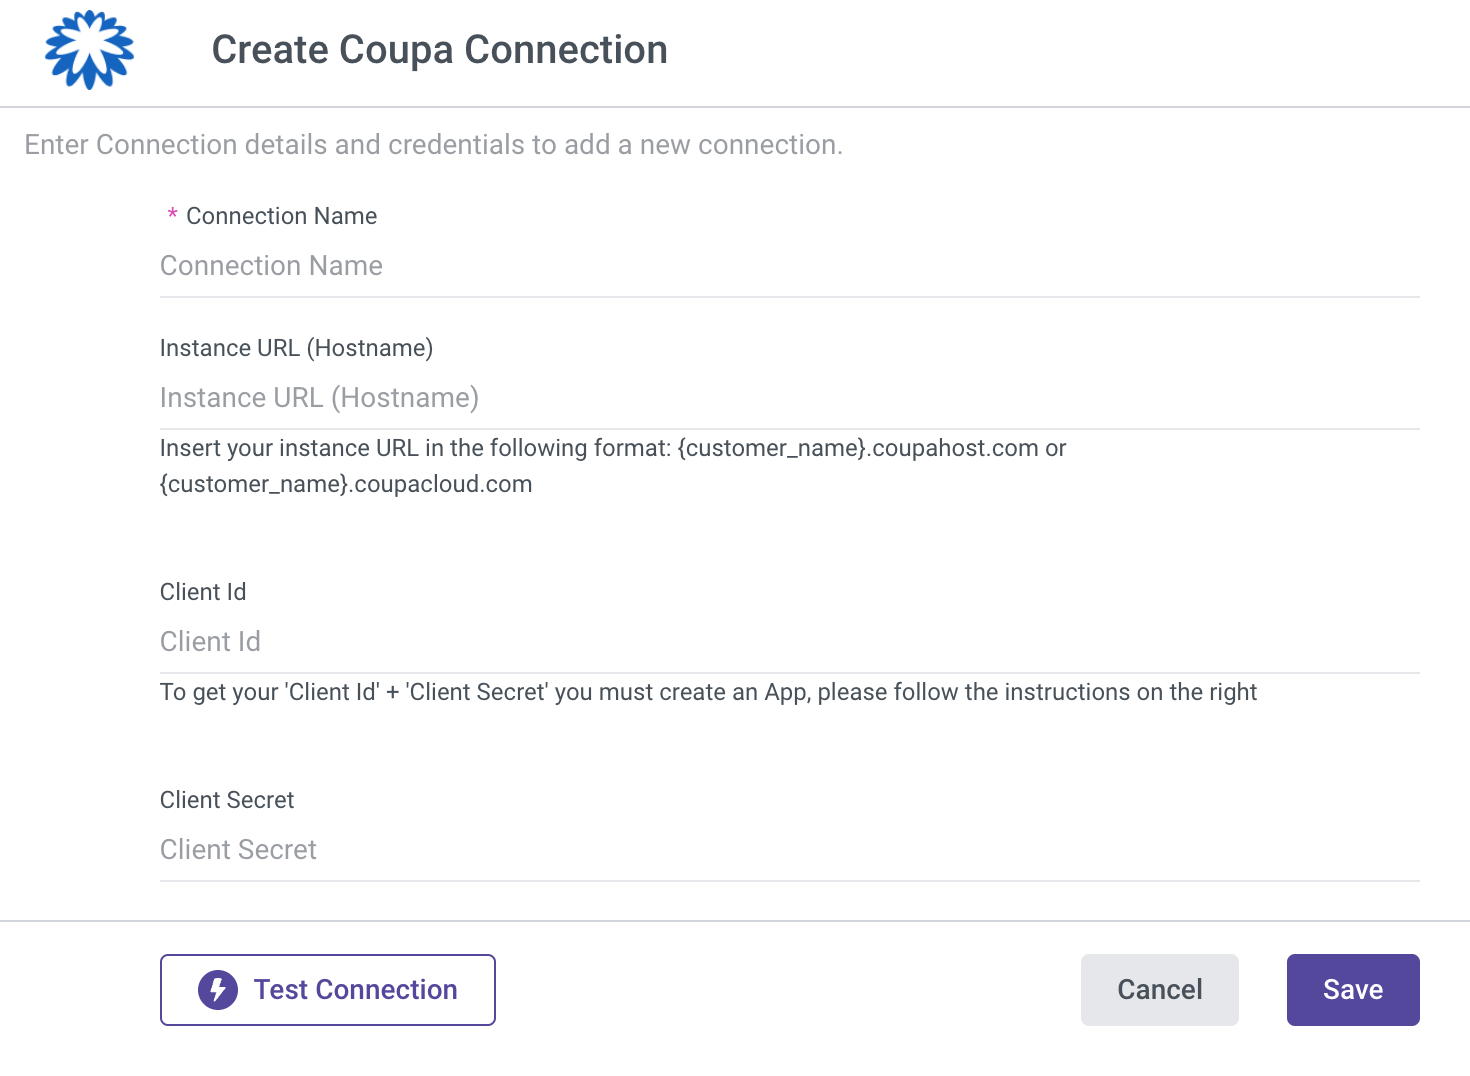
Establish a Connection In Rivery
- Enter your Connection Name.
- Input your Instance URL (Hostname).
Please ensure it follows this format:
{customer_name}.coupahost.com or {customer_name}.coupacloud.com
- Fill out the authentication form with your Client ID and Client Secret.
- Use the Test Connection function to see if your connection is up to the task.
If the connection succeeded, you can now use this connection in Rivery.
Was this article helpful?