- 5 Minutes to read
- Print
- DarkLight
- PDF
Facebook Ads Connection
- 5 Minutes to read
- Print
- DarkLight
- PDF
Introduction
Integrating Facebook Ads with Rivery allows you to seamlessly extract, transform, and load your advertising data for advanced analytics and reporting. Whether you're managing campaigns, analyzing ad performance, or monitoring key metrics, Rivery offers a flexible and reliable way to automate your data workflows.
This guide outlines 2 methods for connecting Facebook Ads to Rivery:
- Using Your Facebook Account: A simple connection method using your Facebook email and password.
- Using a Custom App: A more customizable approach through the Facebook Developer Console.
Additionally, we'll cover troubleshooting common issues, configuring security features like two-factor authentication, and linking Instagram Business Accounts for enhanced functionality.
Prerequisite
Ensure you have admin access to the Facebook Ads account you're connecting.
Connecting with Your Facebook Account
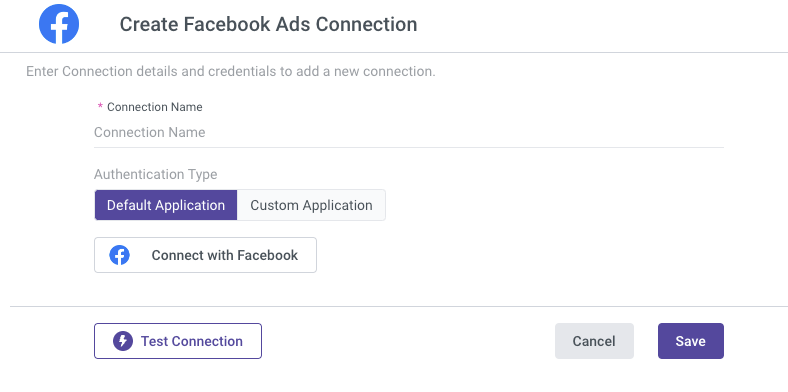
- Enter a name for the connection in the "Connection Name" input field.
- Click on the Connect with Facebook button.
- A Facebook login pop-up will appear. Sign in with the Facebook account you'd like to use in Rivery.
- Once authenticated, click Save to store the connection in your Rivery account.
Please Note:
If no pop-up appears after clicking the "Connect with Facebook" button, ensure your browser allows pop-ups:
- Check for a "Popup Blocked" notification near the browser's address bar.
- Select "Always Allow Popups from Rivery" and retry connecting.

- Click Test Connection to verify the setup. If the test passes, the connection is ready for use.
Configure a Custom App Connection with Facebook Ads in Rivery
Follow these steps to configure a Custom App connection for Facebook Ads in Rivery:
1. Create a Custom App in Facebook Developer Console
- Go to Facebook Developer Console.
- Click on Apps and then Create App.

- Fill in the required details, such as the App Name, App Email.
- Add Use Cases.
- Select a Business Portfolio and click Go to Dashboard.
2. Generate API Credentials
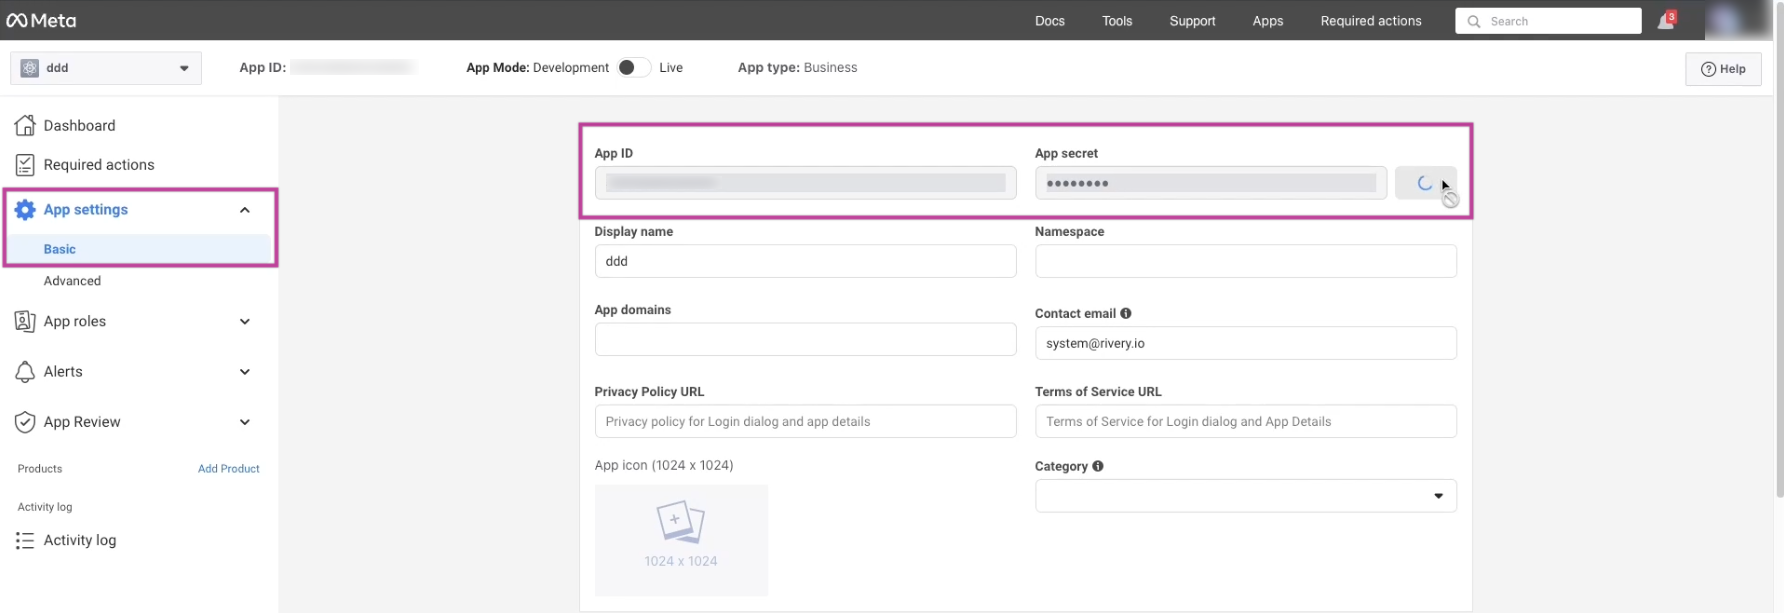
- After creating the app, navigate to App Settings > Basic to retrieve the App ID (Client ID) and App Secret (Client Secret).
- These credentials will be used in Rivery for authentication.
3. Configure App Domains and IP Whitelist
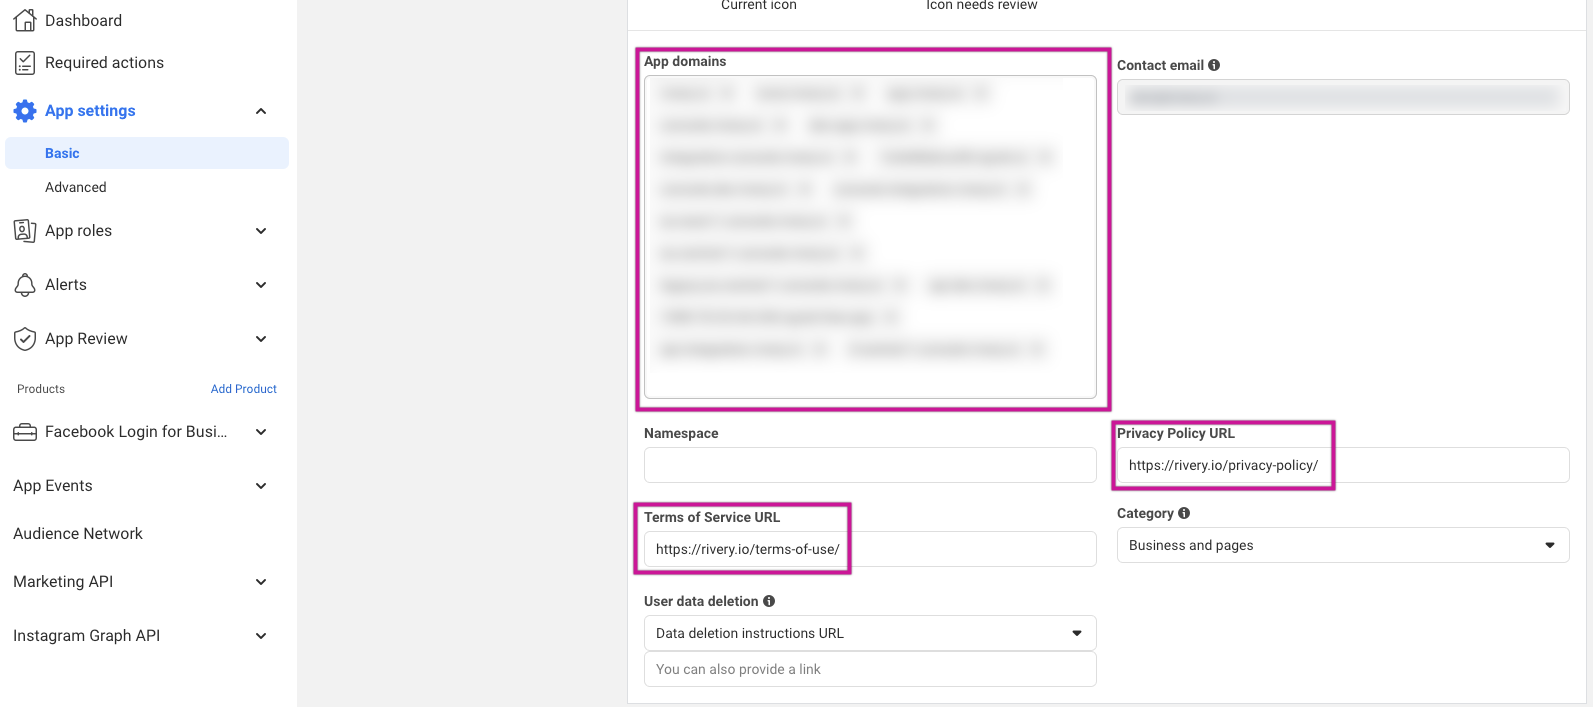
In App Settings, under the Basic tab:
Add your Rivery console URL (e.g.,
https://console.rivery.io/) andhttps://rivery.io/to the App Domains section.Enter the Privacy Policy URL:
https://rivery.io/privacy-policy/Enter the Terms of Service URL:
https://rivery.io/terms-of-use/Select the Category that best fits your app.
In the Advanced tab, under the Security section, include the whitelisted IPs for your specific region.
4. Authorize the App
- Navigate to Publish, and click the Publish button to publish your app.
- In the left-hand menu, under the Review section, complete the app review, business verification and any other necessary processes with Meta.
- After Meta approves and authorizes your app, you can establish a connection in Rivery using the Custom App.
5. Set Up Facebook Permissions & Features
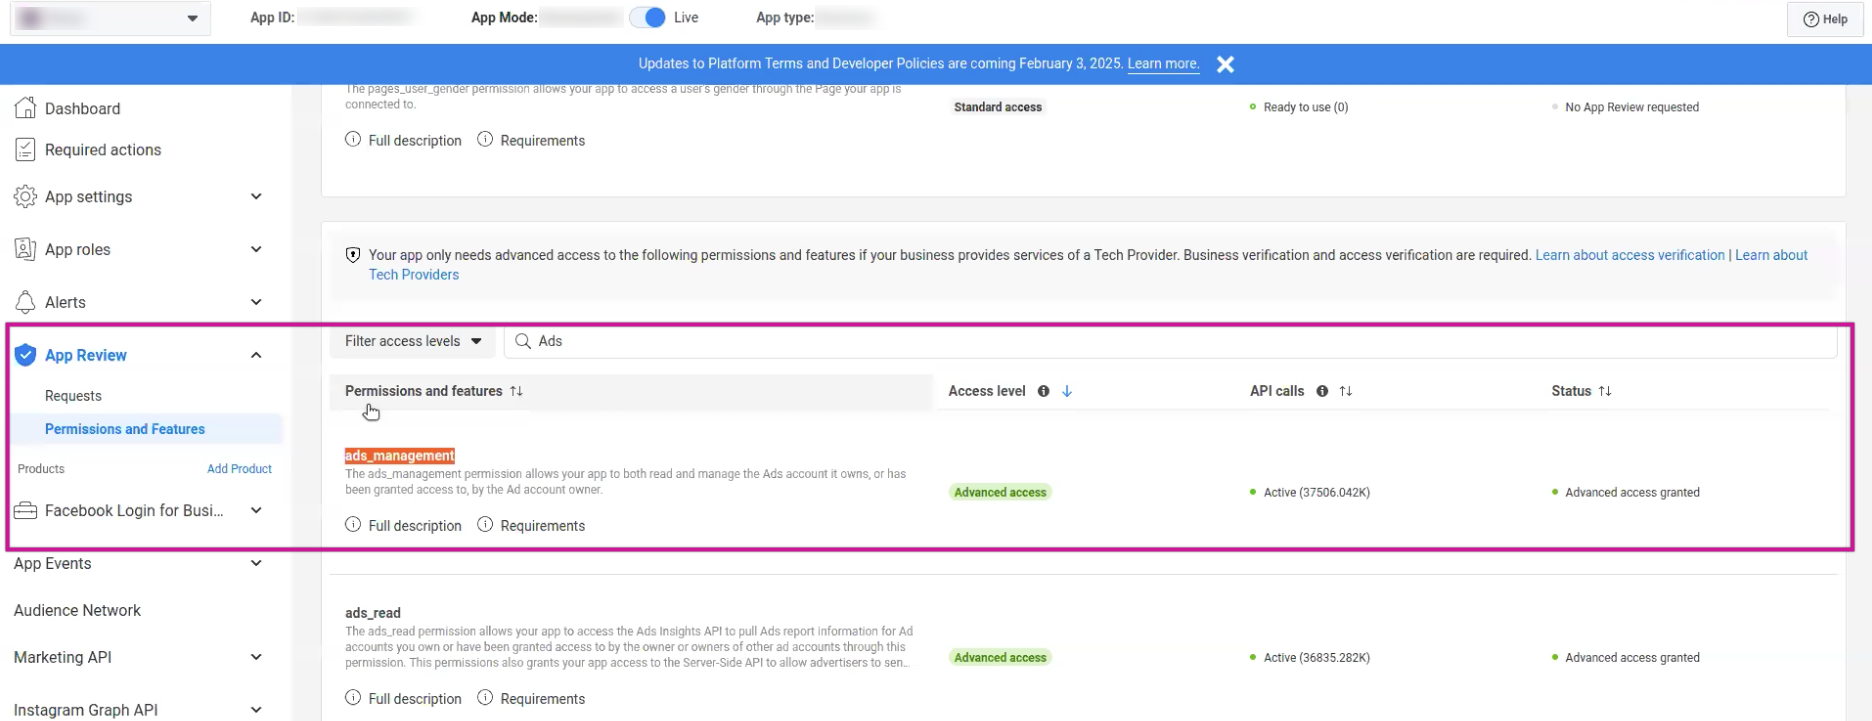
- Go to the App Review section and open Permissions & Features.
- Add the following permissions for Facebook Ads:
- Permissions:
ads_readads_management
- Features:
Ads Management Standard Access
6. Configure the Custom App in Rivery
In Rivery, go to Connections.
Click Create New Connection and choose Facebook Ads.
Select Custom App as the Authentication method.
Enter the App ID (Client ID) and App Secret (Client Secret) retrieved from the Facebook Developer Console.Please Note: If you have an Access Token, you can use it instead of the App ID and App Secret, but not both simultaneously.
Click Test Connection to authenticate with Facebook Ads.
Click on Save in order to keep that account in your Rivery account.
7. Test and Use the Connection
- After successful authorization, test the connection to ensure it is working properly.
- Once connected, you can start building data pipelines in Rivery using Facebook Ads data.
- Regularly review app permissions and refresh access tokens to ensure continuous operation.
# Enforce Two-Factor Authentication
To enhance the security of your Facebook account, enable Two-Factor Authentication (2FA). Follow these steps:
Access Security Settings
- Log into your Facebook account and navigate to the Security and Login section in your account settings.
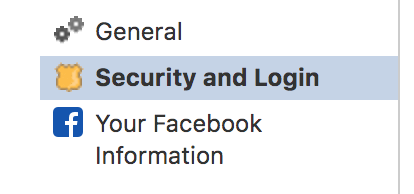
- Log into your Facebook account and navigate to the Security and Login section in your account settings.
Enable Two-Factor Authentication
- Locate the Use two-factor authentication option and click Edit.

- Locate the Use two-factor authentication option and click Edit.
Select Verification Method
- Choose Use Text Message as the method for receiving your authentication code.
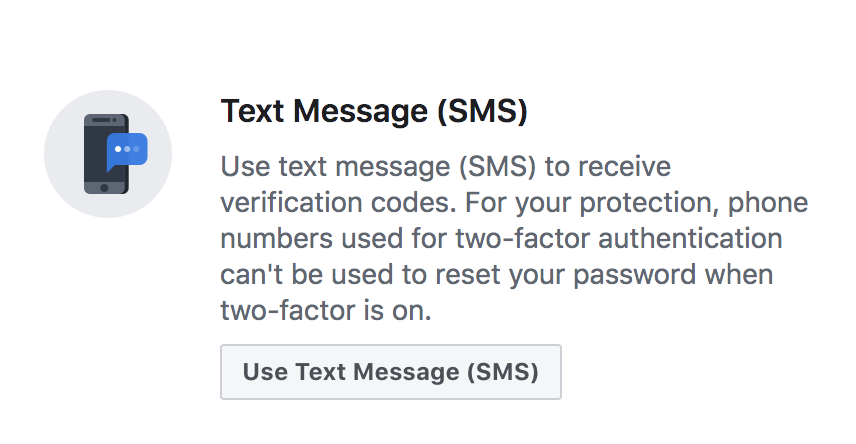
- Choose Use Text Message as the method for receiving your authentication code.
Connect Facebook to Rivery
- Once 2FA is set up, create a Facebook connection in Rivery.
- During the connection setup, you'll need to enter your username, password, and the 2FA code sent to your phone.
- After the connection is established with 2FA, you won’t need to set it up again.
Add a Facebook Page to Your Instagram Business Account
To enhance your Instagram Business Account capabilities, you can connect a Facebook Page. This connection enables you to utilize additional business tools, including managing ads through Facebook.
For more details, visit this link.
Prerequisites:
- Convert your Instagram account to a professional account.
- Be an admin of the Facebook Page you intend to connect.
Steps:
Access Profile Settings
- Navigate to your Instagram profile and select Edit Profile.
Connect a Page
- Under Public Business Information, select Page.
- Choose an existing Facebook Page from your account or create a new one.
Manage Pages Issue
If you encounter the following error:
Facebook Error: (#100) Pages Public Content Access, or if no data is returned from reports such as promoted pages, ads leads, or ad creative, follow these steps:
1. Verify Connection Settings
- Open your Facebook connection in an incognito browser session.
- If you are unable to access the connection settings, clear cookies related to Facebook and try again.
2. Adjust Permissions
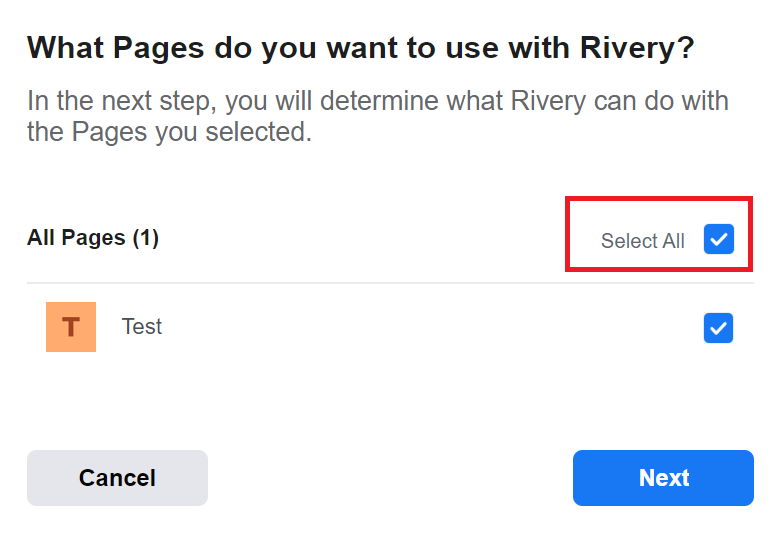
- Ensure the Manage Pages permission is enabled for all pages listed.
- Select all pages displayed in the list:
3. Grant Metadata Permissions
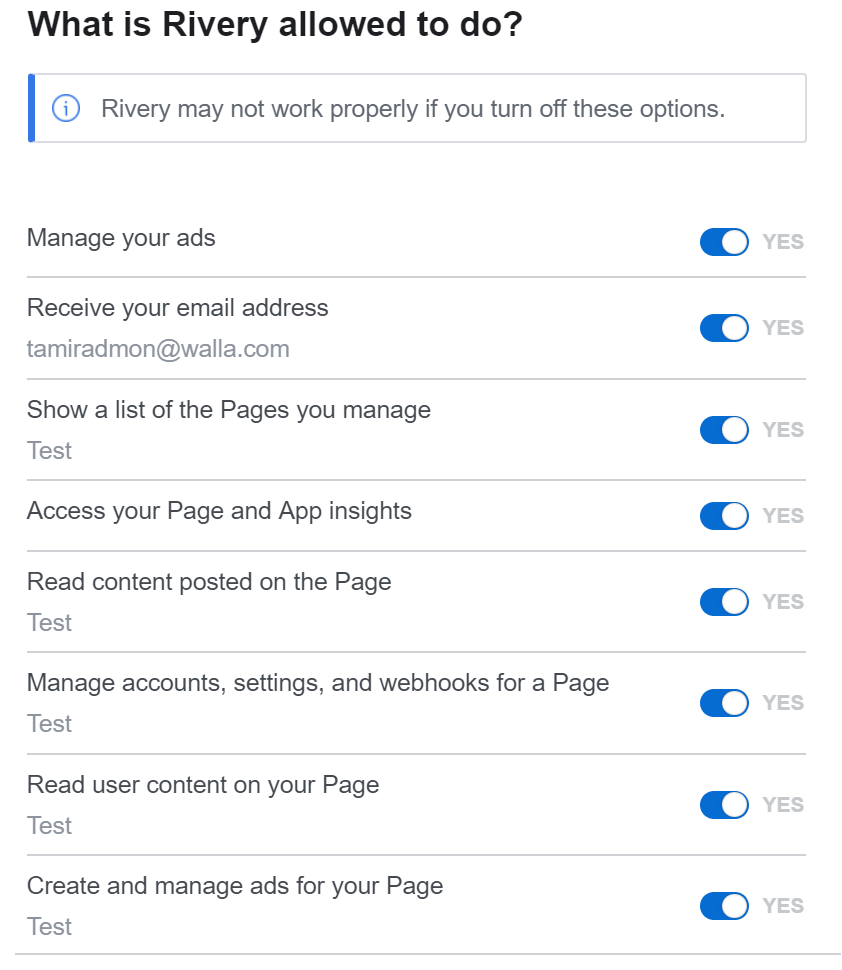
- Enable all permissions relevant to metadata extraction.
- Turn Manage Your Pages to Yes. This allows Rivery to read page posts and page fields but does not grant write access.
Assign a Role to a Facebook Page
The account connected to Facebook in Rivery must have the appropriate role on the Page you want to access. Ensure that your Facebook account has the necessary permissions to read data from the target Page.
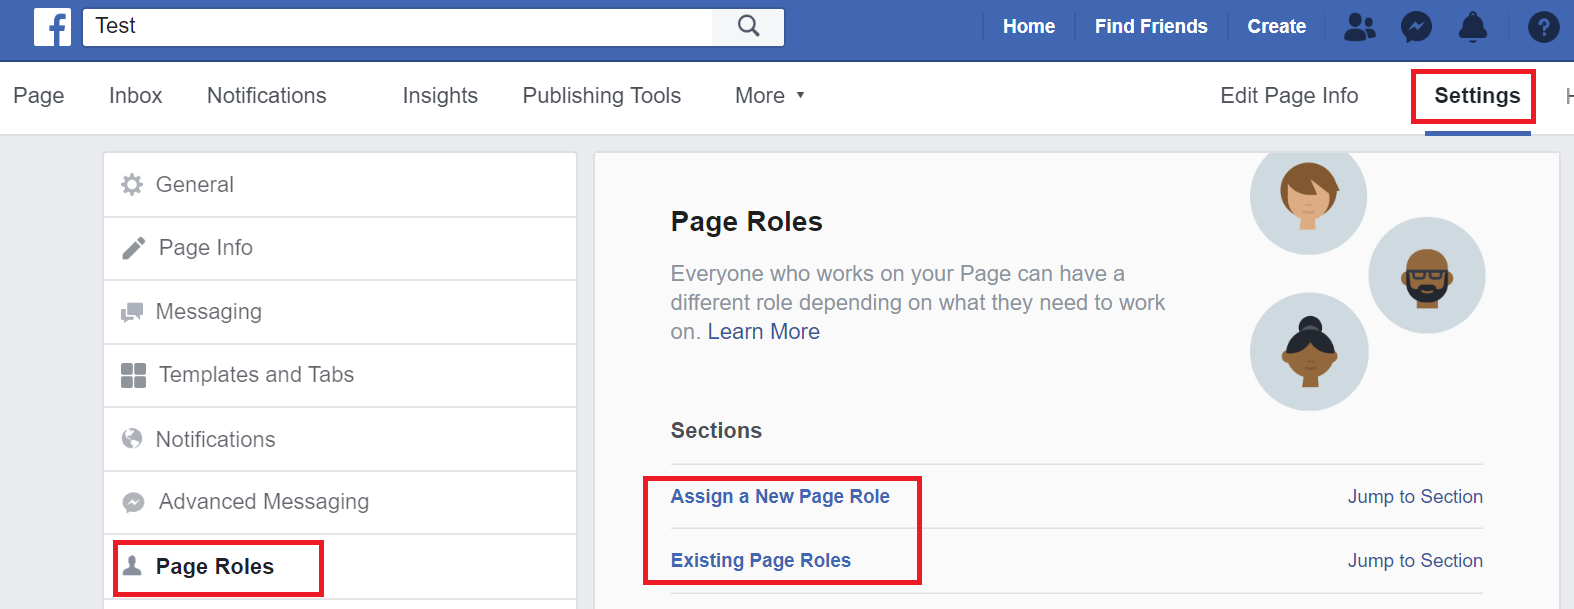
By following these steps, you can resolve issues and ensure a seamless connection between Facebook and Rivery.

