Harvest Connection
- 1 Minute to read
- Print
- DarkLight
- PDF
Harvest Connection
- 1 Minute to read
- Print
- DarkLight
- PDF
Article summary
Did you find this summary helpful?
Thank you for your feedback!
Introduction
This article will guide you about configuring and establishing a Harvest connection in Rivery .
In order to connect, you will need to set up an OAuth2 Client, and provide us with the credentials created in the process.
Setting up an OAuth2 Application Client
1. Navigate and login to Harvest ID Developers Zone.
2. Under OAuth2 Applications, click on Create New OAuth2 Application.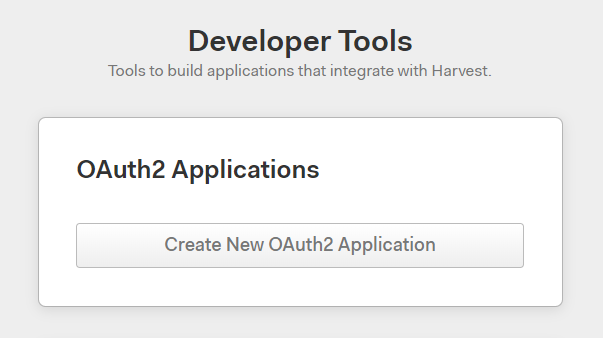
3. You will then be prompted with providing the following information:
Name: The name of your application.
Redirect URL:
For Rivery US console:
https://console.rivery.io/api/oauthcallback/harvestFor Rivery EU console:
https://eu-west-1.console.rivery.io/api/oauthcallback/harvest
Multi Account: Depending on how many accounts you want to integrate, select between "I can work with multiple accounts" or "I need access to one account"
Products: Select "I want access to Harvest"
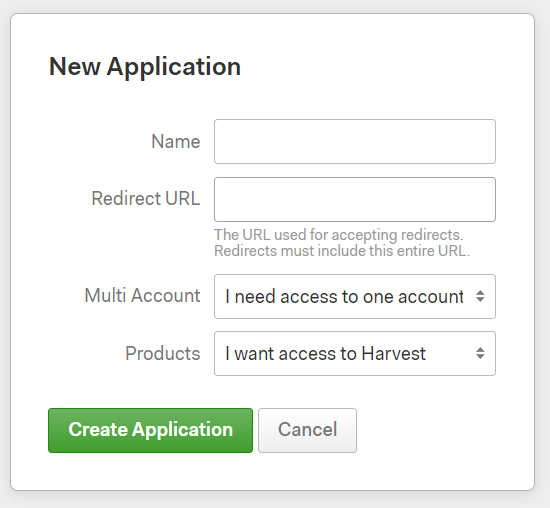
4. Click on Create Application.
If everything went well you will get this message:
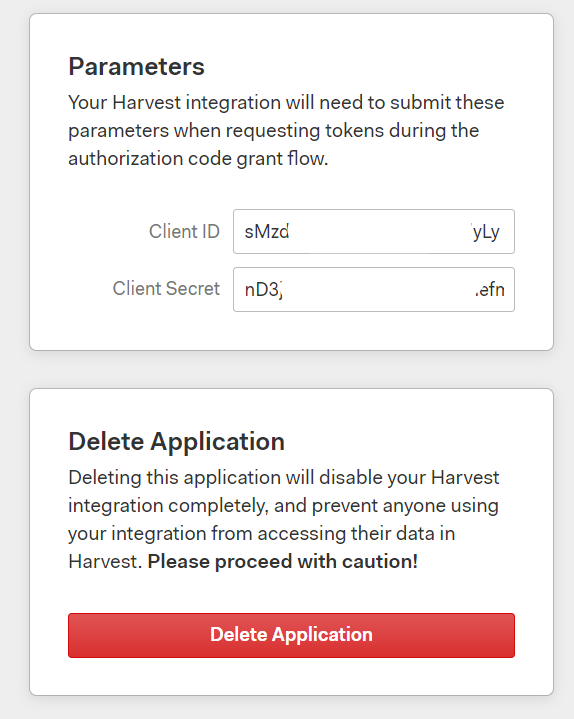
5. Scroll down to the Parameters box to find your Client ID & Client Secret.
6. You will need to copy these to your Rivery connection.
Creating New Harvest Connection In Rivery
- Navigate and log into Rivery Console.
- Click on Connections, in the main menu at the left.
- Click on + New Connection .
- Find and click on Harvest source, under Analytics section .
- Name and Describe the connection.
- Insert your Application Name, and either an email address or a link to your application. Harvest requires this information and will use it to contact you in certain cases.
- Insert your Client ID and Client Secret .
- Click on "Connect With Harvest" and follow the login instructions in the opened window.
- Test your connection to verify that all is well.
You should now be all set to start pulling data from Harvest!

Was this article helpful?