Jira Connection
- 2 Minutes to read
- Print
- DarkLight
- PDF
Jira Connection
- 2 Minutes to read
- Print
- DarkLight
- PDF
Article summary
Did you find this summary helpful?
Thank you for your feedback!
This guide will walk you through the steps for setting up the Jira connector
Prerequisite
- A Jira (Atlassian) account with relevant permissions
- A cloud app login credentials/ An API token/ server app login username (email) and password
Grant relevant permissions to the user
In Jira the permissions of the API token will be identical to the permissions of the user that generated the Token.
Please make sure that the user that is going to generate the API token has the following permissions on all of the relevant projects or project schema:
- Browse projects*
Additional information on Jira permissions can be found in this Jira Artcile Managing project permissions.
Cloud app login with Jira
- You will need your account domain name. Your account domain is located in the URL before the atlassian.net ending. e.g. https://{domain name }.atlassian.net
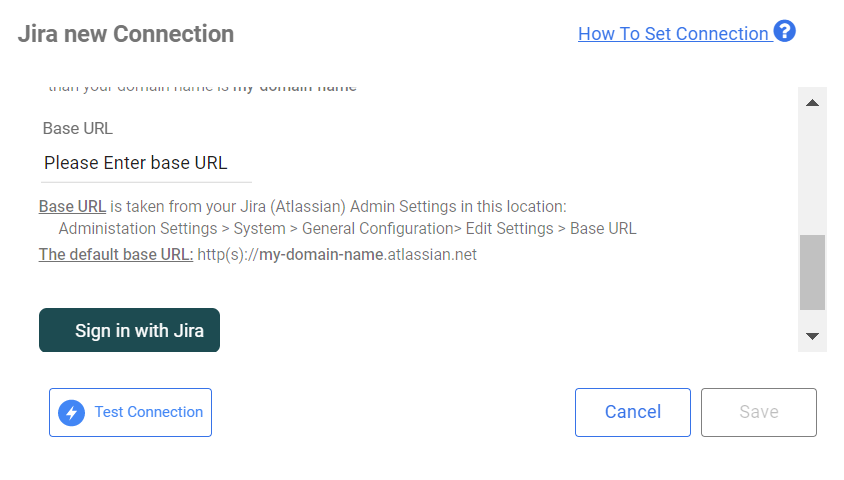
- You will need the base URL set in your system settings:
Base URL is taken from your Jira (Atlassian) Admin Settings in this location:Administation Settings > System > General Configuration> Edit Settings > Base URL
The default base URL: http(s)://my-domain-name.atlassian.net - Log in to your cloud app with your log in credentials as you log in to id.atlassian.com
Create an API token in Jira
Create an API token from your Atlassian account:
Log in to https://id.atlassian.com/manage/api-tokens .
Click Create API token.
From the dialog that appears, enter "Rivery" as a Label for your token and click Create.
Click Copy to clipboard, then paste the token to your notepad, or elsewhere to save.
If you are logging to Jira with an email, your username is the email you are loggin in with.
Note
Once you exist the API screen you can't retrieve the Token and you will need to create a new token if you lost it.
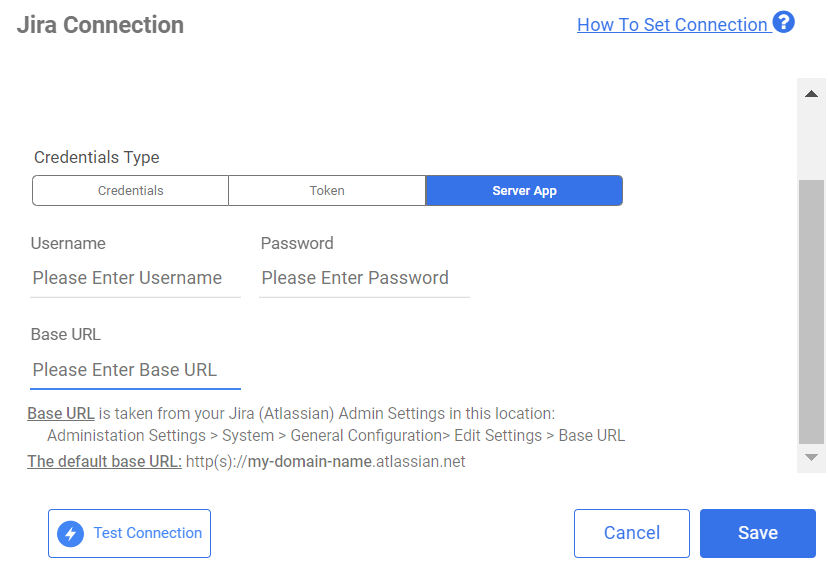
Connect to you server app
In case you run your Jira app on a local machine with Jira Software you will need the server app connection type. In the connection you will need:
- Your login credentials to the server app (username and password).
- You will need the base URL set in your system settings:
Base URL is taken from your Jira (Atlassian) Admin Settings in this location:Administation Settings > System > General Configuration> Edit Settings > Base URL
The default base URL: http(s)://my-domain-name.atlassian.net
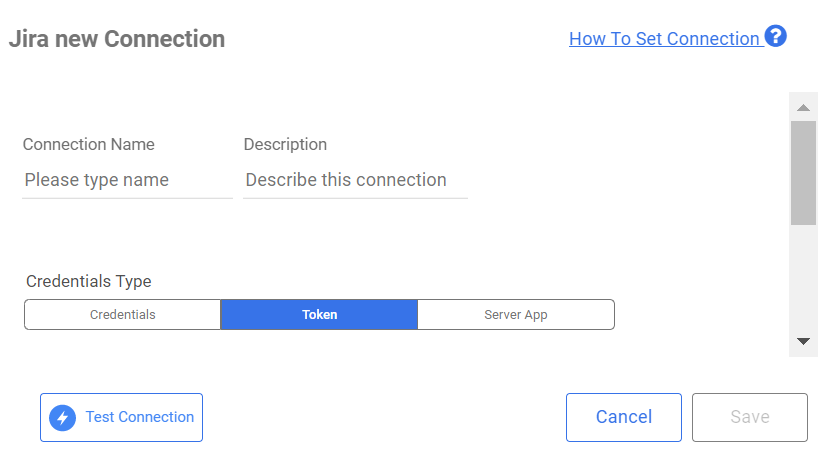
Creating A Jira Connection
In your Rivery Account , go to Connections
Press on +Create New Connection
Choose Jira
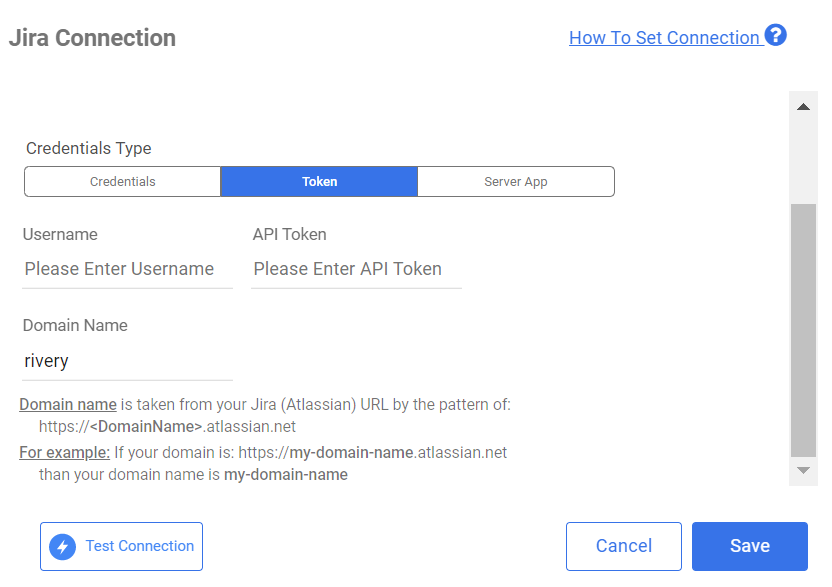
Fill a suitable name under Connection Name and insert the connection details:
Domain Name - Your account domain name. Your account domain is located in the URL before the atlassian.net ending. e.g. https://{domain name }.atlassian.net
Username - The email used to log in to your Jira account
3. API Token- The token generated in the previous step
Click Save and create the connection
Was this article helpful?