Mavenlink Connection
- 1 Minute to read
- Print
- DarkLight
- PDF
Mavenlink Connection
- 1 Minute to read
- Print
- DarkLight
- PDF
Article summary
Did you find this summary helpful?
Thank you for your feedback!
This connector is currently in Alpha Stage.
Introduction
This article will guide you about configuring and establishing a Mavenlink connection in Rivery.
In order to connect, you will need to set up an OAuth Client, and provide us with the credentials created in the process.
Setting up an OAuth Application Client
Navigate and login to Mavenlink Developers Zone.
Under SETTINGS > API click on View your Account's Registered Applications.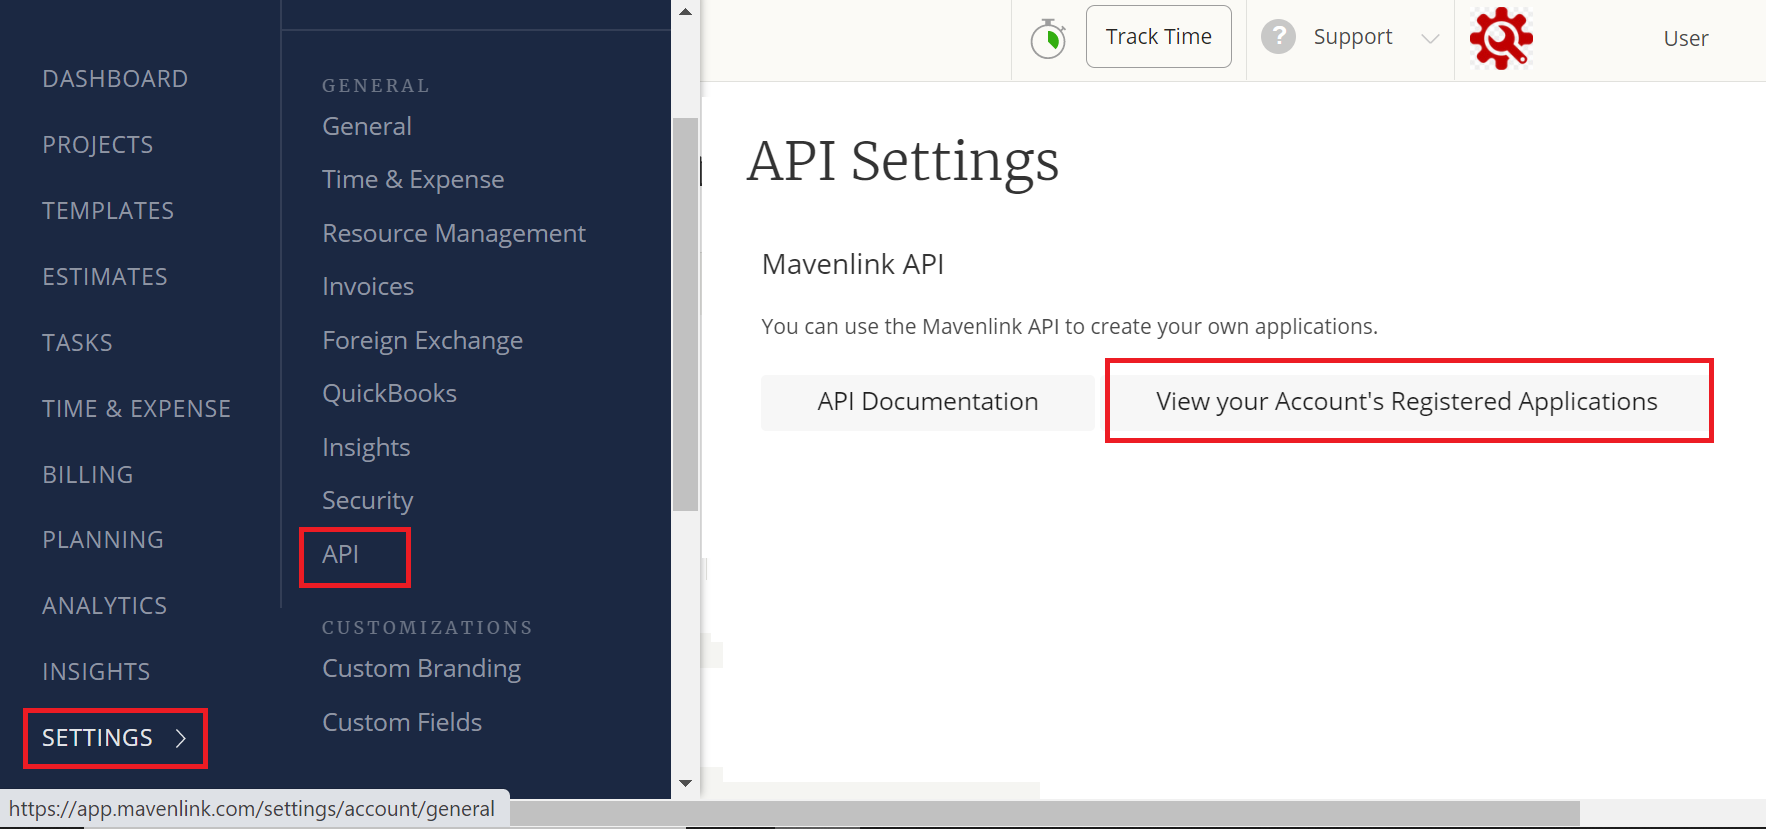
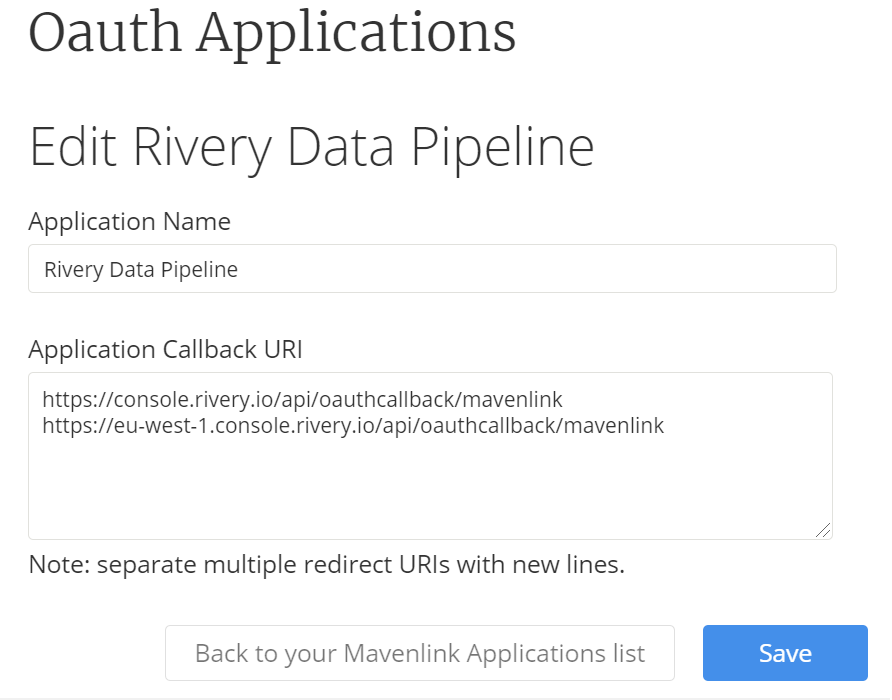
Register a new application or edit an existing one.
Insert the proper callback URI (or both) and click save.
You will then be prompted with providing the following information:
Name: The name of your application.
Redirect URL: Please insert the following URL:
https://console.rivery.io/api/oauthcallback/mavenlink
https://eu-west-1.console.rivery.io/api/oauthcallback/mavenlink
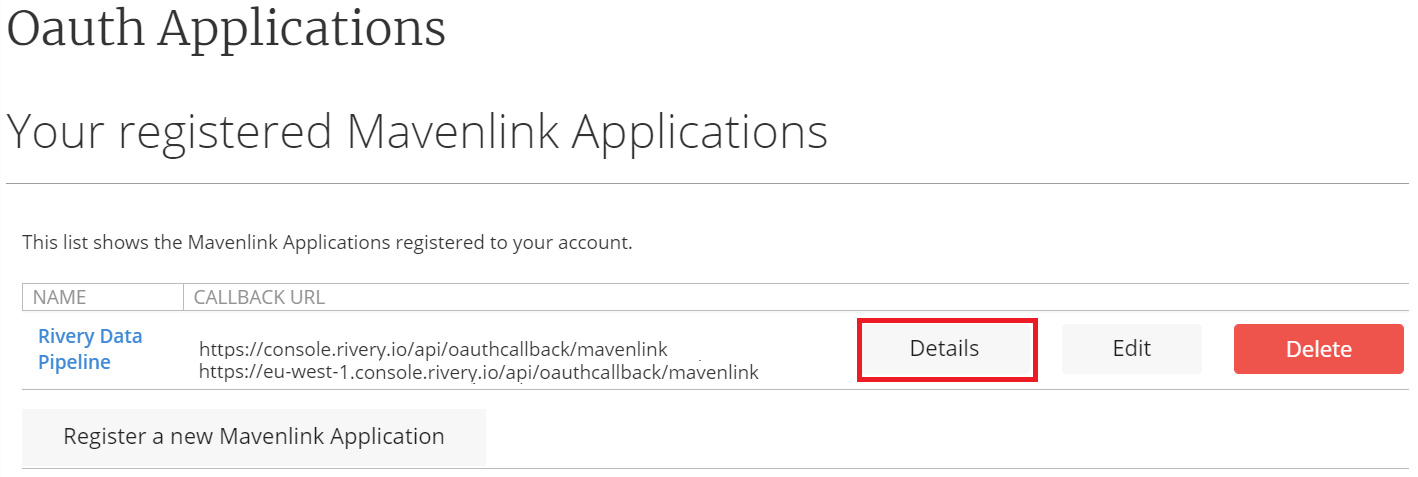
 Then go back to your application and click Details to get APP ID and secret token:
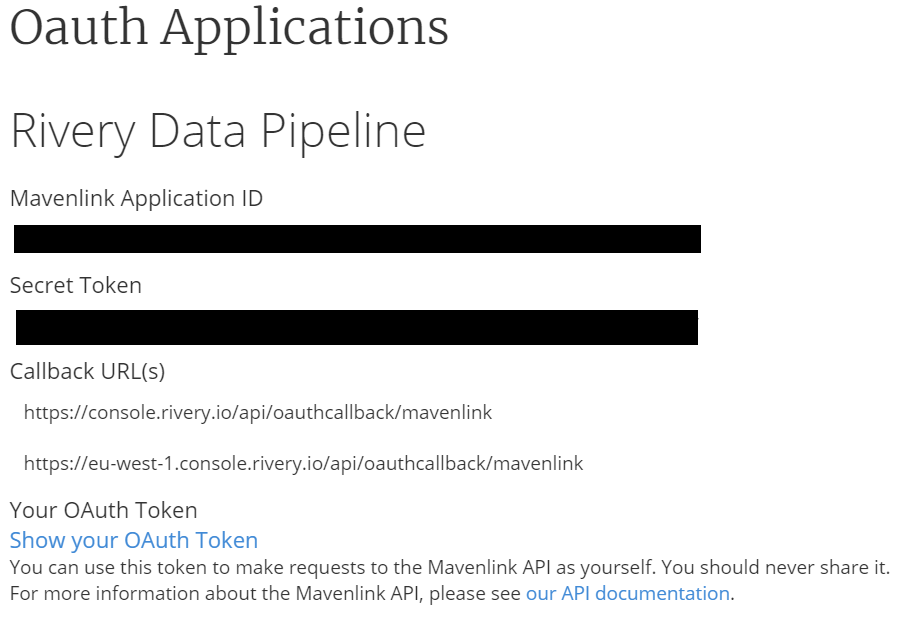
 Scroll down to the Parameters box to find your Client ID & Client Secret.
You will need to copy these to your Rivery connection.
Creating New Mavenlink Connection In Rivery
- Navigate and log into Rivery Console.
- Click on Connections, in the main menu at the left.
- Click on + New Connection .
- Find and click on Mavenlink source, under the CRM section.
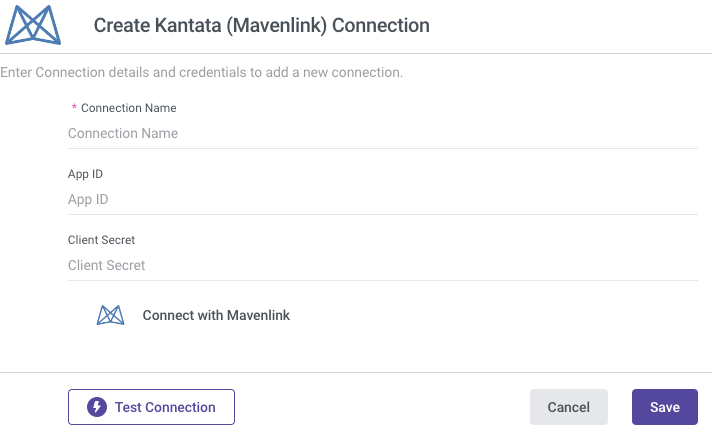
- Name and Describe the connection.
- Insert your Application Name, and either an email address or a link to your application. Mavenlink requires this information and will use it to contact you in certain cases.
- Insert your Client ID and Client Secret .
- Click on "Sign In With Mavenlink" and follow the login instructions in the opened window.
- Test your connection to verify that all is well.
Was this article helpful?