- 2 Minutes to read
- Print
- DarkLight
- PDF
X (Twitter) Connection
- 2 Minutes to read
- Print
- DarkLight
- PDF
Introduction
This guide offers a comprehensive, step-by-step set of instructions for setting up connections to both Standard X Ads and X Custom Application within Rivery.
Prerequisites
There are 2 authentication methods available:
- OAuth.
- Custom Application.
Before you start, ensure that you meet the following prerequisites:
- To use OAuth authentication, you only require a X account.
- To use Custom Application authentication, which involves establishing a connection with a X application, you must first possess a X account to create a Developer Account. Furthermore, your account must have a minimum of Basic level access and be configured for X API v2.
Setting up an X Developer Account
Create an X Developer Account
To create an X Developer Account, follow these steps:
- Navigate to the X Developer Portal, which is located in the upper-right corner.
- Sign in with your X account credentials.
- A window will appear, prompting you to choose a level of access.
An account with at least "Basic" level access is mandatory.
Fill out the required information to complete your developer profile.
Check all the checkboxes in the Developer Agreement & Policy, and then click the "Submit" button.
X Developer App
After acquiring a developer account, you will automatically receive an X Developer App, and the next step is to configure it by performing the following actions:
Log in to your X Developer Dashboard.
Select the "Projects & Apps" tab, and then click on the default project name.
Navigate to the "User authentication settings" and select "Set Up".
In the "App permission" section, kindly select "Read and write and Direct message".
Under "Type of App" opt for "Web App, Automated App or Bot".
In the "App Info" section, you will encounter 2 essential fields labeled "Callback URI / Redirect URL", and "Website URL".
For the "Callback URI / Redirect URL", you will need to insert one of the following URLs based on your region:
- If you are located in the US:
https://console.rivery.io/api/oauthcallback/twitter
- If you are located in the EU:
https://eu-west-1.console.rivery.io/api/oauthcallback/twitter
- If you are located in Frankfurt:
https://eu-central-1.console.rivery.io/api/oauthcallback/twitter
In the "Website URL" field, please provide the following URL:
https://rivery.io/
- Select "Save"' and then click "Yes" to confirm the permission change.
- At this point, a window will appear, displaying the Client ID and Client Secret Keys.
Please ensure to save these locally in a secure location.
Getting Client Keys
As mentioned earlier, the keys are provided during the setup of the X developer app. Should you require access to the Client Keys once more, kindly proceed with the following instructions:
- Go to the "Projects & Apps" tab.
- Access the "Keys and Tokens" section by clicking on it.
- Select the "Regenerate" button.
Establishing a Connection Within Rivery
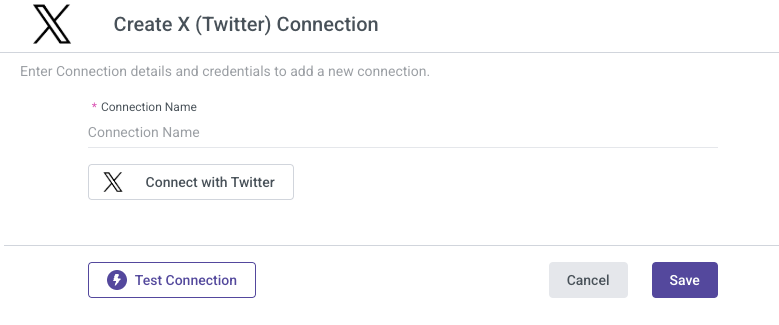
- Fill in the Connection's Name.
- Choose Authentication Type.
- OAuth:
- Click the "Connect with Twitter" button.
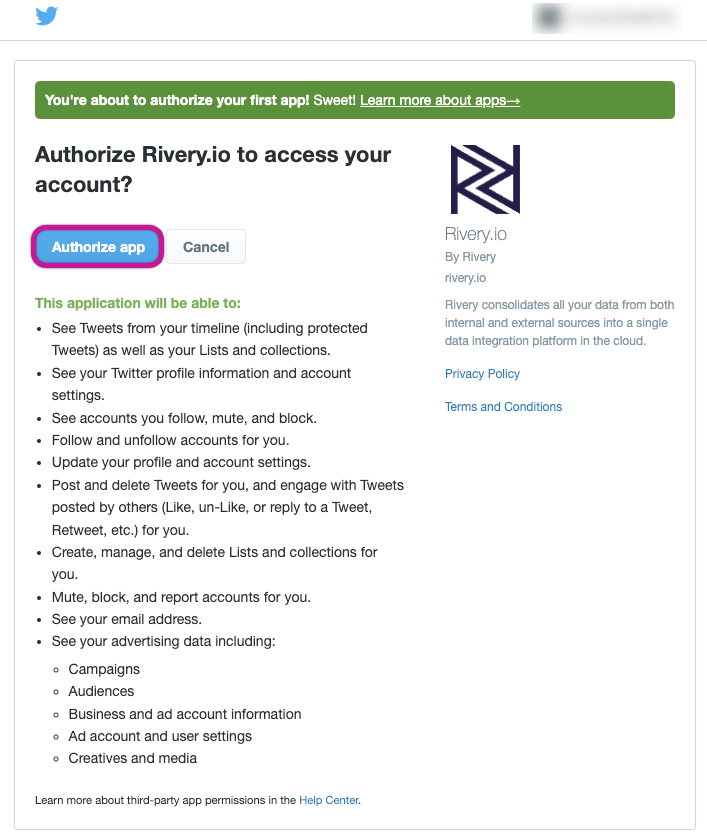
Make sure your browser doesn't block pop-ups. - A window will appear, requesting your authorization for Rivery to access your X account. To proceed, click on "Authorize App".
- Click the "Connect with Twitter" button.
- Custom Application:
- Enter Client ID.
Please be aware that in certain instances, the 'Client ID' might be referred to as 'Consumer ID'/'API Key', but they are essentially identical. - Input Client Secret.
- Click the "Connect with Twitter" button.
Make sure your browser doesn't block pop-ups. - A window will appear, requesting your authorization for Rivery to access your X account. To proceed, click on "Authorize App".
- Enter Client ID.
- OAuth:
- Use the Test Connection function to see if your connection is up to the task. If the connection succeeded, you can now use this connection in Rivery.