Zendesk Chat Connection
- 3 Minutes to read
- Print
- DarkLight
- PDF
Zendesk Chat Connection
- 3 Minutes to read
- Print
- DarkLight
- PDF
Article summary
Did you find this summary helpful?
Thank you for your feedback!
Prerequisites
Please make sure your account has admin privileges before you continue.
There are two ways to connect to Zendesk Chat with rivery.
- Using an app with Client Id and Client Secret - Zendesk App
- Using your Zendesk Chat user name and password - Username & Password
NOTE : You can only use the Username & Password connect method if your Zendesk Chat account was created as a stand alone account in Zendesk Chat and not via the Zendesk Support.
If you use both methods to connect on the same connection Rivery will use the Zendesk App as the default method.
If you wish to use the Username & Password method please remove the credentials for the Zendesk App.
Connect to Zendesk
To use Zendesk Chat connector in Rivery with Zendesk App you must have the following items:
- Zendesk Chat App
- Client Id
- Client Secret
- Subdomain
Creating an app in Zendesk Chat console
Creating the app will allow you to generate the Client Id and Client Secret credentials.
- Log in to your Zendesk Chat console: https://help.{subdomain}.com/chat
Replace the value in {} with the name of your subdomainOr
use the general login:
https://www.zendesk.com/login/
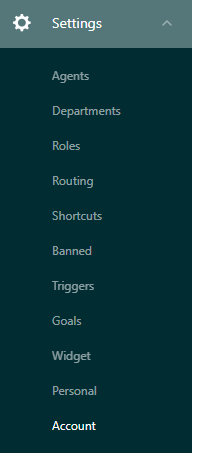
once logged in you can click on the logo that has four squares in the upper right hand corner. In the menu that drops down, click on 'chat'. It will open in a new window. - In the Dashboard, go to Settings & Account , then select the API & SDKs tab.
- Click on Add API Client .
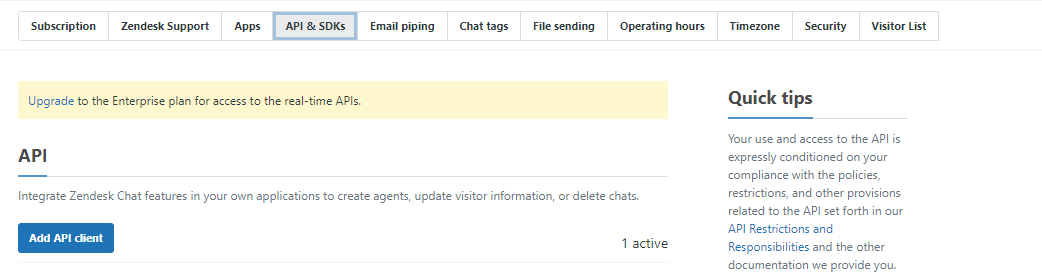
- Complete the following fields:
- Client Name - The name of your client. Please use "Rivery" as client name
- Company- Company name that users will see when asked to grant access to your application. Please use "Rivery " as Company
- Redirect URLs - Please ensure you use the correct callback URL for your specific console region:
- For the EU console, use:
https://eu-west-1.console.rivery.io/api/oauthcallback/zendesk_chat- For the US console, use:
https://console.rivery.io/api/oauthcallback/zendesk_chat- For the Frankfurt console, use:
https://eu-central-1.console.rivery.io/api/oauthcallback/zendesk_chat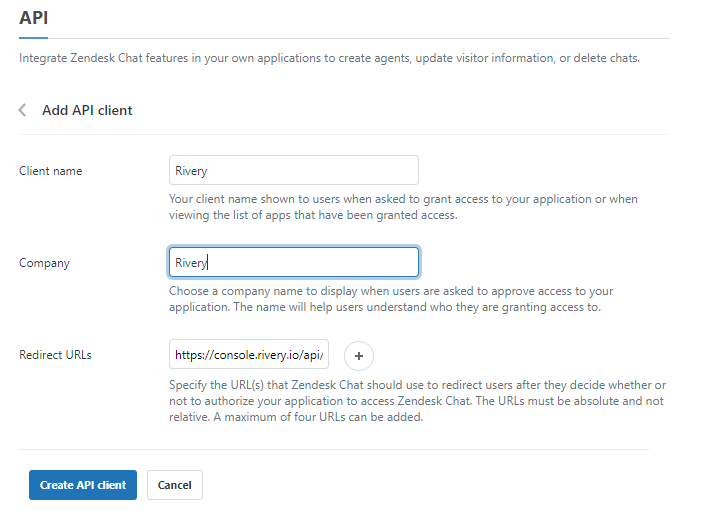
- Click Create API Client
Save the client ID and Client Secret generated.
The client secret will only appear once so it's important to save it now.
Create a Zendesk Chat connection in Rivery - Zendesk App
If you've created an app and generated client_id and client_secret follow these instructions to create a new Zendesk Chat connection for your rivers.
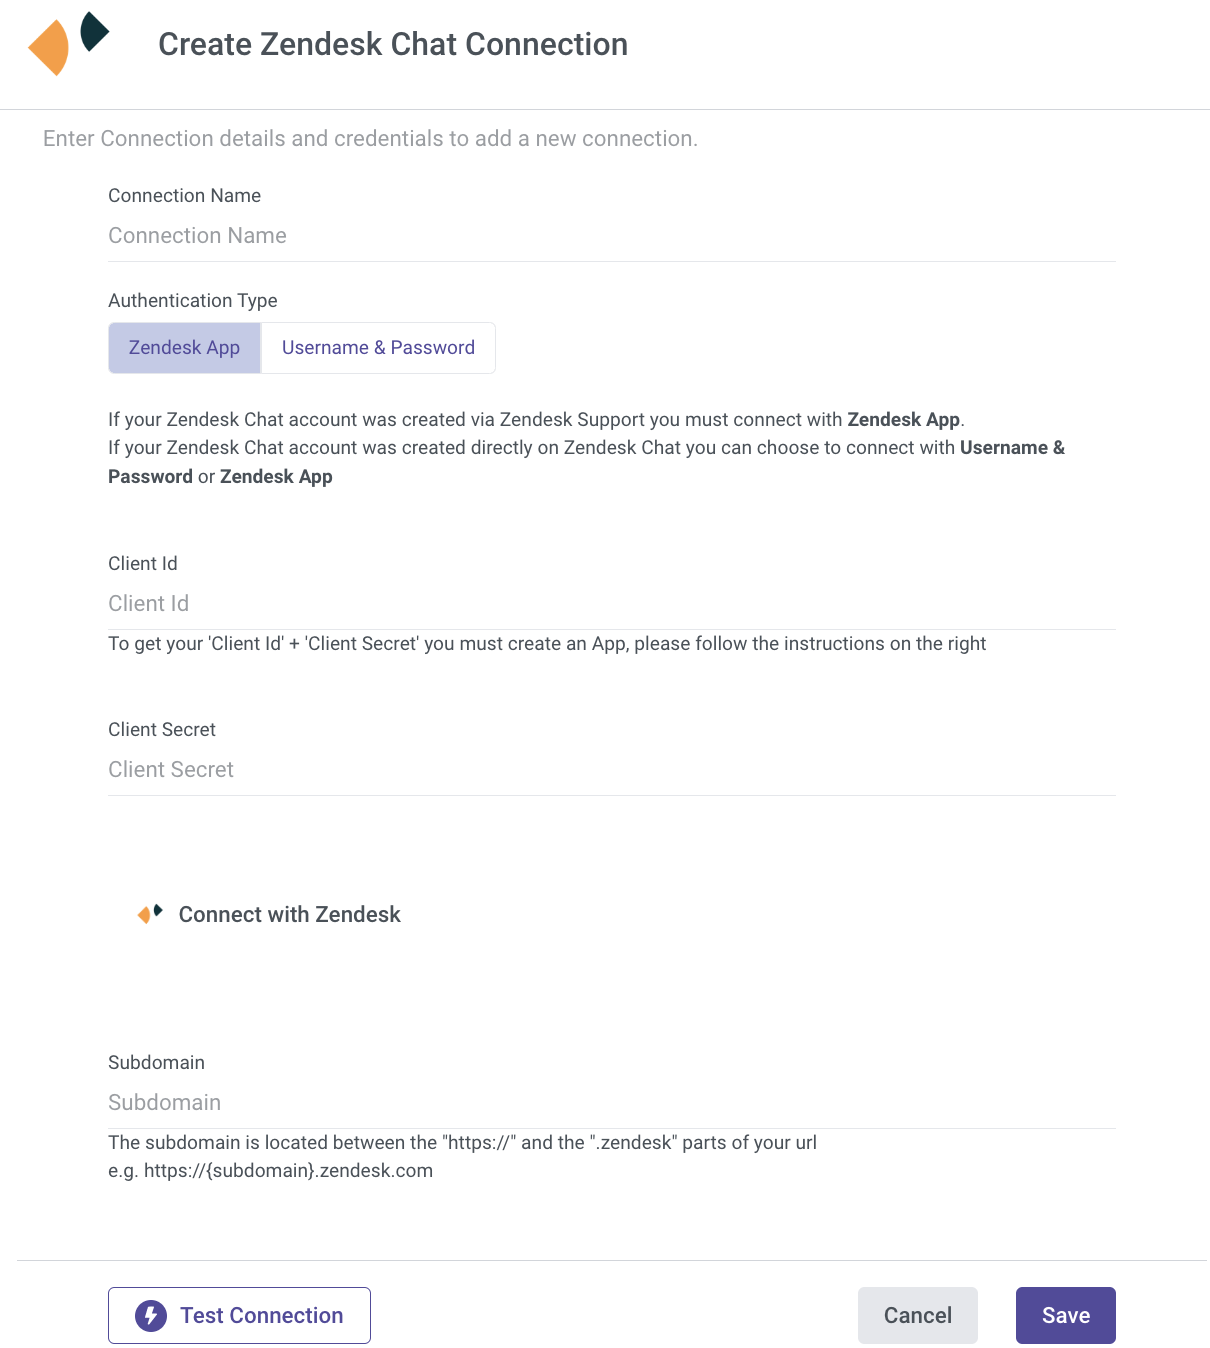
- Choose the Zendesk App tab.
- Enter the client_id and client_secret generated in the previous section.
- Enter your account subdomain. The subdoamin is located between the "https" and "zendesk" parts of the your url.
- Click on the " Connect with Zendesk Chat " button.
- A pop up of Zendesk Chat connection will appear.
- If nothing happens after you've clicked the "Connect with Zendesk Chat" button it might be because your browser blocked the pop up:
- On the right side of the URL in your browser, you will find a "popup blocked" button:
- Click on it and select "always allow popups from rivery".
- Click again and sign in again and a pop up to connect to Zendesk will show up on your screen.
- Use email and password to connect to the relevant snapchat account.
- Click "Allow" to grant access to Rivery .
- Add a connection name
- Add description if needed.
- Click on "Save" in order to save the connection in your Rivery account.
- Click on "Test connection" . If the test passed, you’re ready to work with Zendesk Chat.
Connect to Zendesk Using your username and password
Create a Zendesk Chat connection in Rivery - Username & Password
Follow these instructions to create a new Zendesk Chat connection for your rivers using your username and password
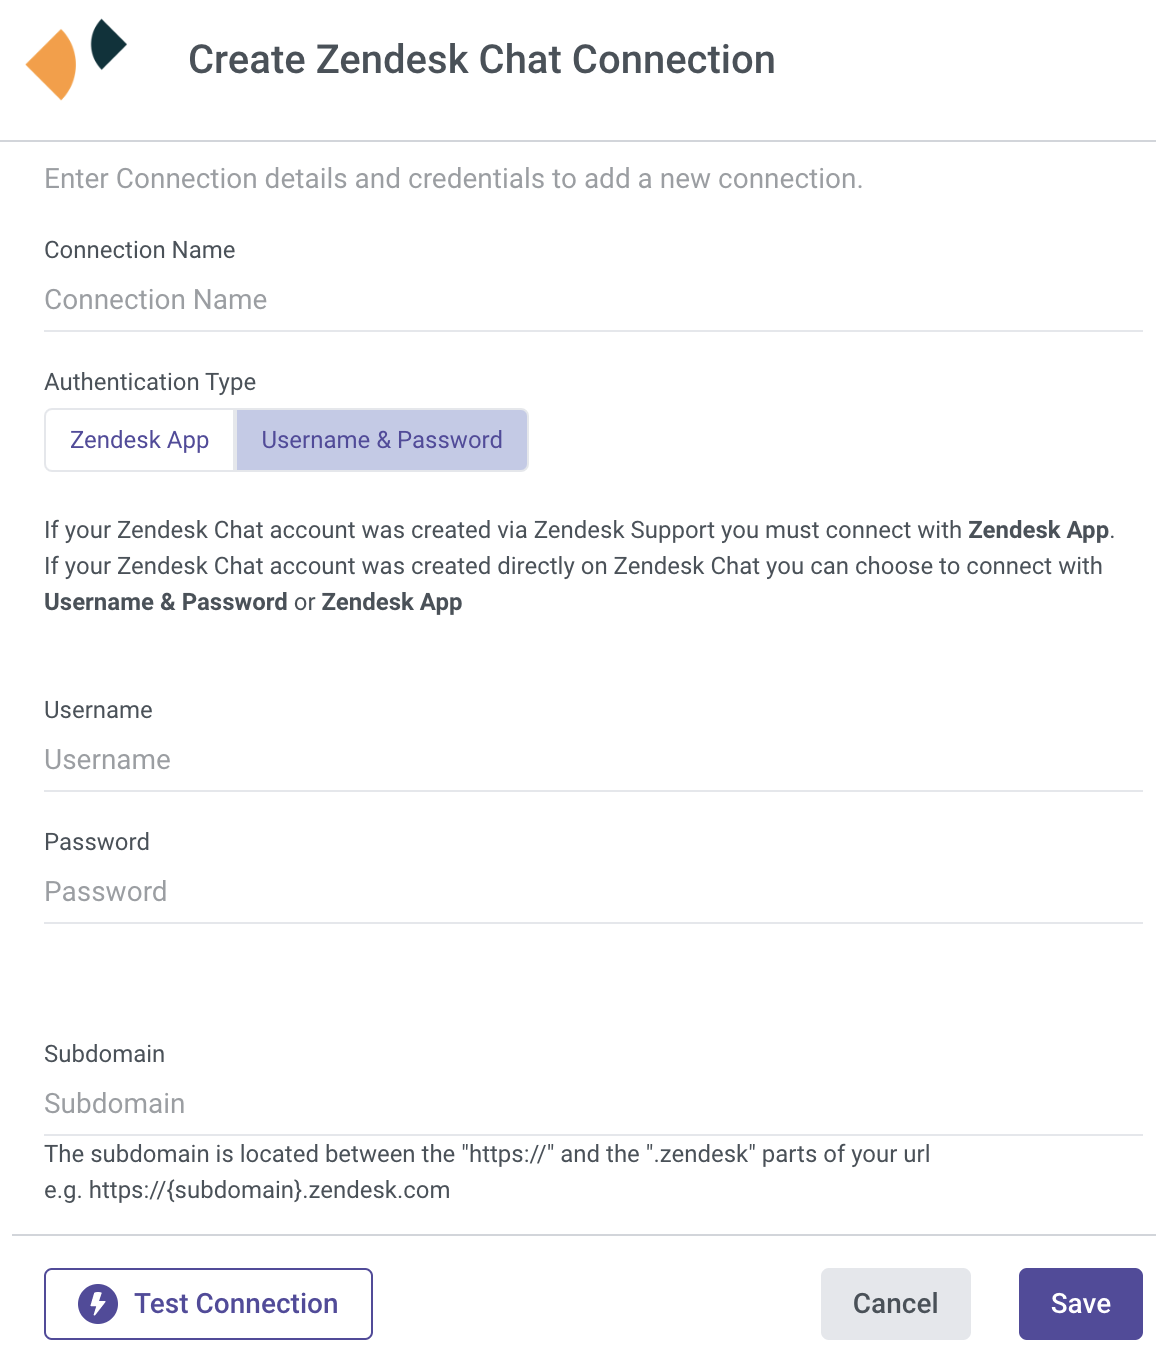
- Enter the username and password you use to connect to Zendesk Chat.
- Enter your account subdomain. The subdoamin is located between the "https" and "zendesk" parts of the your url.
- Add a connection name
- Add description if needed
- Click on "Save" in order to save the connection in your Rivery account.
- Click on "Test connection" . If the test passed, you’re ready to work with Zendesk Chat.
Was this article helpful?