Databricks as a Target
- 6 Minutes to read
- Print
- DarkLight
- PDF
Databricks as a Target
- 6 Minutes to read
- Print
- DarkLight
- PDF
Article summary
Did you find this summary helpful?
Thank you for your feedback!
Introduction
Databricks is a cloud-native SQL analytics engine that provides high-performance, scalable analytics for data lakes, data warehouses, and other big data use cases.
In this document, we will discuss how to use Databricks SQL as a target in Rivery.
Prerequisites
Unity Catalog
Databricks Unity Catalog is a feature of the Databricks Unified Data Analytics Platform that allows organizations to easily manage, discover, and collaborate on their data assets. By offering consolidated access control, tracking, lineage, and data exploration functions throughout Databricks workspaces, Unity Catalog simplifies the management of data assets.
In this section, we will cover how to work with DataBricks Unity Catalog.
Catalog Prerequisite
- A Premium plan or a higher tier for your Databricks account.
- You must be able to set up IAM roles, IAM policies, and S3 buckets in AWS.
- Create your first metastore and attach a Workspace.
- Enable the Unity Catalog toggle in your SQL Warehouse.
Create Your First Metastore and Attach a Workspace
In order to use the Unity Catalog, it is necessary to first create a metastore. A metastore is a centralized repository where metadata is stored and managed. This metadata includes information such as data types, file formats, and other characteristics that help users locate and use the data they need.
After creating the metastore, the next step is to link it to a workspace. Connecting the metastore to a workspace enables you to conveniently manage and access your data using the Unity catalog.
To create a Metastore and link it to a Workspace, follow the instructions below:
Access the Databricks account console and log in.
Navigate to the Catalog icon and click on it.
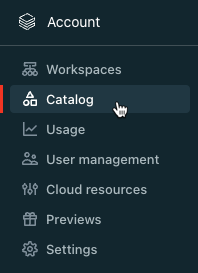
Select the option Create metastore.

Provide a name for the Metastore and specify the Region where it will be deployed. It is recommended to place the workspaces, metastore, and cloud storage location in the same cloud region for optimal performance.
Enter the S3 bucket path for the storage bucket and IAM role name.
Note that you can exclude "s3://" when entering the path.Click the Create button to complete the process.

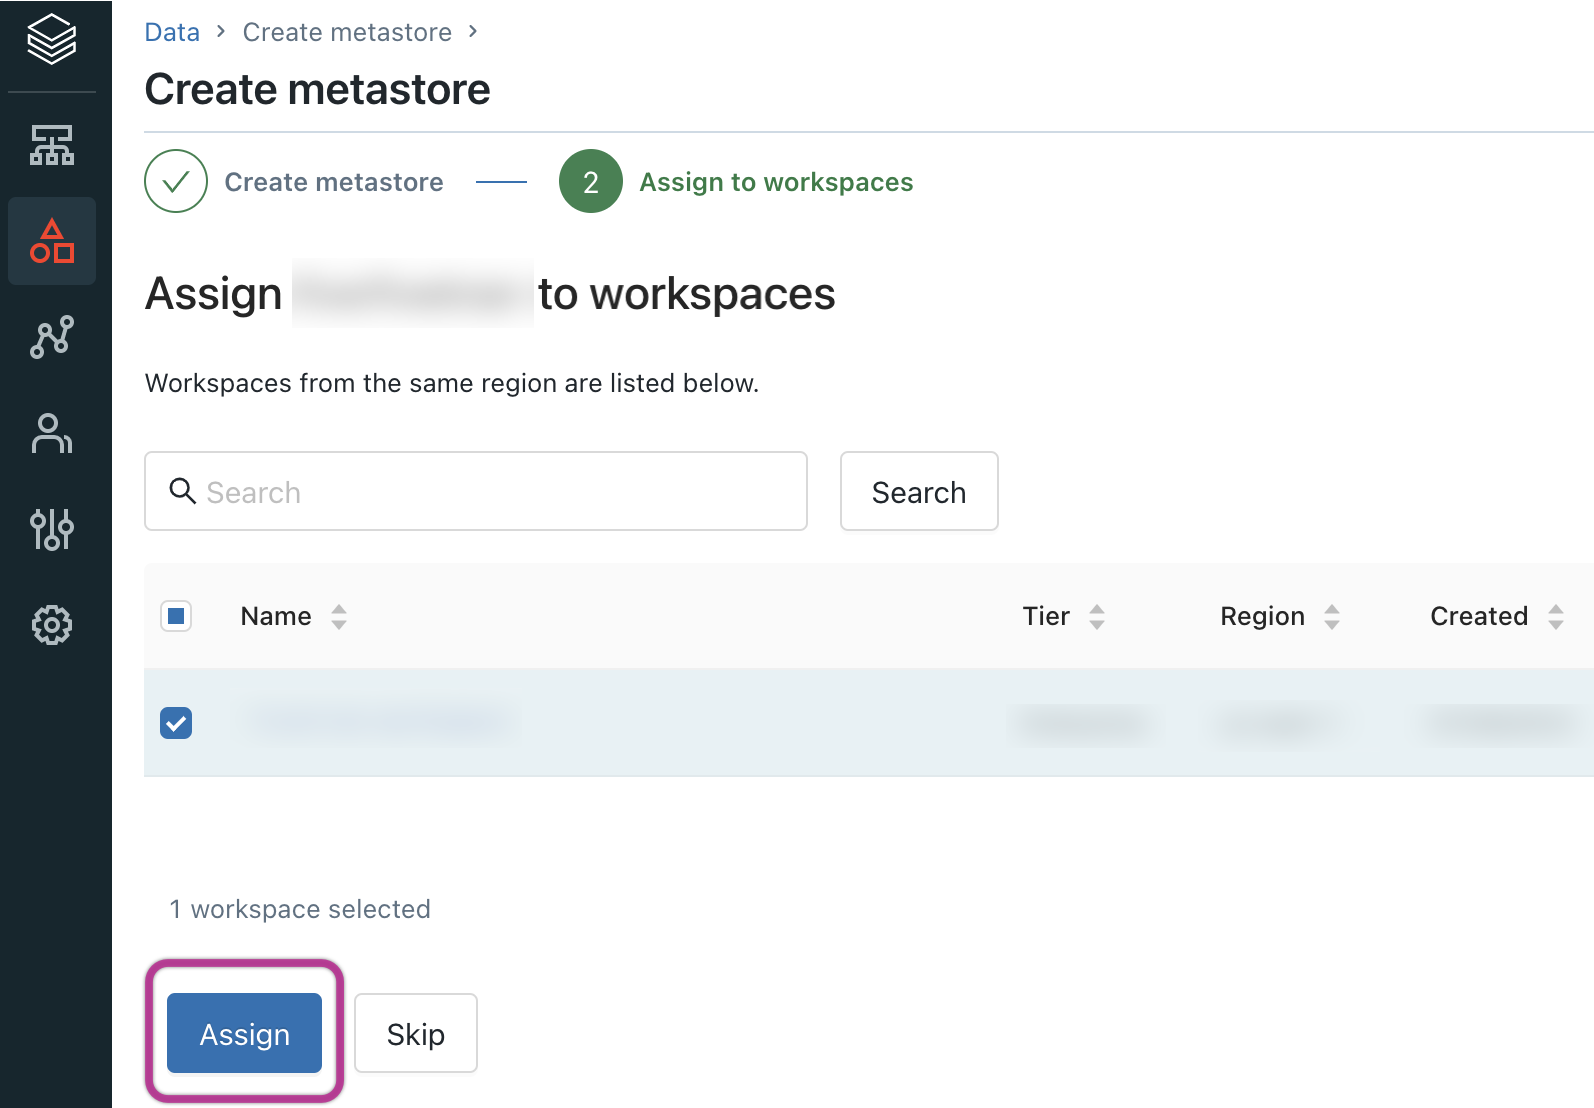
Once prompted, select the workspaces you want to associate with the metastore and click Assign.
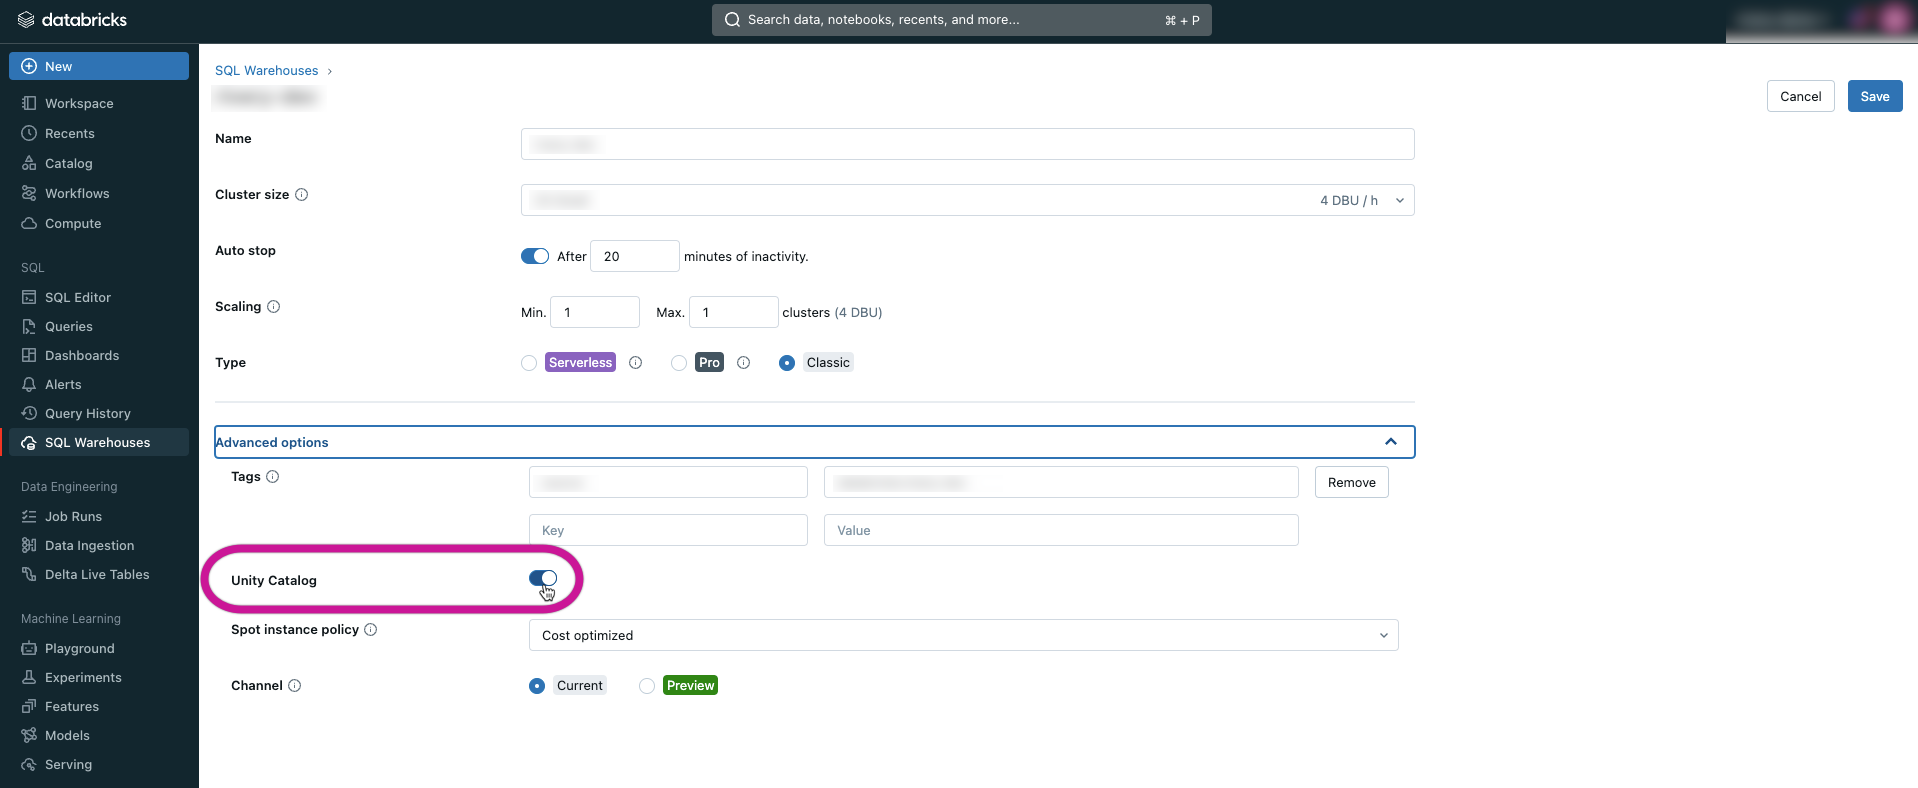
Enable the Unity Catalog Toggle in Your SQL Warehouse
- Log in to your Databricks workspace.
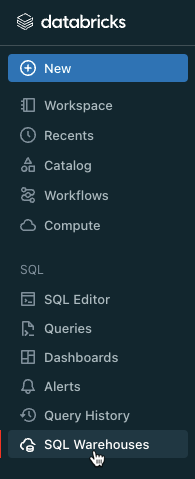
- Locate the button labeled SQL Warehouse and click it.
- Identify the exact warehouse you are working with and proceed to click on the 3 dots icon, followed by selecting the Edit option.
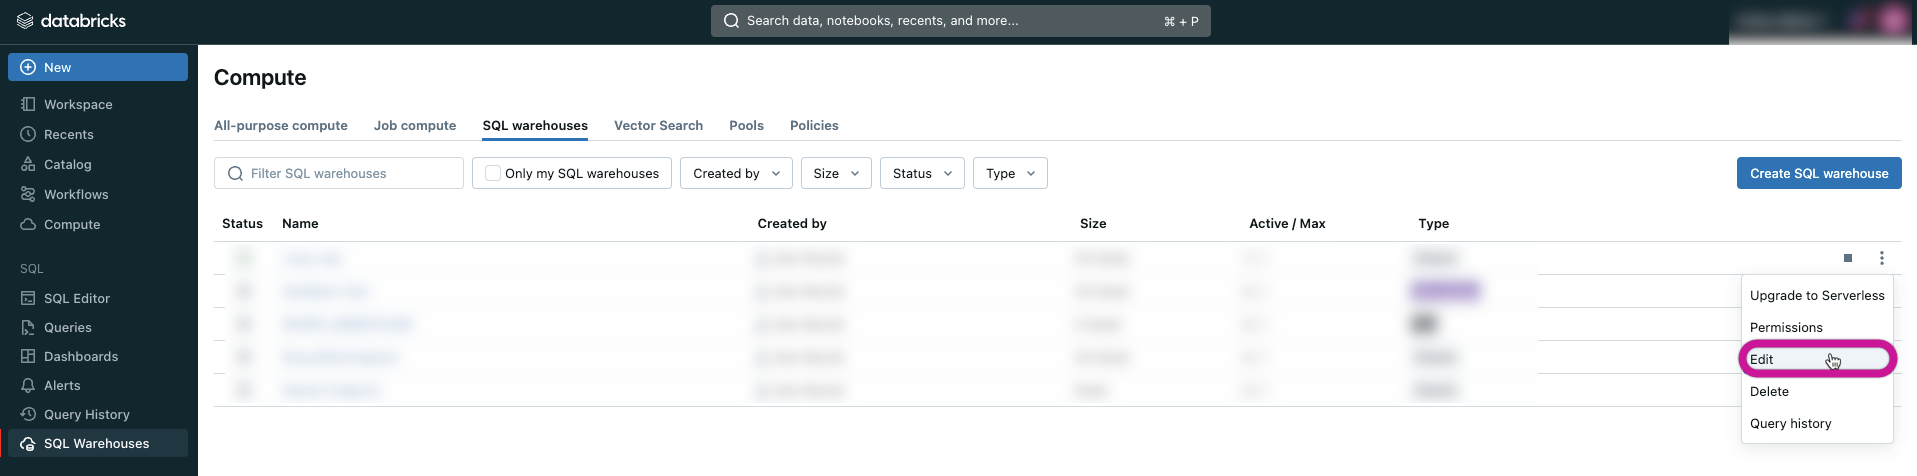
- In the Advanced options section, enable the Unity Catalog toggle.
How to Work With Unity Catalog
Please Note:
- Your access to catalogs within the current Metastore is limited to either all catalogs if you are a Metastore admin, or only the catalogs where you have ownership or USAGE privilege.
- In case the Catalog name is not specified, Rivery will automatically load into the default catalog of the Hive_Metastore.
- Ensure that all prerequisites have been met.
- Make sure you have a valid Databricks connection in Rivery.
- Input the name of the Catalog.

Schemas and Tables
Databricks is a data warehousing platform that relies on a hierarchy of schemas and tables. The conventional approach to working with Databricks involves creating tables beforehand and then populating them with data. This process can be time-consuming and may require advanced technical skills.
However, Rivery eliminates the need for this upfront table creation process. Rivery will automatically create the necessary tables if they don't already exist and populate them with the extracted data. Additionally, Rivery handles all the required changes and updates to your tables automatically.
This simplifies your data integration process and help you to focus on extracting insights from your data.
Create a New Schema
It is advisable to set up a dedicated Schema for Rivery on Databricks.
In order to do so, proceed with the following steps:
Go to the Databricks workspace console, click on Queries, and then select Create Query.
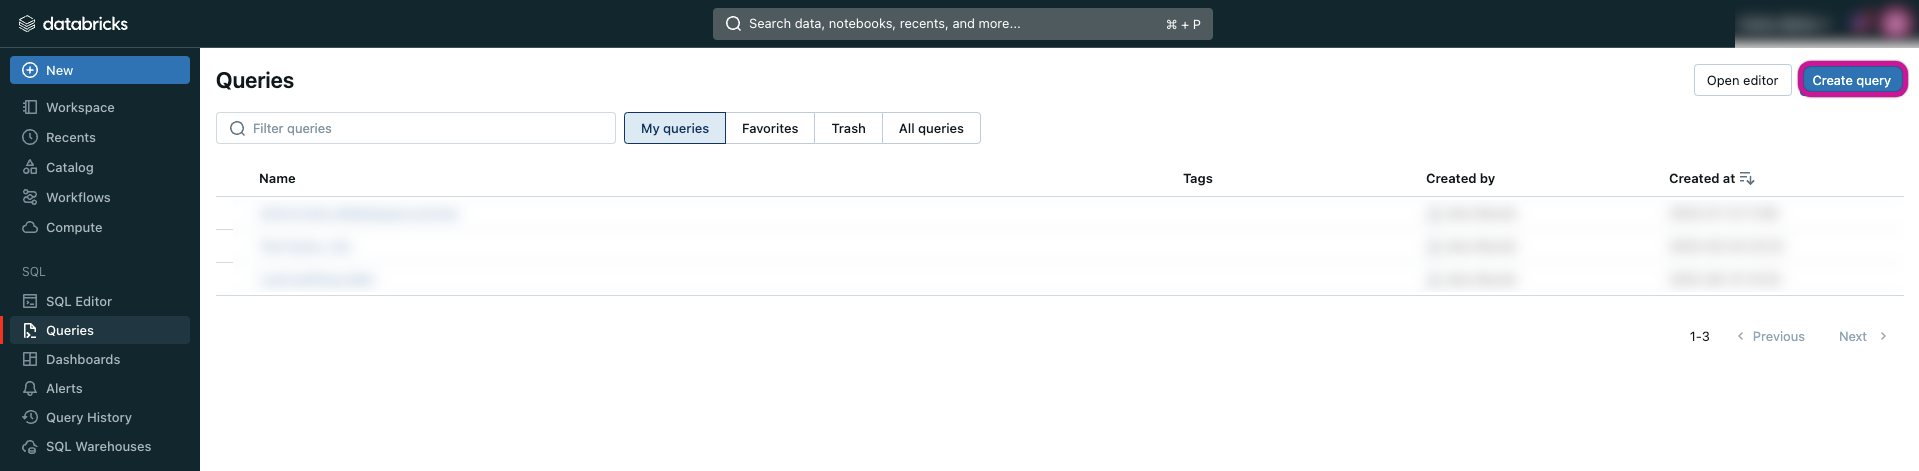
In the screen designated for query, execute the following SQL command by pasting and running it.
CREATE SCHEMA IF NOT EXISTS `rivery`
COMMENT 'Rivery Tables Schema';
Loading Modes
Rivery provides 3 types of loading modes in Databricks as a Target.
1. Overwrite
2. Append-Only
3. Upsert-Merge
Store in a Custom Location
Rivery provides an option for storing external tables in DBFS (Databricks File System) or external location.
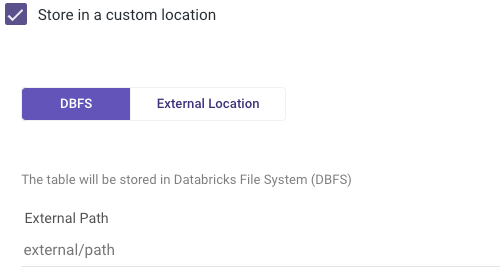
DBFS
DBFS (Databricks File System) is a distributed file system that is optimized for working with workloads, and provides a scalable and reliable way to store and manage data. With DBFS, users can store data in a variety of file formats, including Parquet, CSV, JSON, and more, and access it directly using SparkSQL commands.
External tables are a powerful feature in Databricks that enable users to work with data stored in a variety of locations and file formats. By providing support for DBFS, it makes it easy to manage and manipulate large datasets, while providing the flexibility and scalability that data workloads require.
To specify a DBFS prefix, users can check the "Store in a Custom Location" box and define the DBFS parameter.
The location will be set automatically under the abfss://<some_path>/<some_sub_path> path.
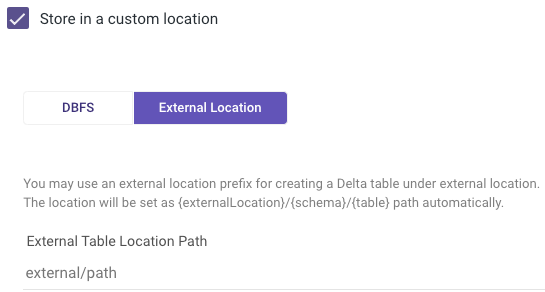
External Location
In addition to DBFS, Rivery also provides an option for storing in external tables. External tables are a useful feature in Databricks that allow users to create and manage tables. The external tables are stored in external locations, outside of Databricks' file system, and can be accessed and manipulated directly. This provides greater flexibility and scalability, as it allows users to work with data stored in a variety of file formats and external sources.
Creating an external table is straightforward. Users can specify an external location prefix when creating a Delta table, by checking the "Store in a Custom Location" box and setting the External Location parameter.
The location will be set automatically under the <storage>://<bucket_name>/<some_path> path.
This makes it easy to work with data stored in external locations, such as Amazon S3 or Azure Blob Storage, without having to move it into Databricks' file system.
How Rivery Manages Data Loads and Table Metadata?
The first step in the loading process is creating the target Schema if it doesn't already exist. Rivery checks and ensures that the Schema is present in the Databricks workspace. If the Schema is not found, Rivery creates the Schema for the user.
Please Note:
The personal access token provided to the user should have sufficient permissions to create new Schemas in the system; otherwise, the source to target process may fail.
The user should contact their Databricks account manager or admin to provide them with a token that has CREATE SCHEMA permissions in Databricks.
If no Schema is provided in the process, the default Schema name is "default".
The next step is staging table loading, which involves creating a table with the "tmp_" prefix and the correct metadata. Rivery loads the data to the "tmp_" table using the COPY command. If the source data format is CSV, the "tmp_" table is created using the fields in the mapping, which are typed-converted. If the source data format is JSON, a one-columned table with string data type is created.
Rivery then flattens the data using JSON Extract Functions (if the source data format is JSON) and casts it with cast([column] as [dataType]) as [alias] syntax.
Rivery also auto-scales integer columns to the right integer data type based on their data length (SMALLINT->INTEGER->BIGINT->NUMERIC). After that, Rivery drops the old "tmp_" table with the json_data field (if it exists).
In the last stage, Rivery loads data from the staging table to the target table. All the following steps are performed in one transaction based on Postgres' ability to run DDL and DML inside one transaction:
Rivery defines and updates any metadata changes on the target table, excluding dropping columns.
If the target table does not exist, Rivery creates it using the "CREATE AS SELECT" clause.
If the append loading mode is selected, Rivery clones the target table and adds/drops/alters columns in the clone table. Rivery then loads the data to the target table using the loading mode.
Finally, Rivery uses DEEP CLONE to clone the "tmp_" table into the target table and drops the "tmp_" tables in the process.
Was this article helpful?