Custom File Zone for Azure Synapse Analytics
- 1 Minute to read
- Print
- DarkLight
- PDF
Custom File Zone for Azure Synapse Analytics
- 1 Minute to read
- Print
- DarkLight
- PDF
Article summary
Did you find this summary helpful?
Thank you for your feedback
This is a step-by-step tutorial to setting up a custom Landing Zone for Azure Synapse Analytics.
Overview
Setting up a Custom File Zone in Rivery is an optional feature, with the default option relying on the Managed File Zone provided by the platform, which requires no setup.
The main advantage of setting up a Custom File Zone is the ability for organizations to ensure that data is stored within their own file zones, as opposed to being stored in Rivery's Managed File Zone. This also enables organizations to use the Custom File Zone as a data lake, where raw data can be stored before it is loaded into a Target cloud data warehouse. Furthermore, organizations have the ability to define their own retention policies for data stored in the Custom File Zone. Rivery's Managed File Zone (default) retains data for a period of 48 hours.
You can manage your data in your own Azure blob storage by creating a custom File Zone, which we call Landing Zone. Your data will be stored in your container that holds objects. An object is a file and any metadata that describes that file.
Prerequisites
If you're new to Azure Blob Storage, start with the Microsoft documentation and create a new Azure Account with compatible permissions for updating and creating resources.
Create an Azure Blob Storage Account and Container
Follow the Microsoft documentation to create a Standard Azure Account.
Please Note: Only Standard Azure accounts can use Azure Blob Storage Containers (Custom File zones) with Rivery, Make sure to choose Standard in the Performance section.
Make sure all of the settings are correct before clicking Create. The creation of a Blob account may take a few minutes.

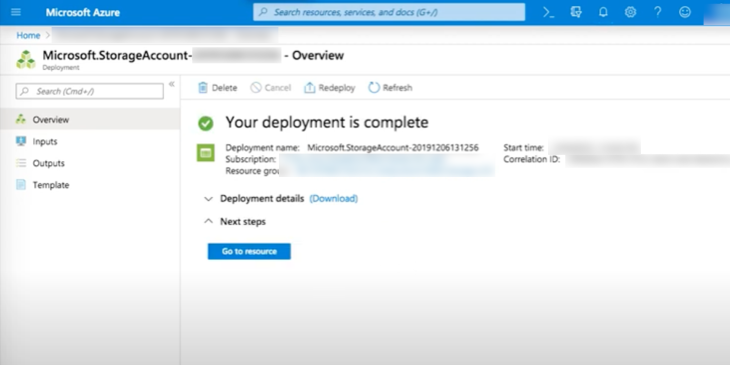
- Click on Go to resource.
- Choose Containers (Alternatively, scroll down the main menu to Blob Service and select Containers).
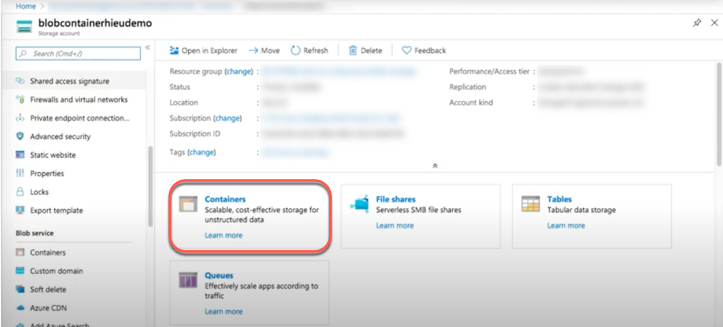
- In the upper left corner, click on +Containers.
- Give the container a Name.
- From the Public access level drop-down menu, select Container.

Click Ok.
Go to Access Keys in the storage account menu.
Copy and save your keys.
When connecting to Azure Blob Storage in Rivery, this will be used.Create a connection with azure blob storage using our documentation.
after establishing a connection youll be able to find the Connection name in the Custom File Zone Connection
Was this article helpful?