- 2 Minutes to read
- Print
- DarkLight
- PDF
Harvest Walkthrough
- 2 Minutes to read
- Print
- DarkLight
- PDF
A Guide for getting data from Harvest to Rivery .
Prerequisites
- A Harvest connection.
- Admin/Project Manager permissions. If you do not hold these permissions, you would only be able to pull very limited data.
How to pull data from Harvest using Rivery
First, select 'Create New River ' from the top right of the Rivery screen.

Choose 'Data Source to Target' as your river type.
In the 'General Info' tab, name your river, describe it, and choose a group.
Next, navigate to the 'Source' tab.
Find Harvest in the list of data sources and select it. (under Analytics )
Under Source Connection, select the connection you created, or create a new one.
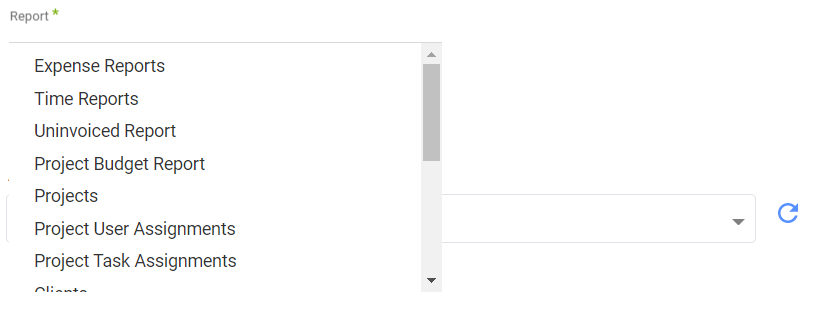
Next, select a report from the list. Entities on the list that do not have "Report" in their name simply pull raw data about the chosen entity.
Choose the Account to pull data on. You can only choose one account.
Choose the parameters for the report. Each report has it's own options. If a parameter isn't a required parameter, you may leave it empty to pull all the data without applying that parameter filter.
Please note that the parameter boxes displaying your internal Clients/Projects/Users/Etc. may not display all options. But, if you start typing a certain ID/Name of that entity, it will appear in the list.
Next, choose which extract method to use. You may choose between "All", which simply pulls all data regardless of dates,
or "Incremental" which lets you pull data between a date range that you define.
*Note that the "Incremental" option will update the "Start Date" of the report after each time you run the river.
The "Start Date" will change into the previous run "End Date".
In addition, you would need to choose which field to use when pulling data by "Incremental" - usually either by "creation" date or "update" date.
Reports' Time Period
Select the time period of the report:

The reports support two kinds of time period:
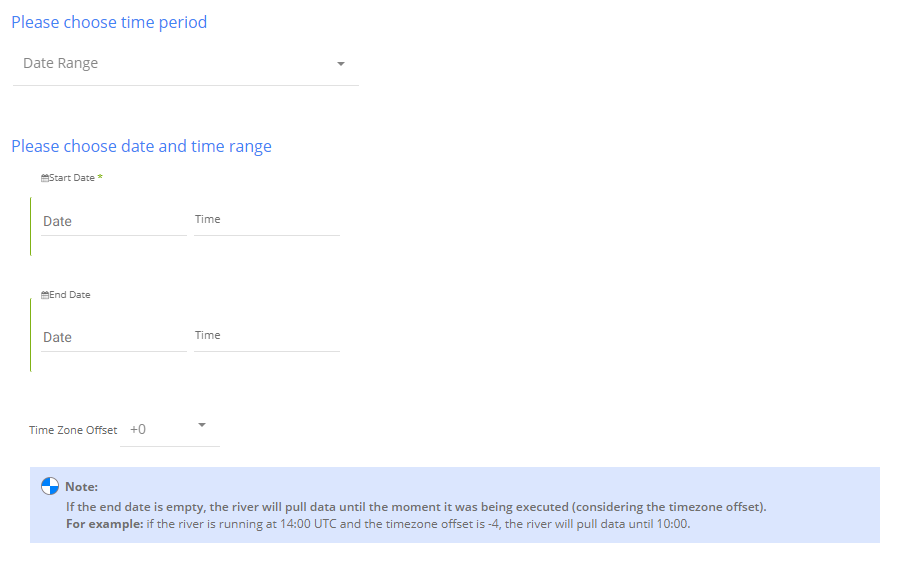
Date Range -
- Pulls data in the date range between the start and end date provided, including the end date.
- You must select a start date.
- Leaving the end date empty will pull data according to the current time of the river's run.
- Select a timezone offset to send dates considering the offset.
- Use the "Last Days Back For Each Run" to expend the start date and pull data a given number of days back before the chosen start date.
Predefined date - A date range defined by Rivery:
- Day - Yesterday.
- Week (From Monday to Sunday) - Week to date, Previous week, Previous week to date.
- Month - Month to date, Previous month, Previous month to date.
- Year - Year to date.


.PNG)
