Rivery Webhooks Integration Guide
- 1 Minute to read
- Print
- DarkLight
- PDF
Rivery Webhooks Integration Guide
- 1 Minute to read
- Print
- DarkLight
- PDF
Article summary
Did you find this summary helpful?
Thank you for your feedback!
Overview
Rivery Webhooks provide a seamless way to connect HTTP endpoints on the web to your cloud data warehouse. With Webhooks, you can stream real-time events or notifications and record them in a cloud-based Relational Database Management System (RDBMS) or Storage type. This guide outlines the steps to enable and configure Webhooks to work with your chosen HTTP endpoint.
Webhook Data - Source to Target
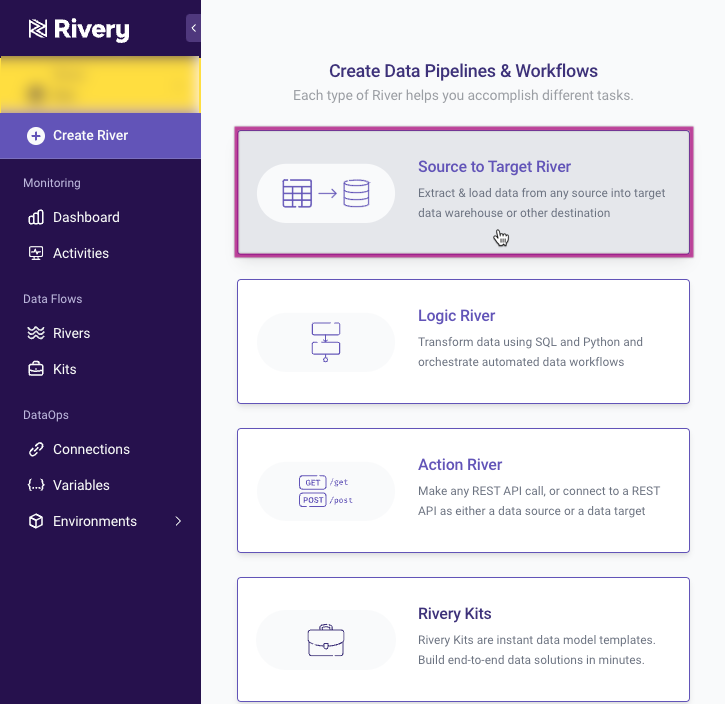
Step 1: Select "Create River"
Select "Create River" from the menu and then click "Source to Target River".
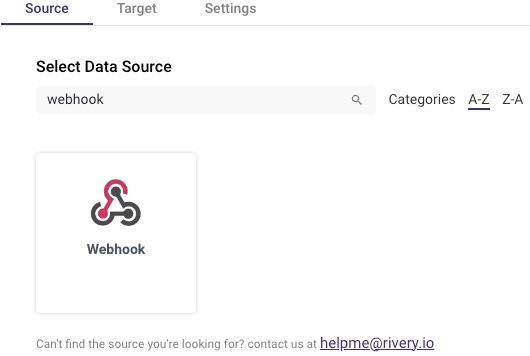
Step 2: Configure River Settings
Provide a name and description, then go to the "Source" tab and look up "Webhook" to click on it.
Step 3: Enable Webhook
Toggle the Webhook switch to true. Confirm by clicking the "Got it" button and proceed to the "Target" tab.

Step 4: Select Target Data Warehouse
Choose your desired data warehouse destination.
Configure the settings for your destination, including connection, database, schema, and table name.
Please Note:
Rivery will create the table if it does not exist.
Step 5: Define JSON Example
Return to the "Source" tab.
In the "JSON example" field, paste a sample JSON response representing the data structure sent to the webhook endpoint.
If unavailable, obtain a sample using a dummy webhook endpoint or manually map columns in the next step.
Step 6: Column Mapping
Go to the "Columns Mapping" tab.
If a JSON example was provided in Step 5, click the button to generate destination column mapping automatically. If not, manually create destination columns.
Please Note:
Nested JSON columns require manual mapping, even with an example JSON provided. Nested column auto-mapping is planned for a future release.
Step 7: Toggle Columns Confirmation
Once columns are mapped, toggle to true. If configured correctly, you will be provided with your unique Webhook Rivery endpoint. Copy the endpoint and confirm with "Got it."
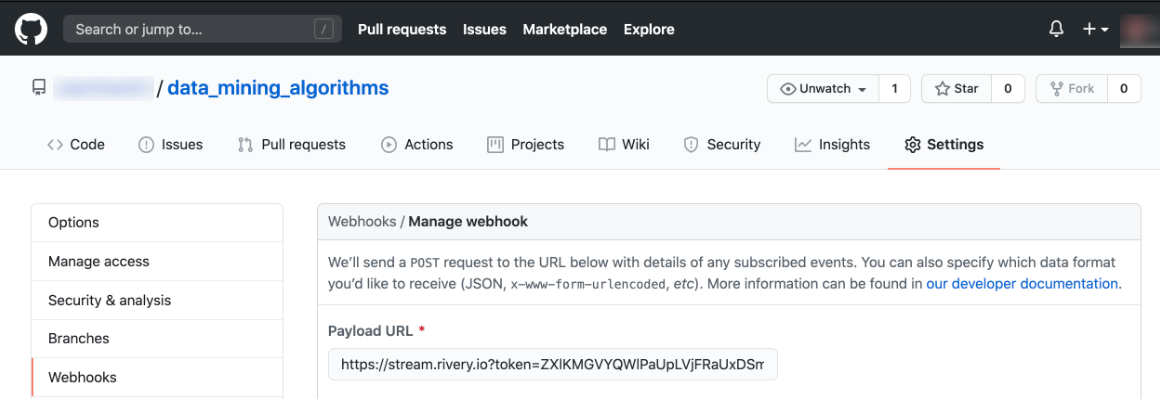
Step 8: Integrate with Web Service
Navigate to your web service and paste the Rivery endpoint into the "Payload URL" or the related option, establishing the link between your web service and the Rivery console.
Limitation
The capability to receive and handle events through a Webhook is constrained to 10,000 events within a 5-minute duration per IP address.
Was this article helpful?