- 3 Minutes to read
- Print
- DarkLight
- PDF
Amazon RDS PostgreSQL Connection
- 3 Minutes to read
- Print
- DarkLight
- PDF
Overview
This guide will show you how to set up AWS RDS/Aurora Postgres as a target in Rivery.
Along the way, the guide will show you how to create the proper requirements for loading, in addition to proper configuration
Prerequisites
- Before you use this guide, please make sure you’ve signed up for AWS and that you have a console admin user.
If you don’t have one of these prerequisites, you can start here.
Postgres in AWS RDS and/or Aurora must be in a version greater than 10.7 in order to use the AWS table import function.
Setting Up Your RDS instance or Aurora cluster to Rivery
Open Rivery IPs in Security Groups
1. Go to the RDS Console in AWS.
2. Under the Databases in the main menu, click on the Postgres instance/Aurora cluster you want to use:
3. Go to Connectivity and Security, in the Security section, find the VPC security group that defined to the instance/cluster and Click on its name.
4. In the Security group screen, go to Inbound Rules -> Edit Inbound Rules.
5. Add Rivery IP addresses and comment them as "Rivery". Click on Save Rule.
.png)
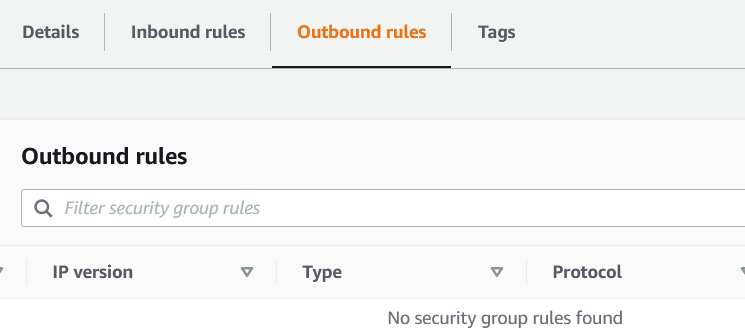
6. In the Security group screen, navigate to Outbound Rules -> Edit Outbound Rules.

7. Set the Outbound Rule to only allow the IP address of:
0.0.0.0/0 Where to find my RDS/Aurora Postgresql Host (Endpoint)?
- Open the RDS console and then choose Databases to display a list of your DB instances.
- Choose the PostgreSQL DB instance name to display its details.
- On the Connectivity & security tab, copy the endpoint. Also, note the port number. You need both the endpoint and the port number to connect to the DB instance.
.png)
Create AWS Extensions
To load data from the FileZone to the RDS/Aurora cluster, it's essential to confirm that AWS extensions are installed in the Postgres database.
To install the extensions:
1. Access the database using a superuser role username.
2. Run the following commands:
CREATE EXTENSION IF NOT EXISTS aws_commons CASCADE;
CREATE EXTENSION IF NOT EXISTS aws_s3 CASCADE;
Create a user for Rivery in your Database
Now, Connect to your PostgreSQL database, and create a user for Rivery.
1. Connect your database with the endpoint with your master user and database, using PGAdmin or DBeaver clients.
2. In the Client, send next SQL statement (change the <MyPassword> to the wanted password ):
CREATE USER rivery WITH PASSWORD '<MyPassword>';3. Grant Create on Database for Rivery:
GRANT CREATE ON DATABASE <db> TO rivery;4. Grant the user just created with the next privileges on the database:
-- Optional - you can use existing schema. Create new one if wanted.
CREATE SCHEMA IF NOT EXISTS 'rivery';

-- REQUIRED in order to make sure the loading is running as expected
GRANT ALL ON ALL FUNCTIONS IN SCHEMA aws_s3 to rivery;
GRANT ALL ON SCHEMA aws_s3 TO rivery;
GRANT ALL ON ALL FUNCTIONS IN SCHEMA aws_commons to rivery;
GRANT ALL ON SCHEMA aws_commons TO rivery;

/*
Grant separately for each schema you want 'rivery' user can use.
For example, we're using the schema 'public' and schema 'rivery'
*/
-- Schema: public
GRANT CREATE, USAGE ON SCHEMA public TO rivery ;
GRANT SELECT, INSERT, UPDATE, DELETE, TRUNCATE, REFERENCES ON ALL TABLES IN SCHEMA public TO rivery;

-- Schema: rivery
GRANT CREATE, USAGE ON SCHEMA rivery TO rivery ;
GRANT SELECT, INSERT, UPDATE, DELETE, TRUNCATE, REFERENCES ON ALL TABLES IN SCHEMA rivery TO rivery;

/* ... */
Optional - Configure SSH Tunnel instance in AWS
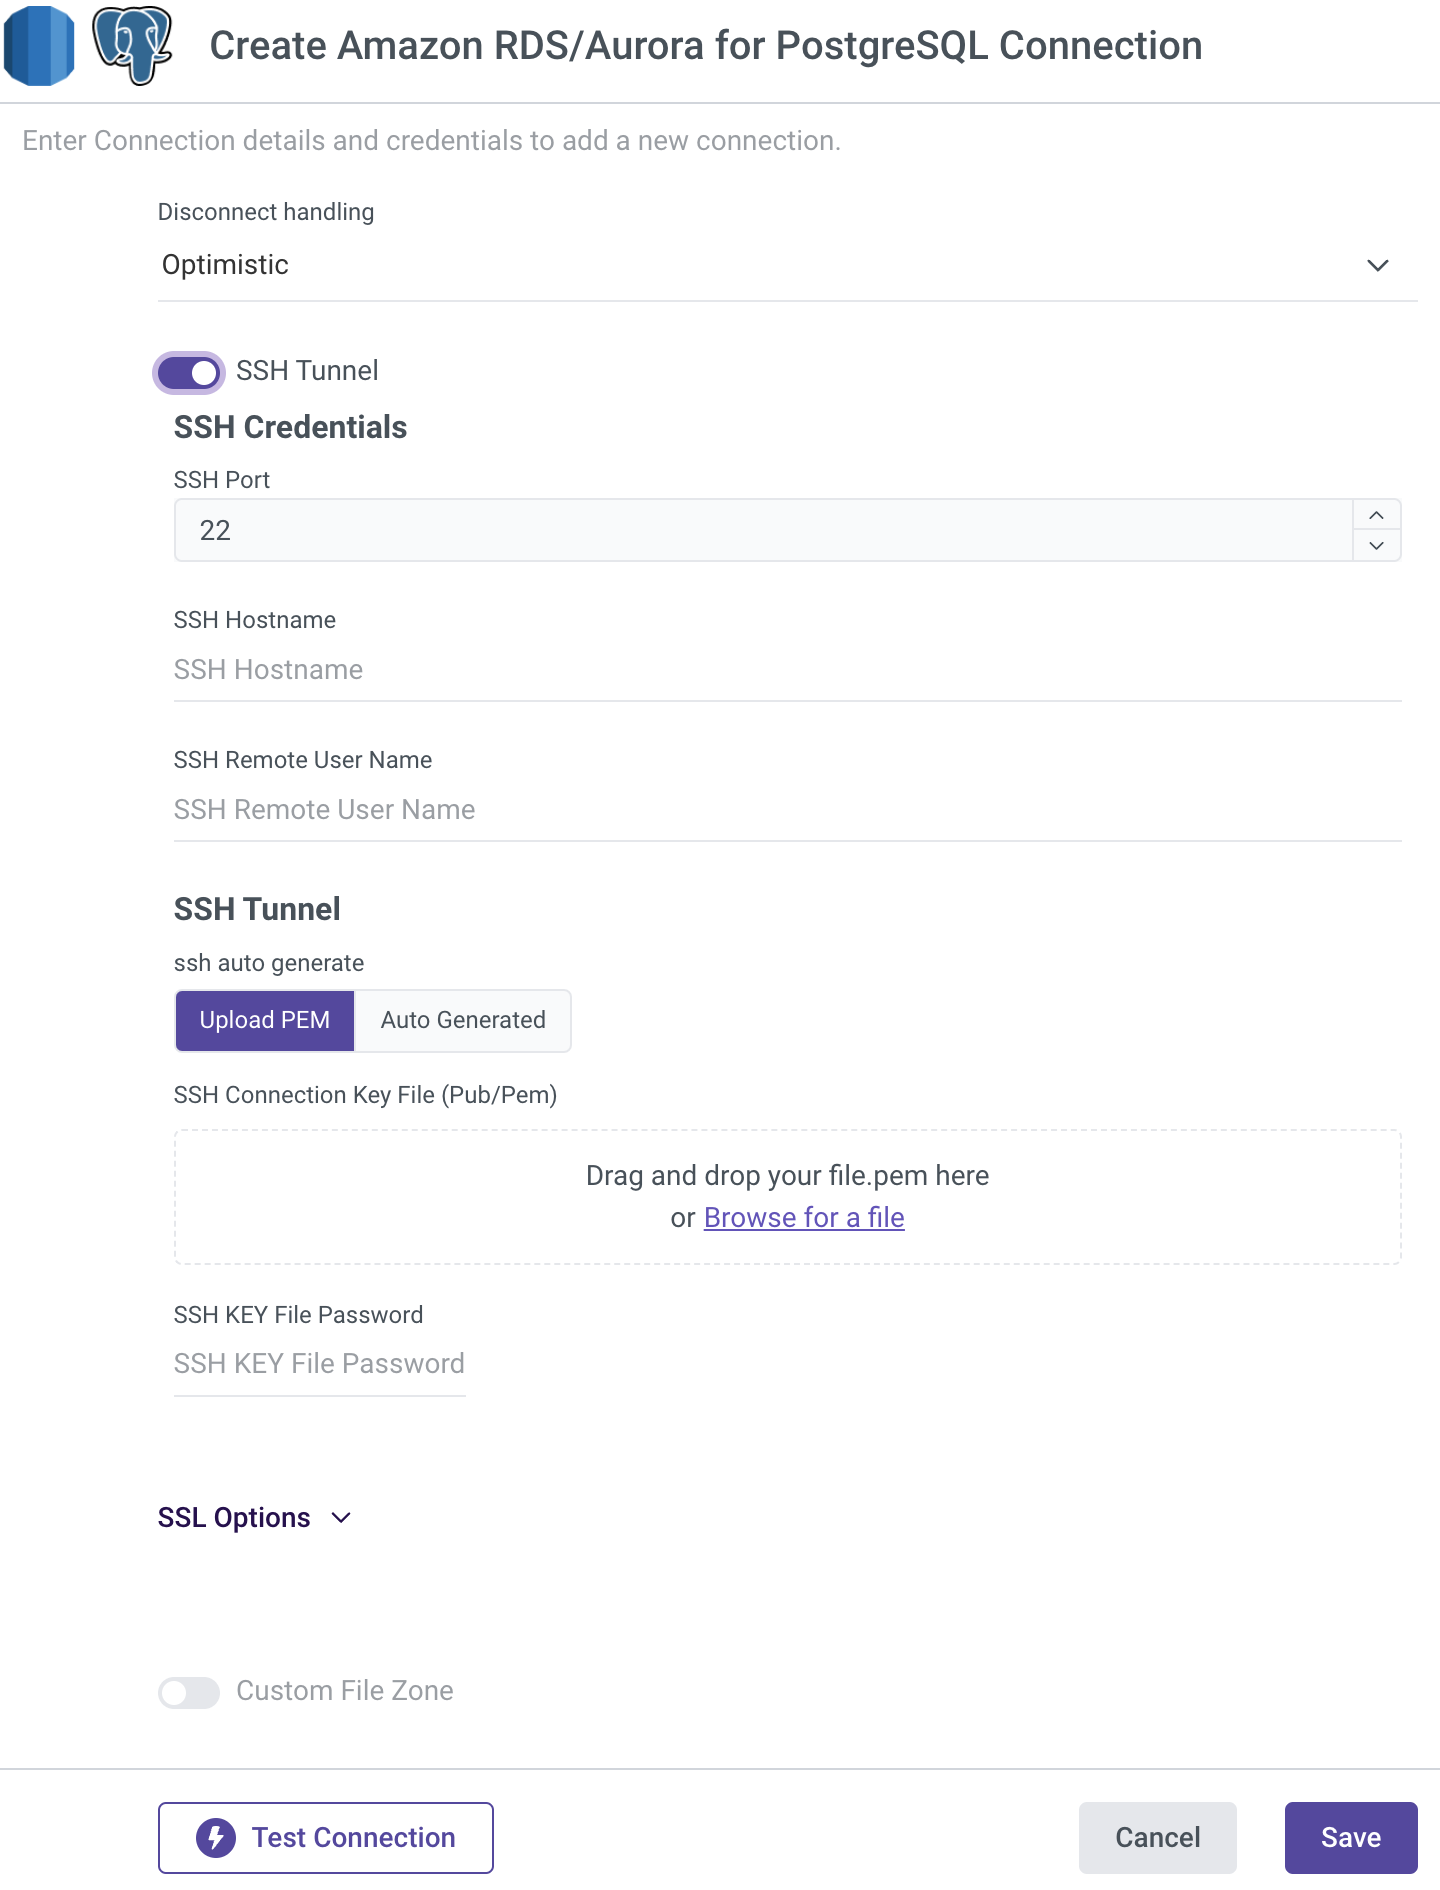
If there's a need to configure an SSH Tunneling instance in AWS. In order to do that, you can follow the steps in the next document.
Configure The Amazon RDS/Aurora For PostgreSQL Connection in Rivery
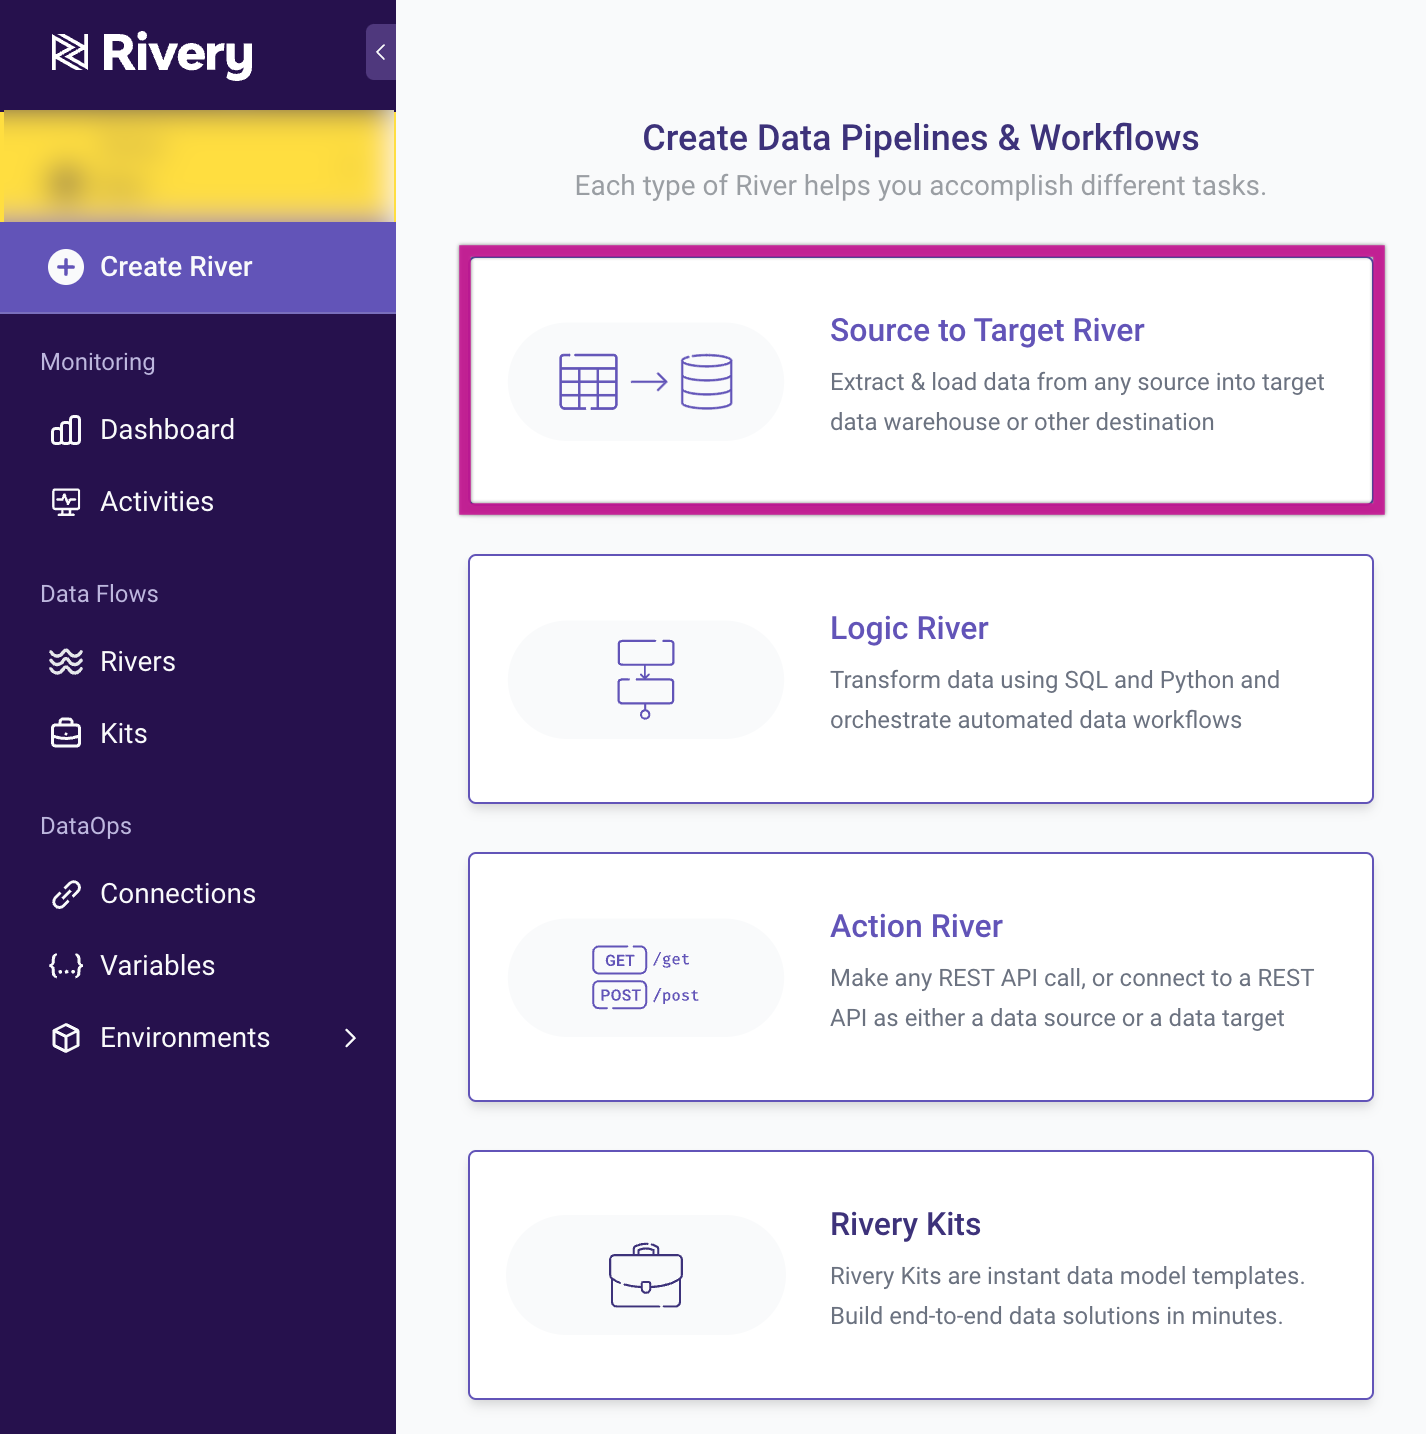
1. Go to Create River and Select Source to Target River.

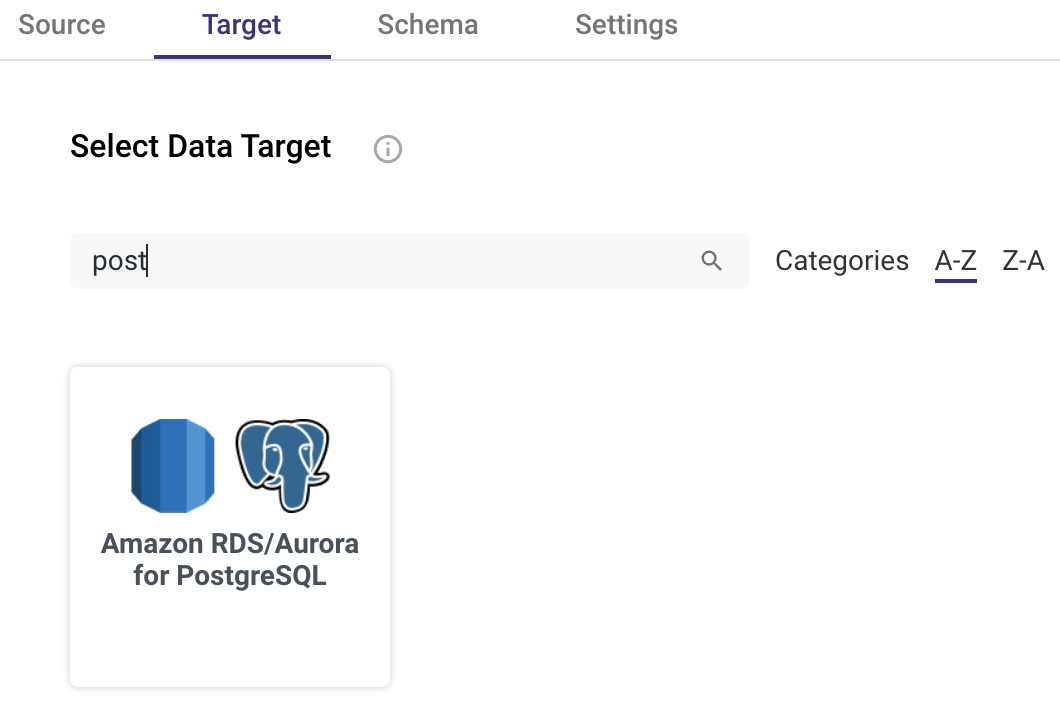
2. From the Target list, choose Amazon RDS/Aurora for PostgreSQL:
 3. Now, enter your credentials information from the Redshift cluster and database (ie. host address, database, username and password of rivery user name ) and for the Rivery user that you’ve created.

4. Test the connection and Save.

