Single sign-on Using Okta
- 1 Minute to read
- Print
- DarkLight
- PDF
Single sign-on Using Okta
- 1 Minute to read
- Print
- DarkLight
- PDF
Article summary
Did you find this summary helpful?
Thank you for your feedback!
- SSO is only available in the Enterprise plan.
- To manage users exclusively through SSO, please contact support and specify that you want user management to be restricted to SSO.
Introduction
This document provides step-by-step instructions for creating a new application in Okta and configuring it for Single Sign-On (SSO) with Rivery.
Create New Application In Okta
Log in to Okta Platform:
Navigate to the Admin section.
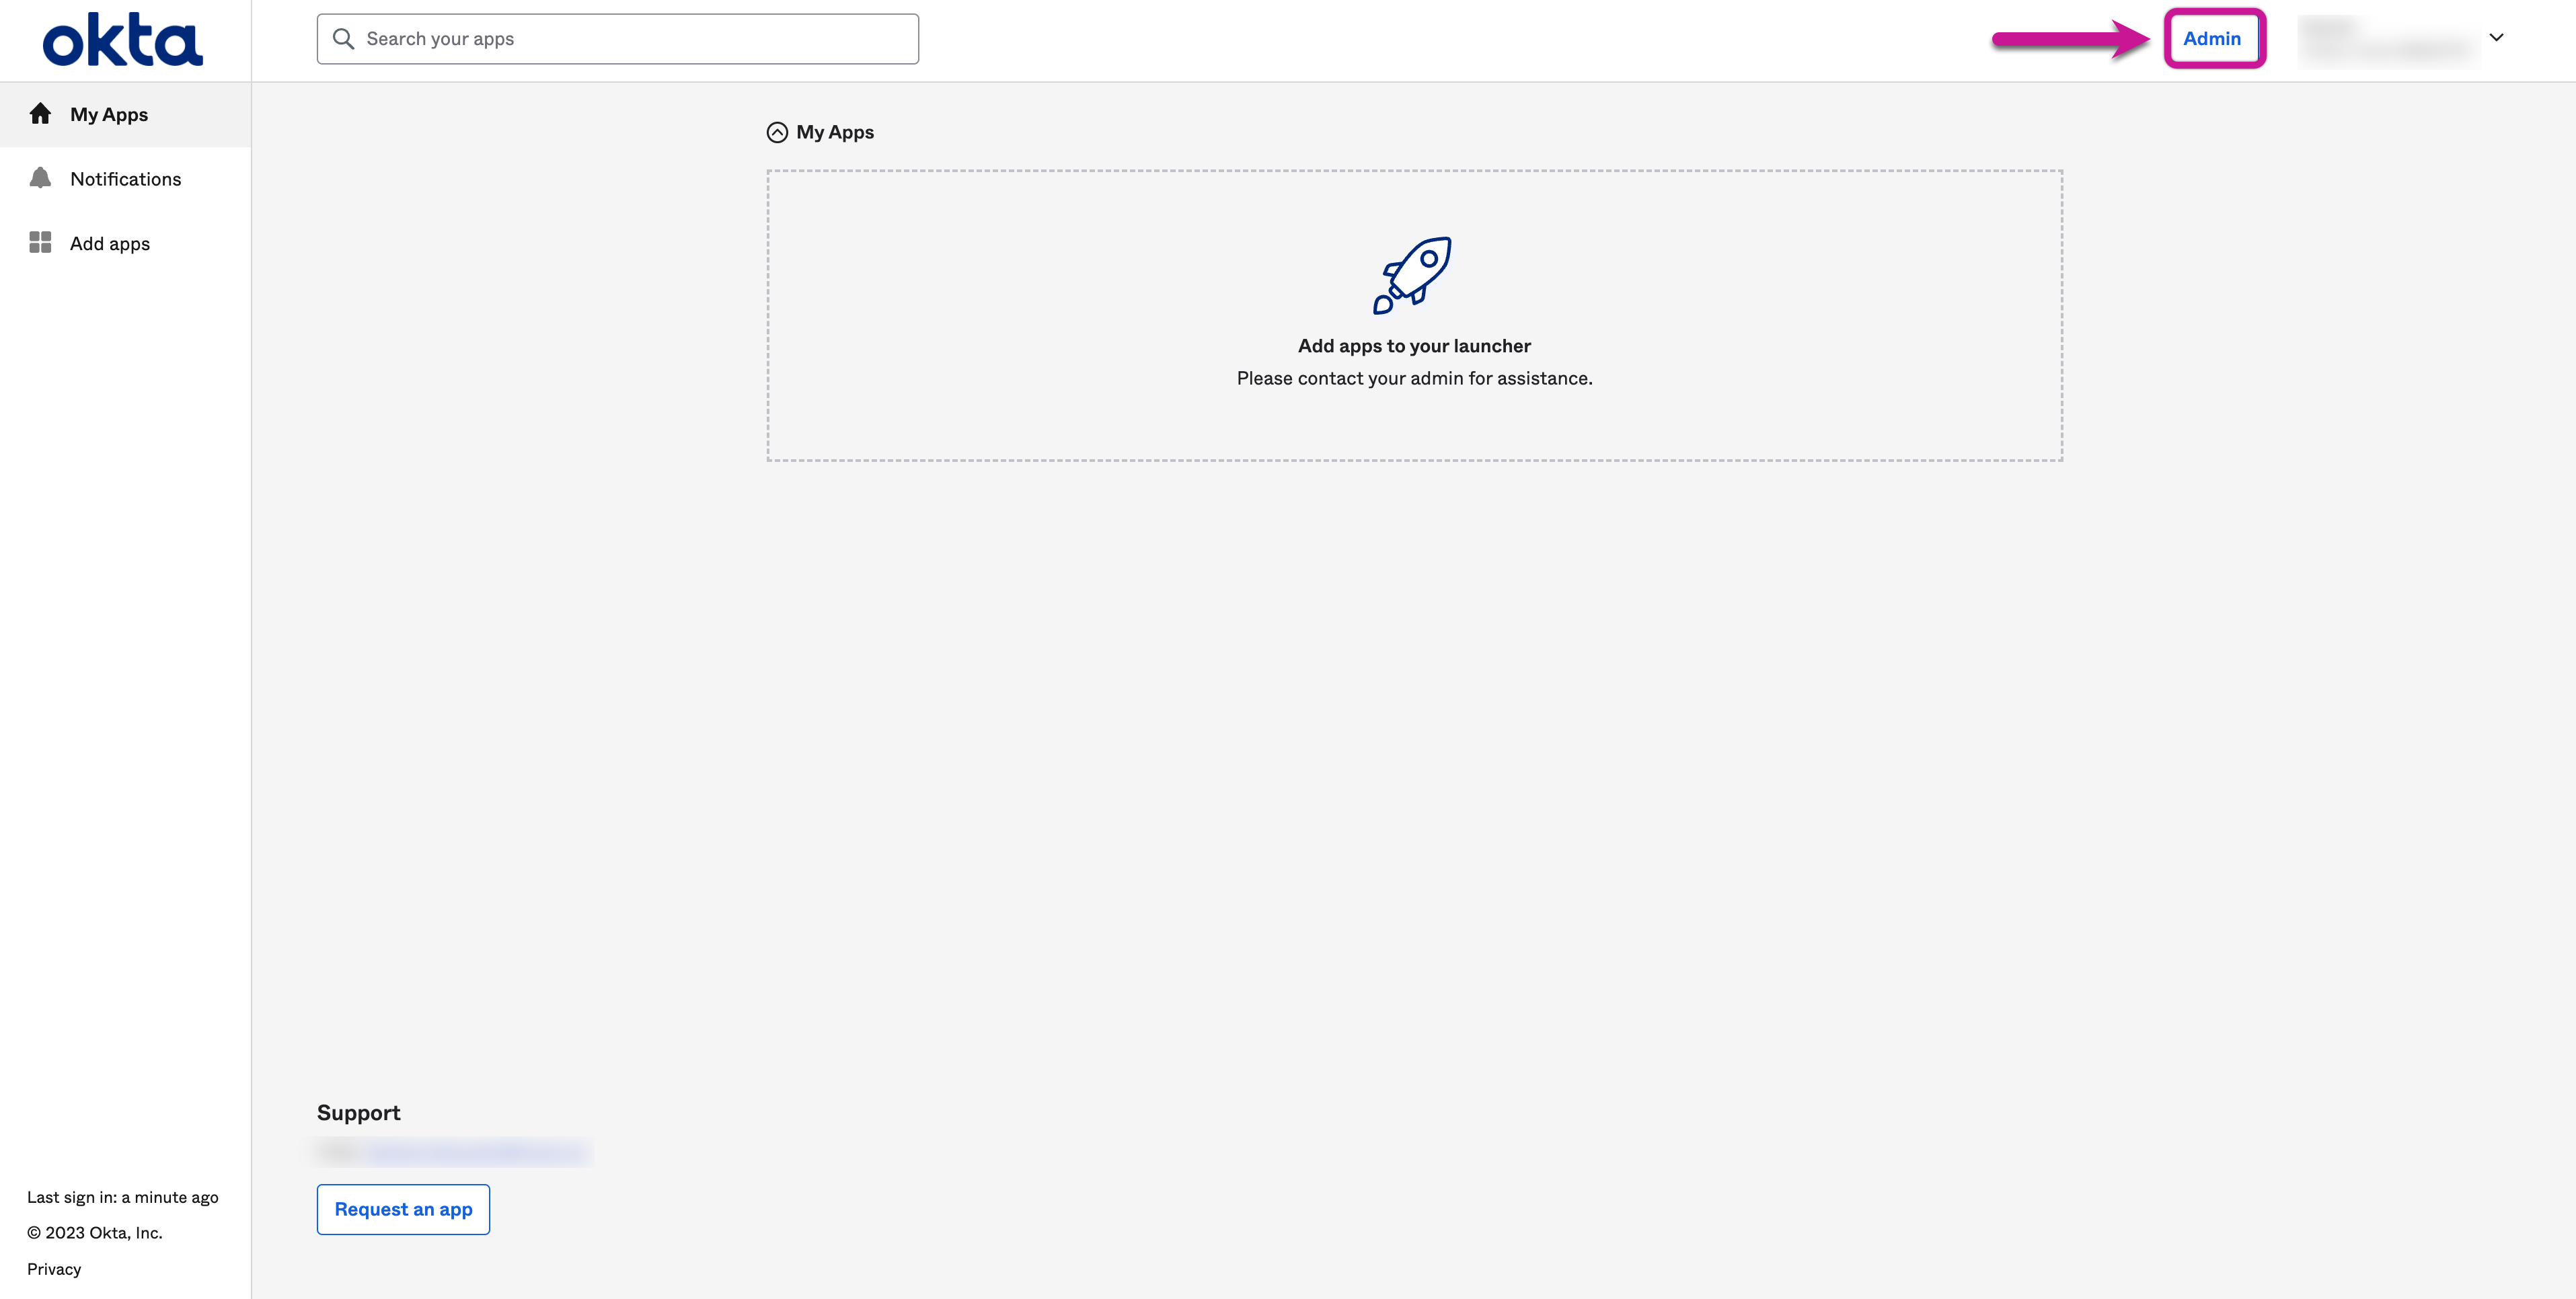
Proceed to add an application for Single Sign-on.
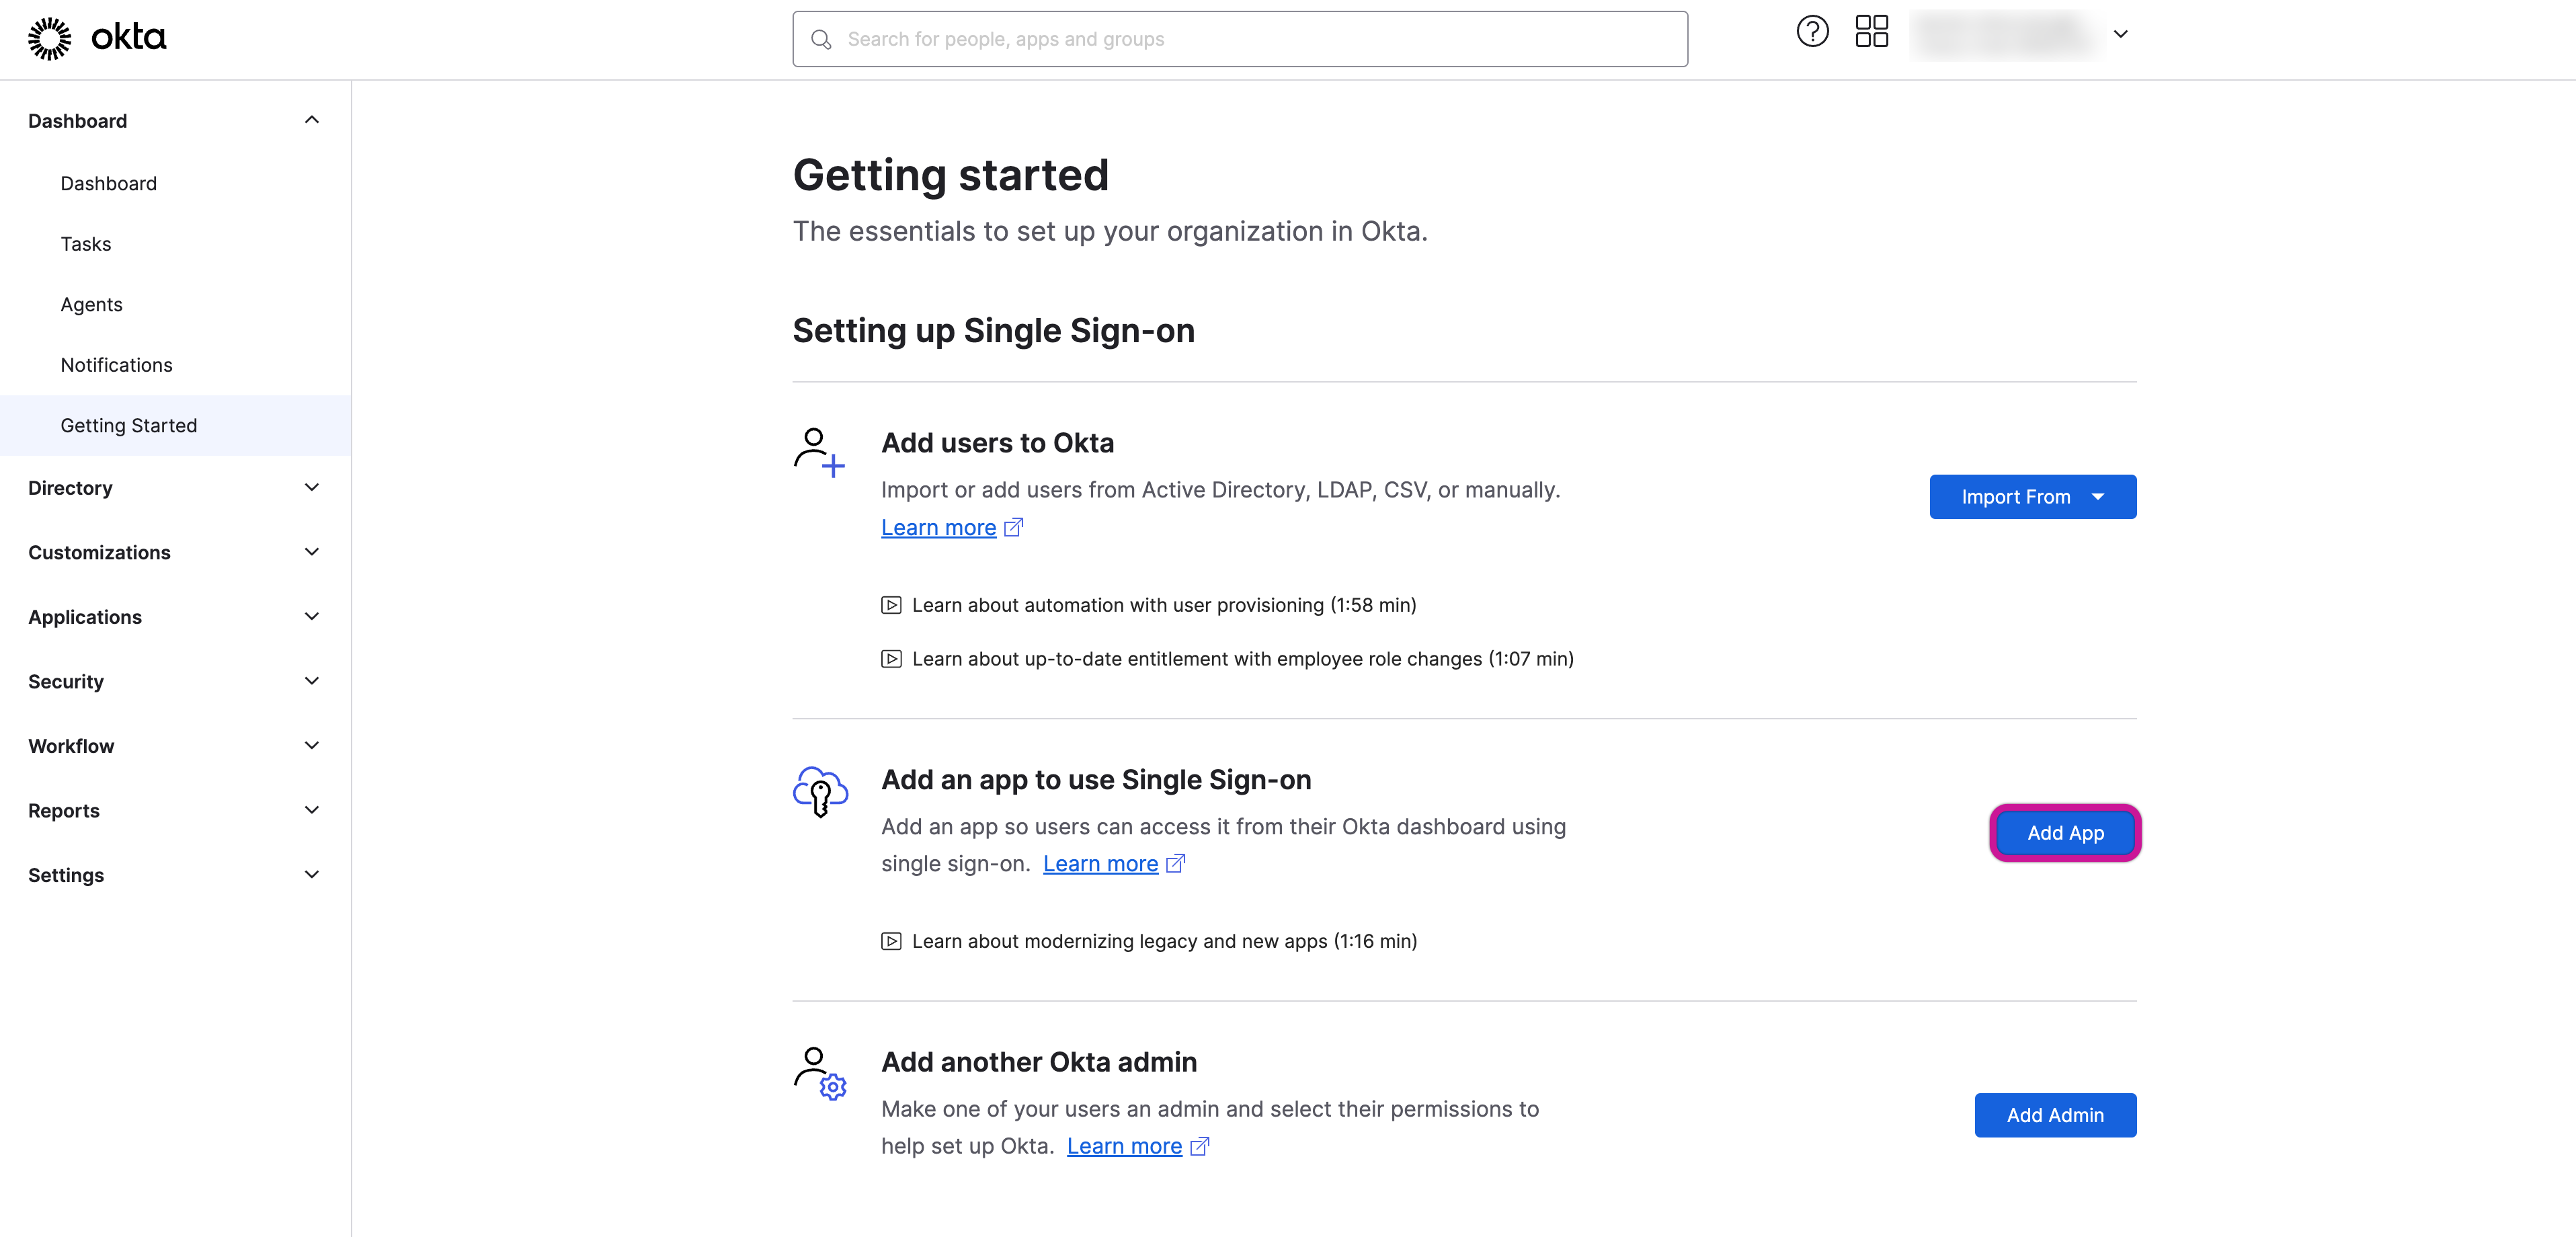
Click Create New App.
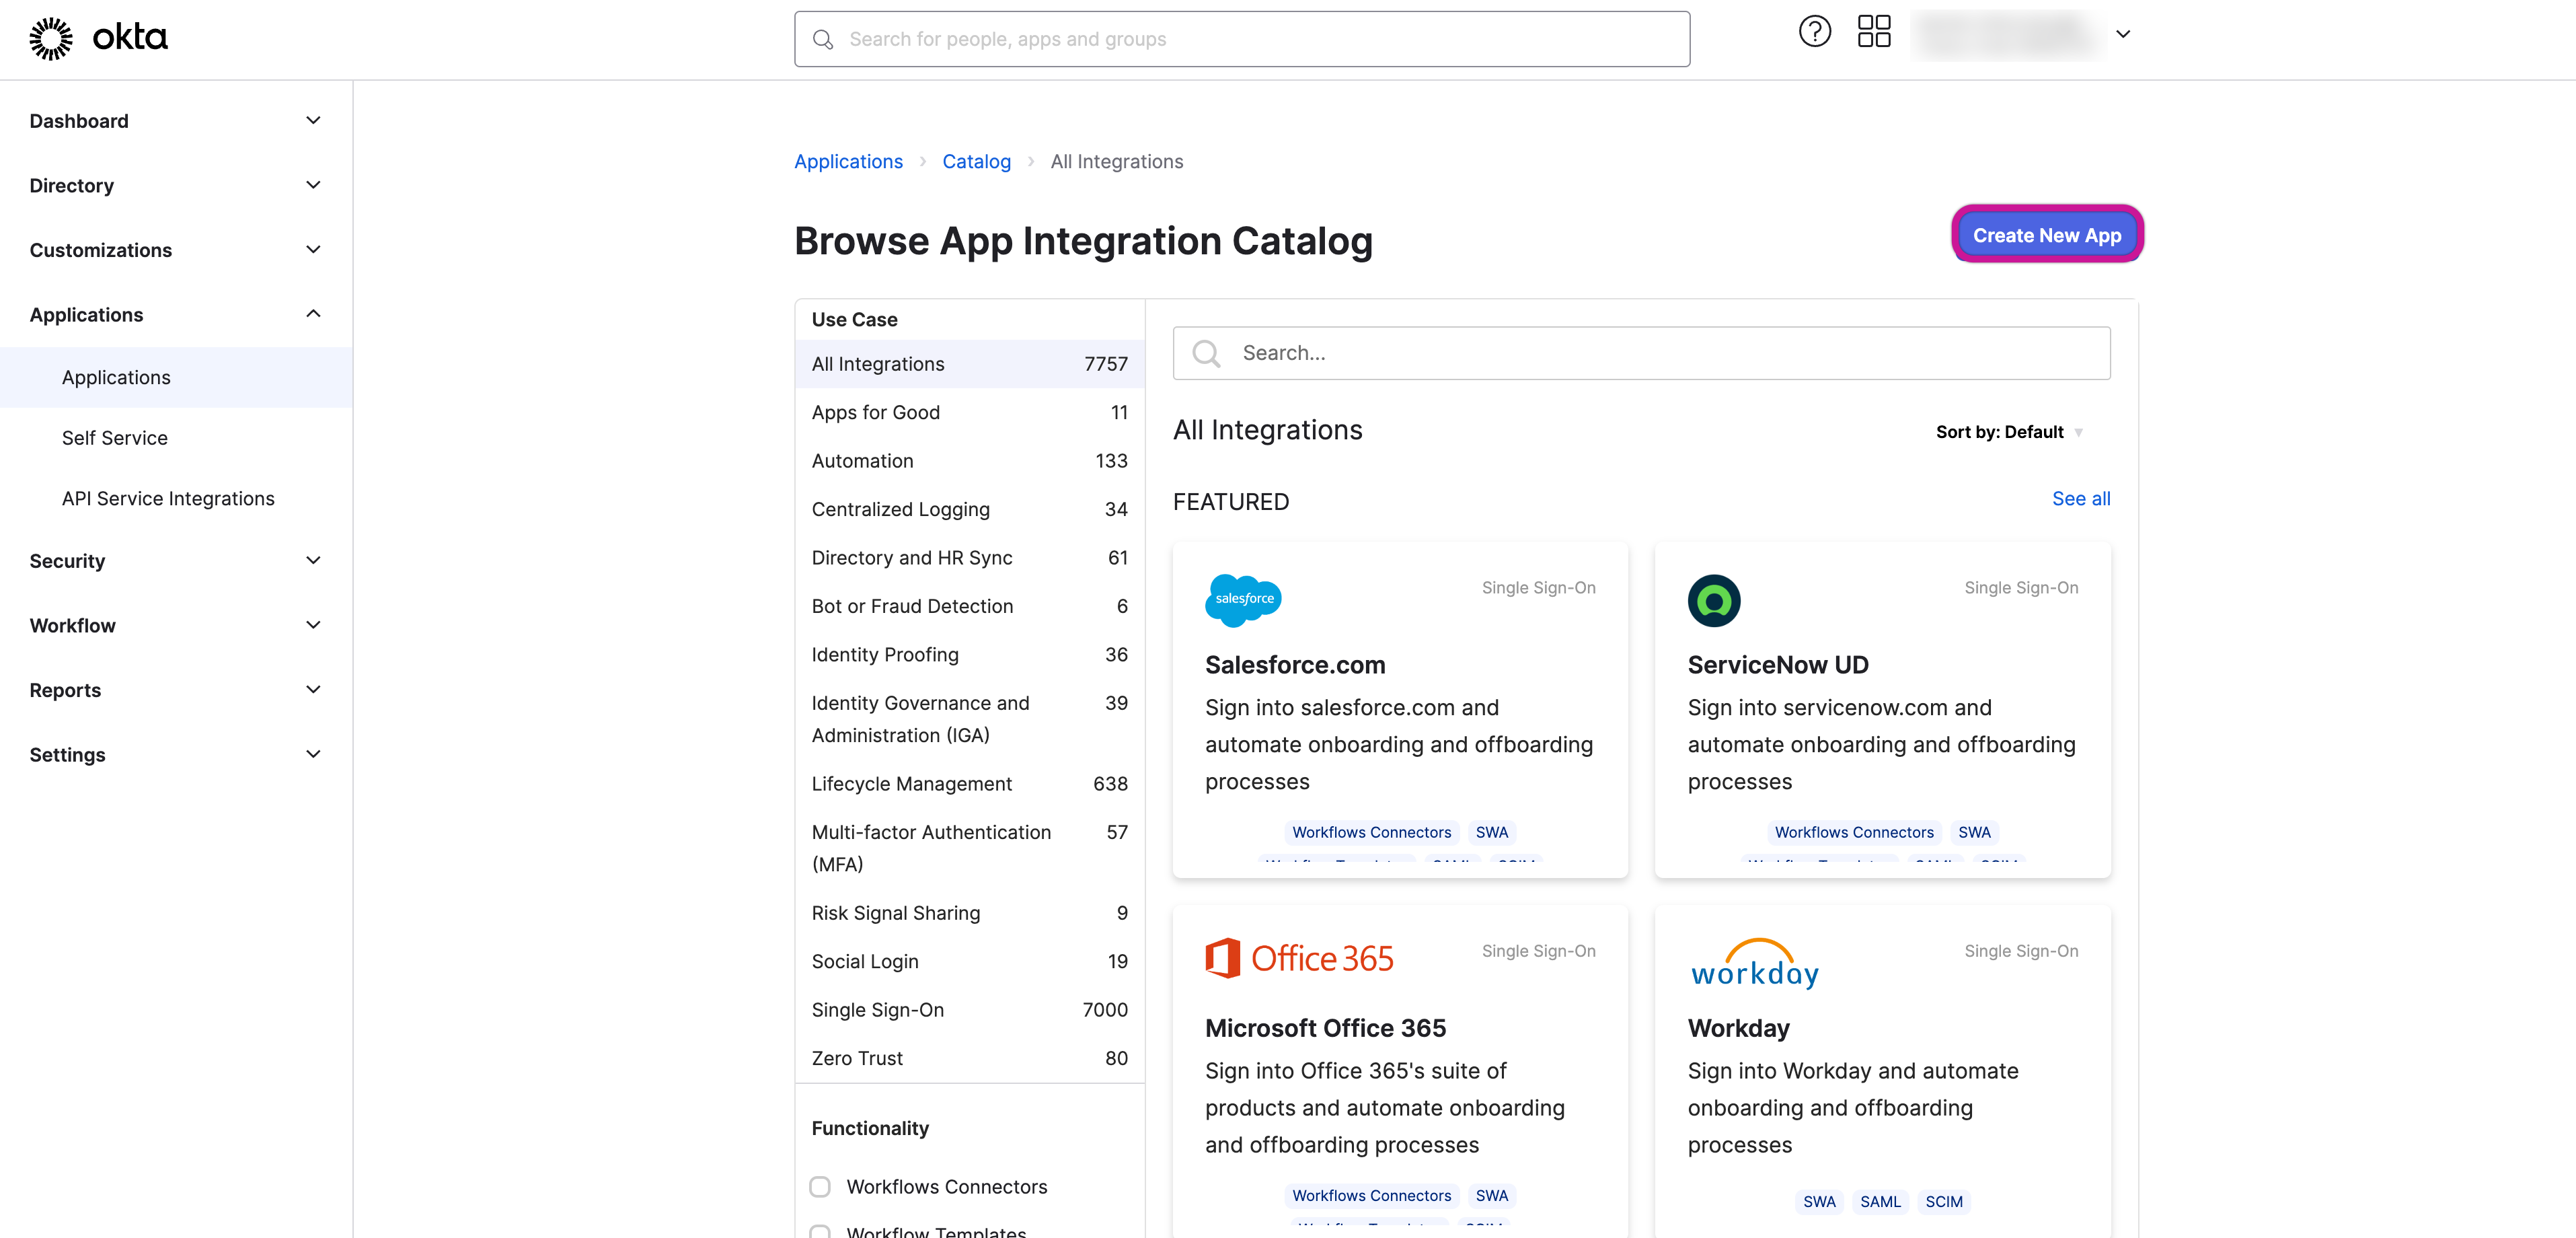
SAML 2.0:
Choose SAML 2.0 and proceed to the next step.

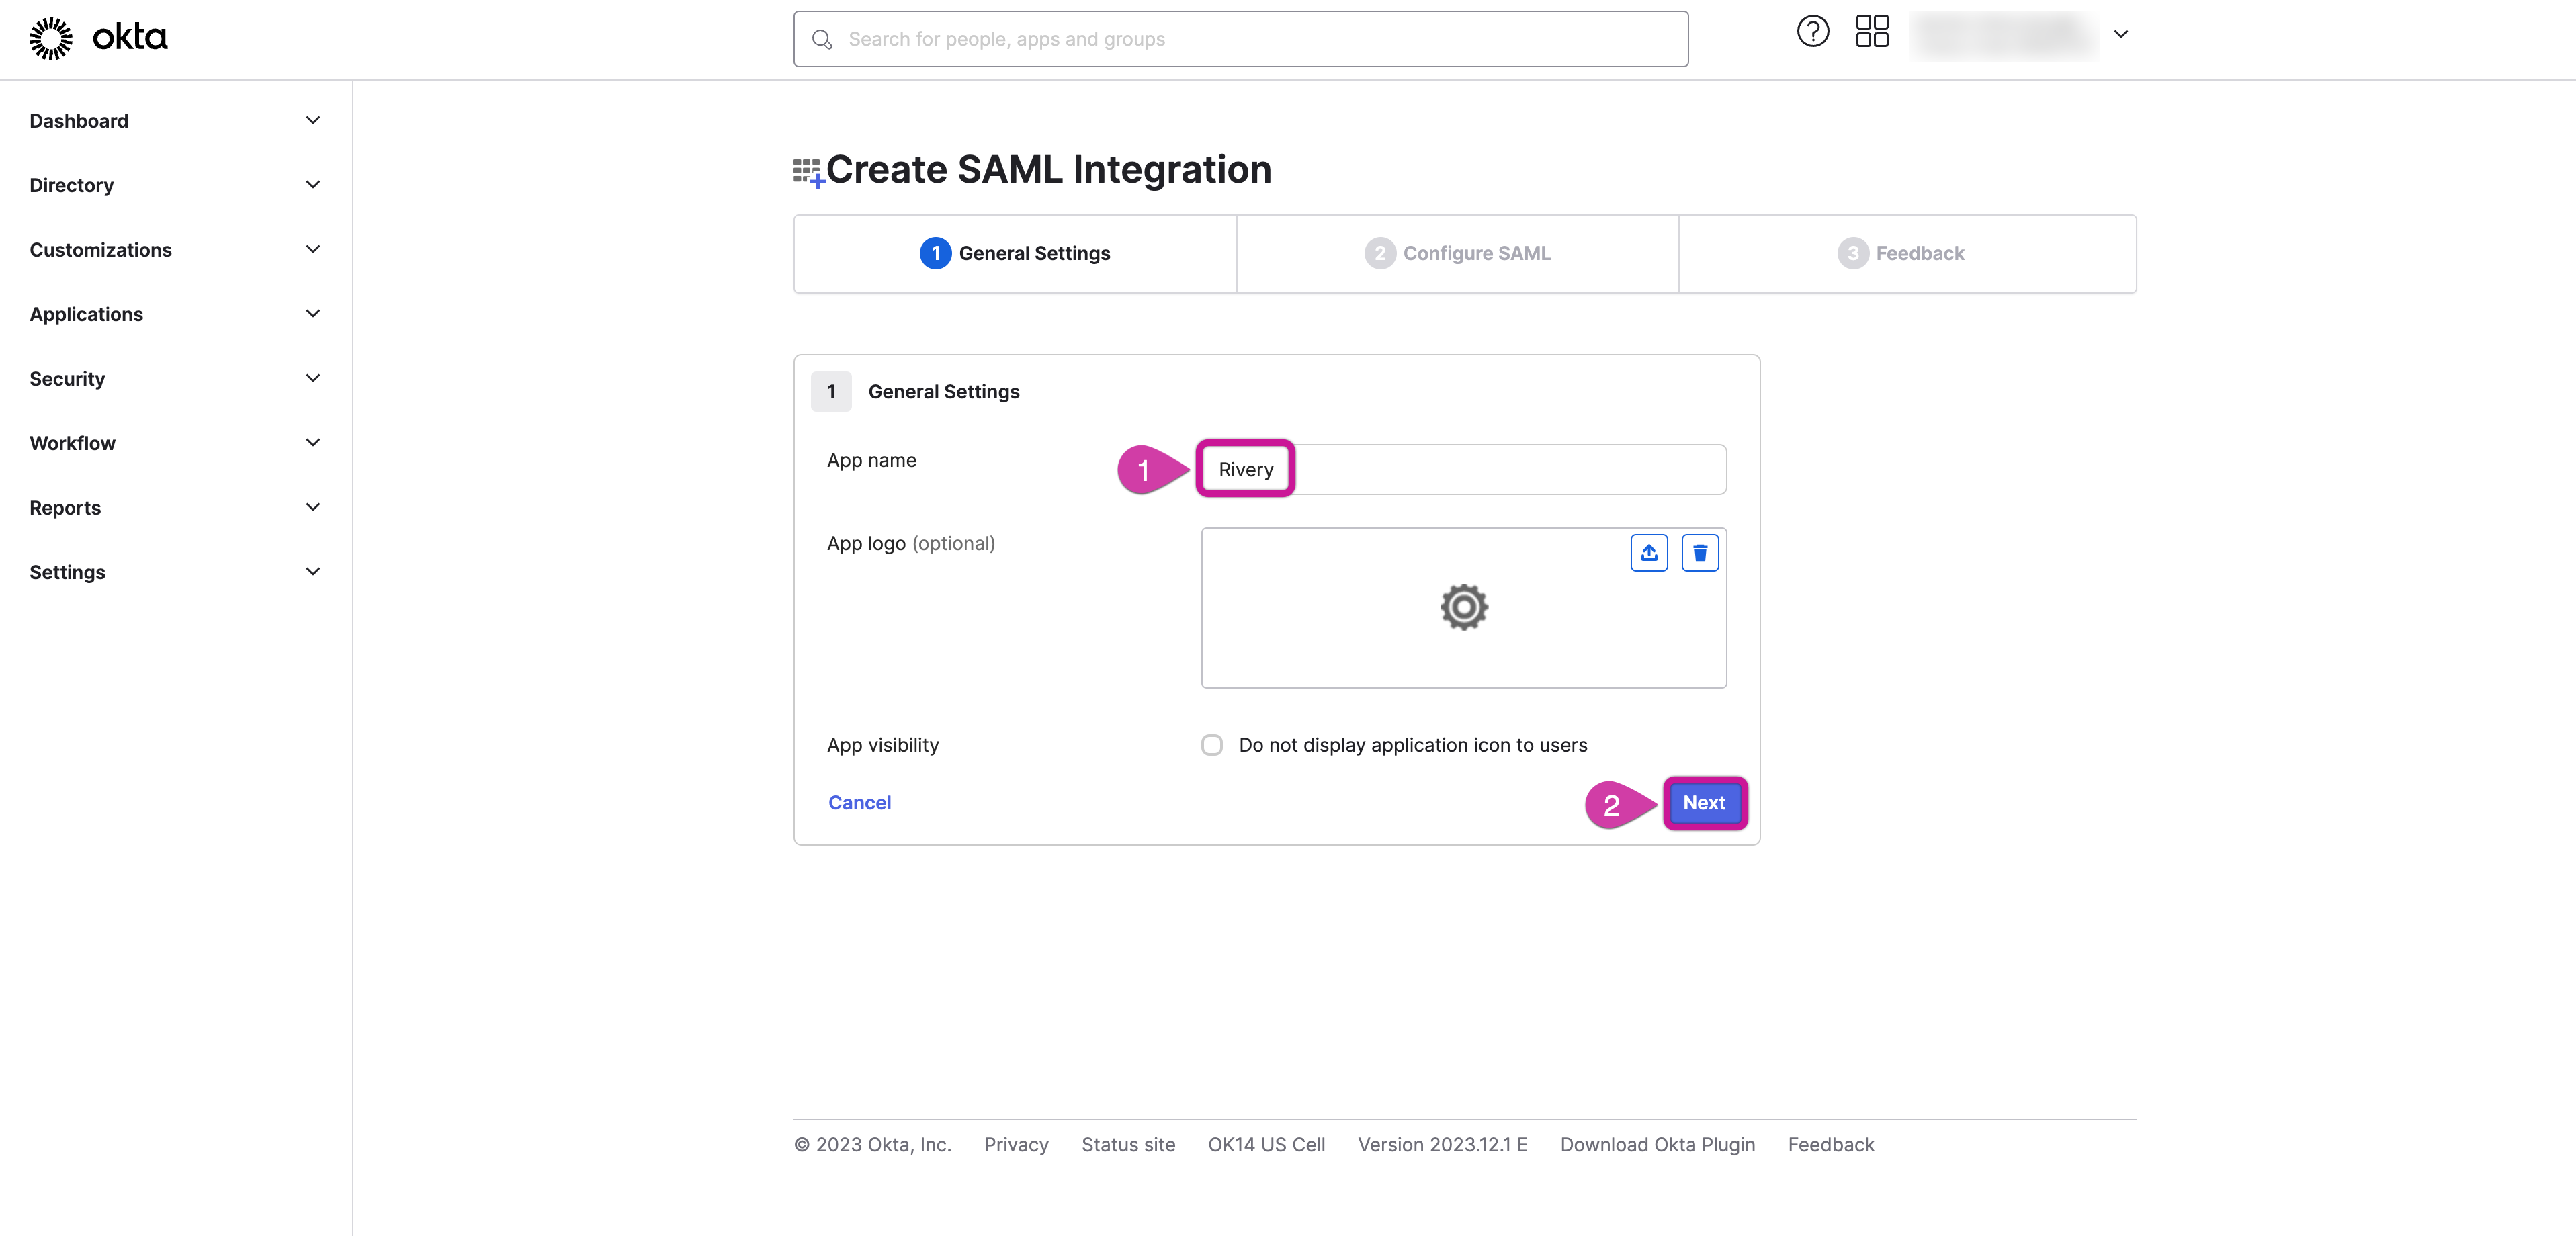
- Name Your Application:
Name your application as Rivery and click Next.
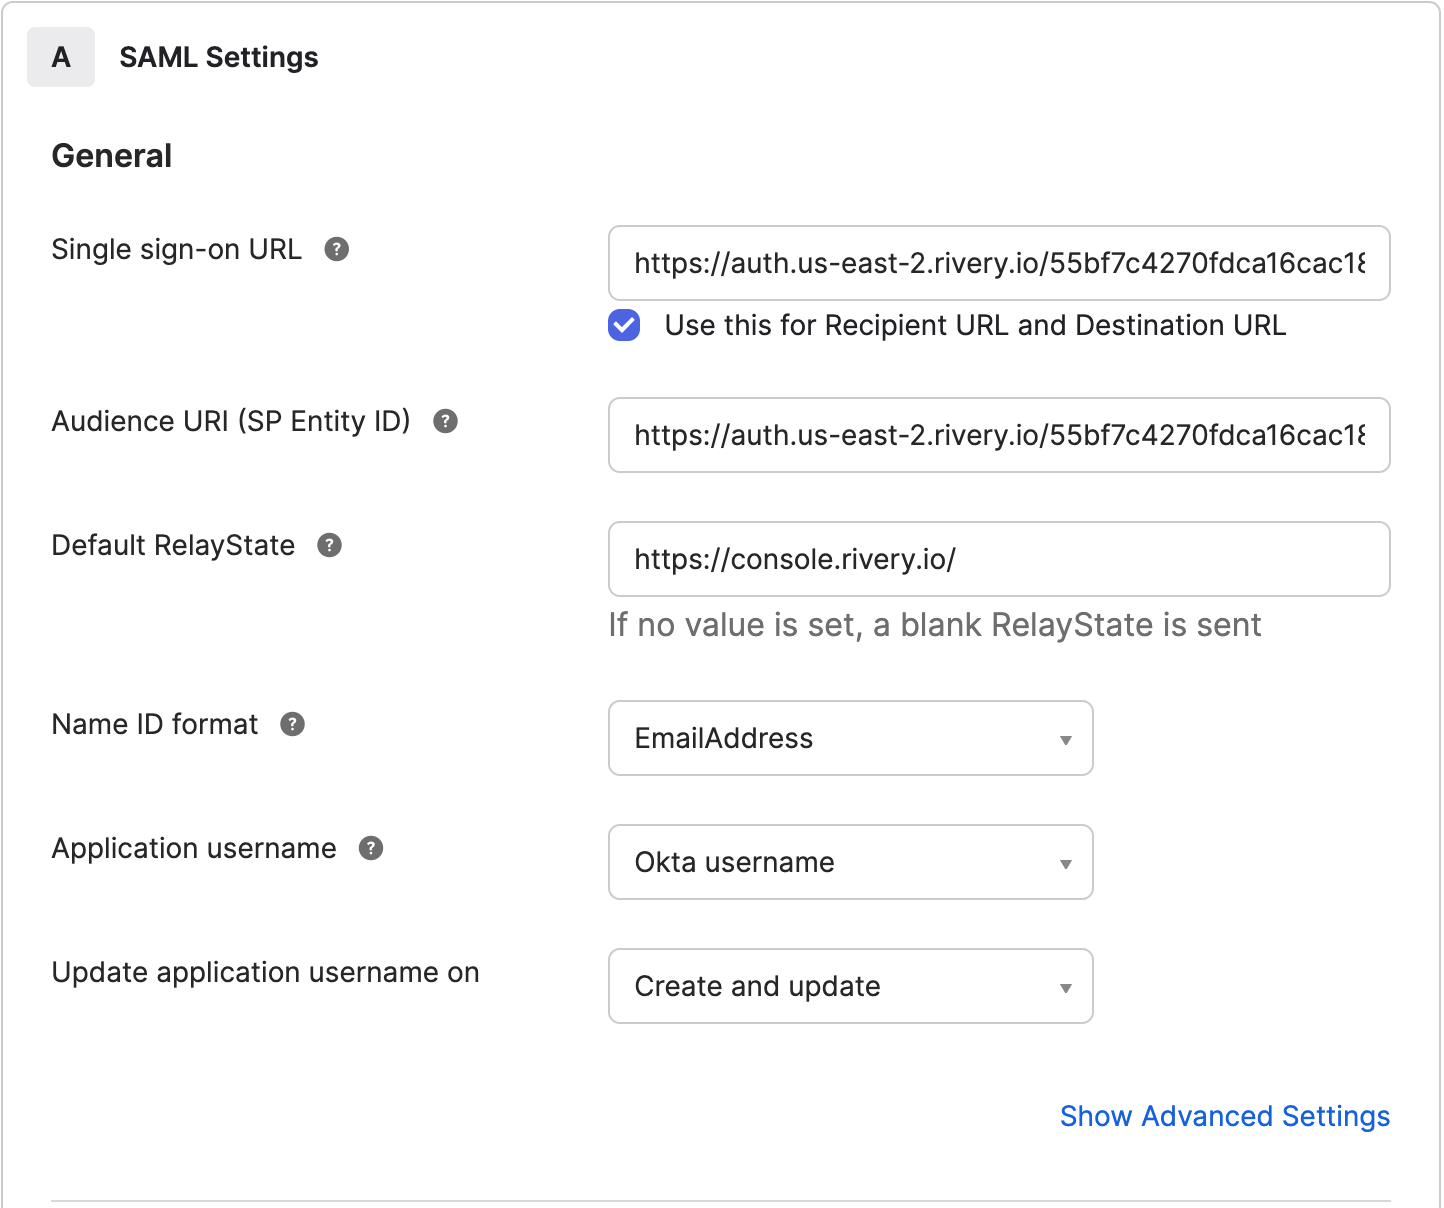
- Configure SAML Settings:
In the SAML Settings section, configure the following settings:
- Single Sign-On URL (Ends with ACS):
https://auth.[console-region].rivery.io/[account-id]_Okta_[console-region]/?acs
- Audience URI (Ends with Metadata):
https://auth.[console-region].rivery.io/[account-id]_Okta_[console-region]/metadata
Please Note:
Make sure to remove the square brackets once you have inserted your information.
Your Account ID is located in the Console URL: https://console.rivery.io/home/[account-id]/563f5b17b0a105467kle07a4we5435ff4c33
Rivery console URL Region https://console.rivery.io us-east-2 https://eu-west-1.console.rivery.io eu-west-1 https://eu-central-1.console.rivery.io eu-central-1 NameID Format: Email Address
Application Username: Okta Username
Update Application Username On: Create and Update
- Configure Attribute Statements:
Under Attribute Statements, configure the following case-sensitive settings:
| Name | Name Format | Value |
|---|---|---|
| Unspecified | user.email | |
| NameID | Unspecified | user.email |
| firstname | Unspecified | user.firstName |
| lastname | Unspecified | user.lastName |
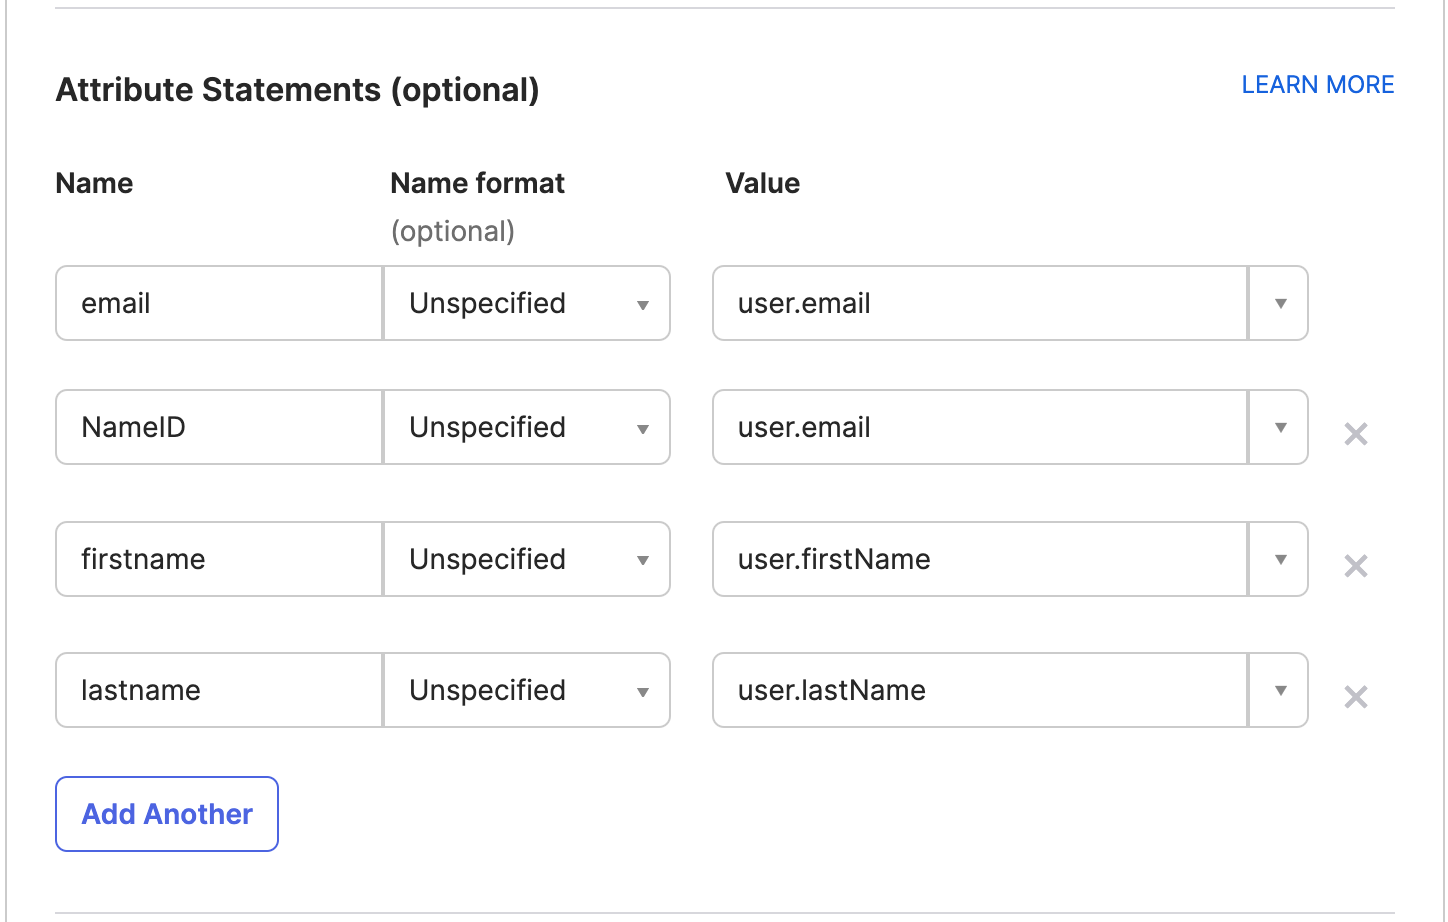
IMPORTANT: This should be implemented with care:
- user.firstName and user.lastName must be defined exactly as shown (with a capital 'N').
- RelayState URLs: The URLs must be set exactly as shown above, including the trailing slash (/).
Click Next.
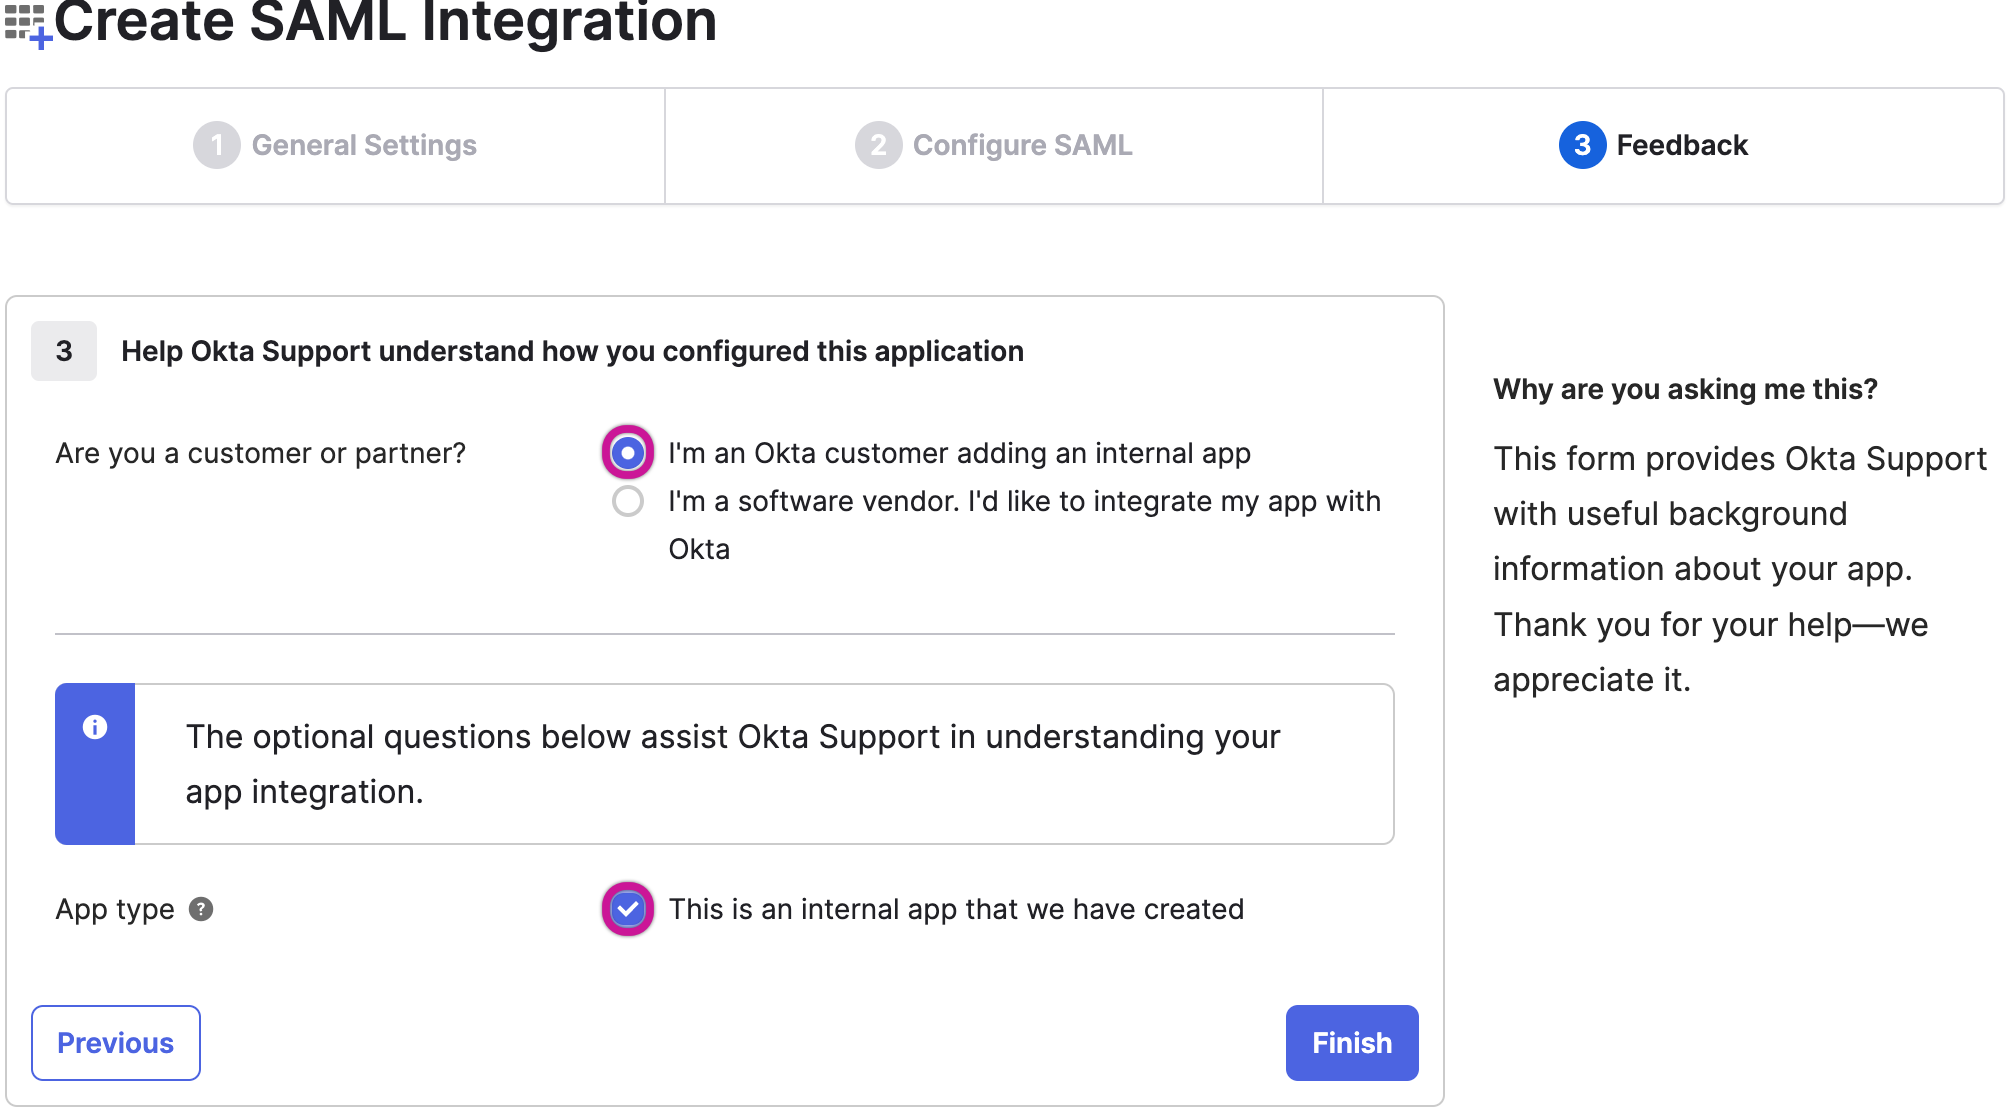
Feedback Page:
On the Feedback page, select I'm an Okta customer adding an internal app and check This is an internal app that we have created as the App Type.
- Click Finish.
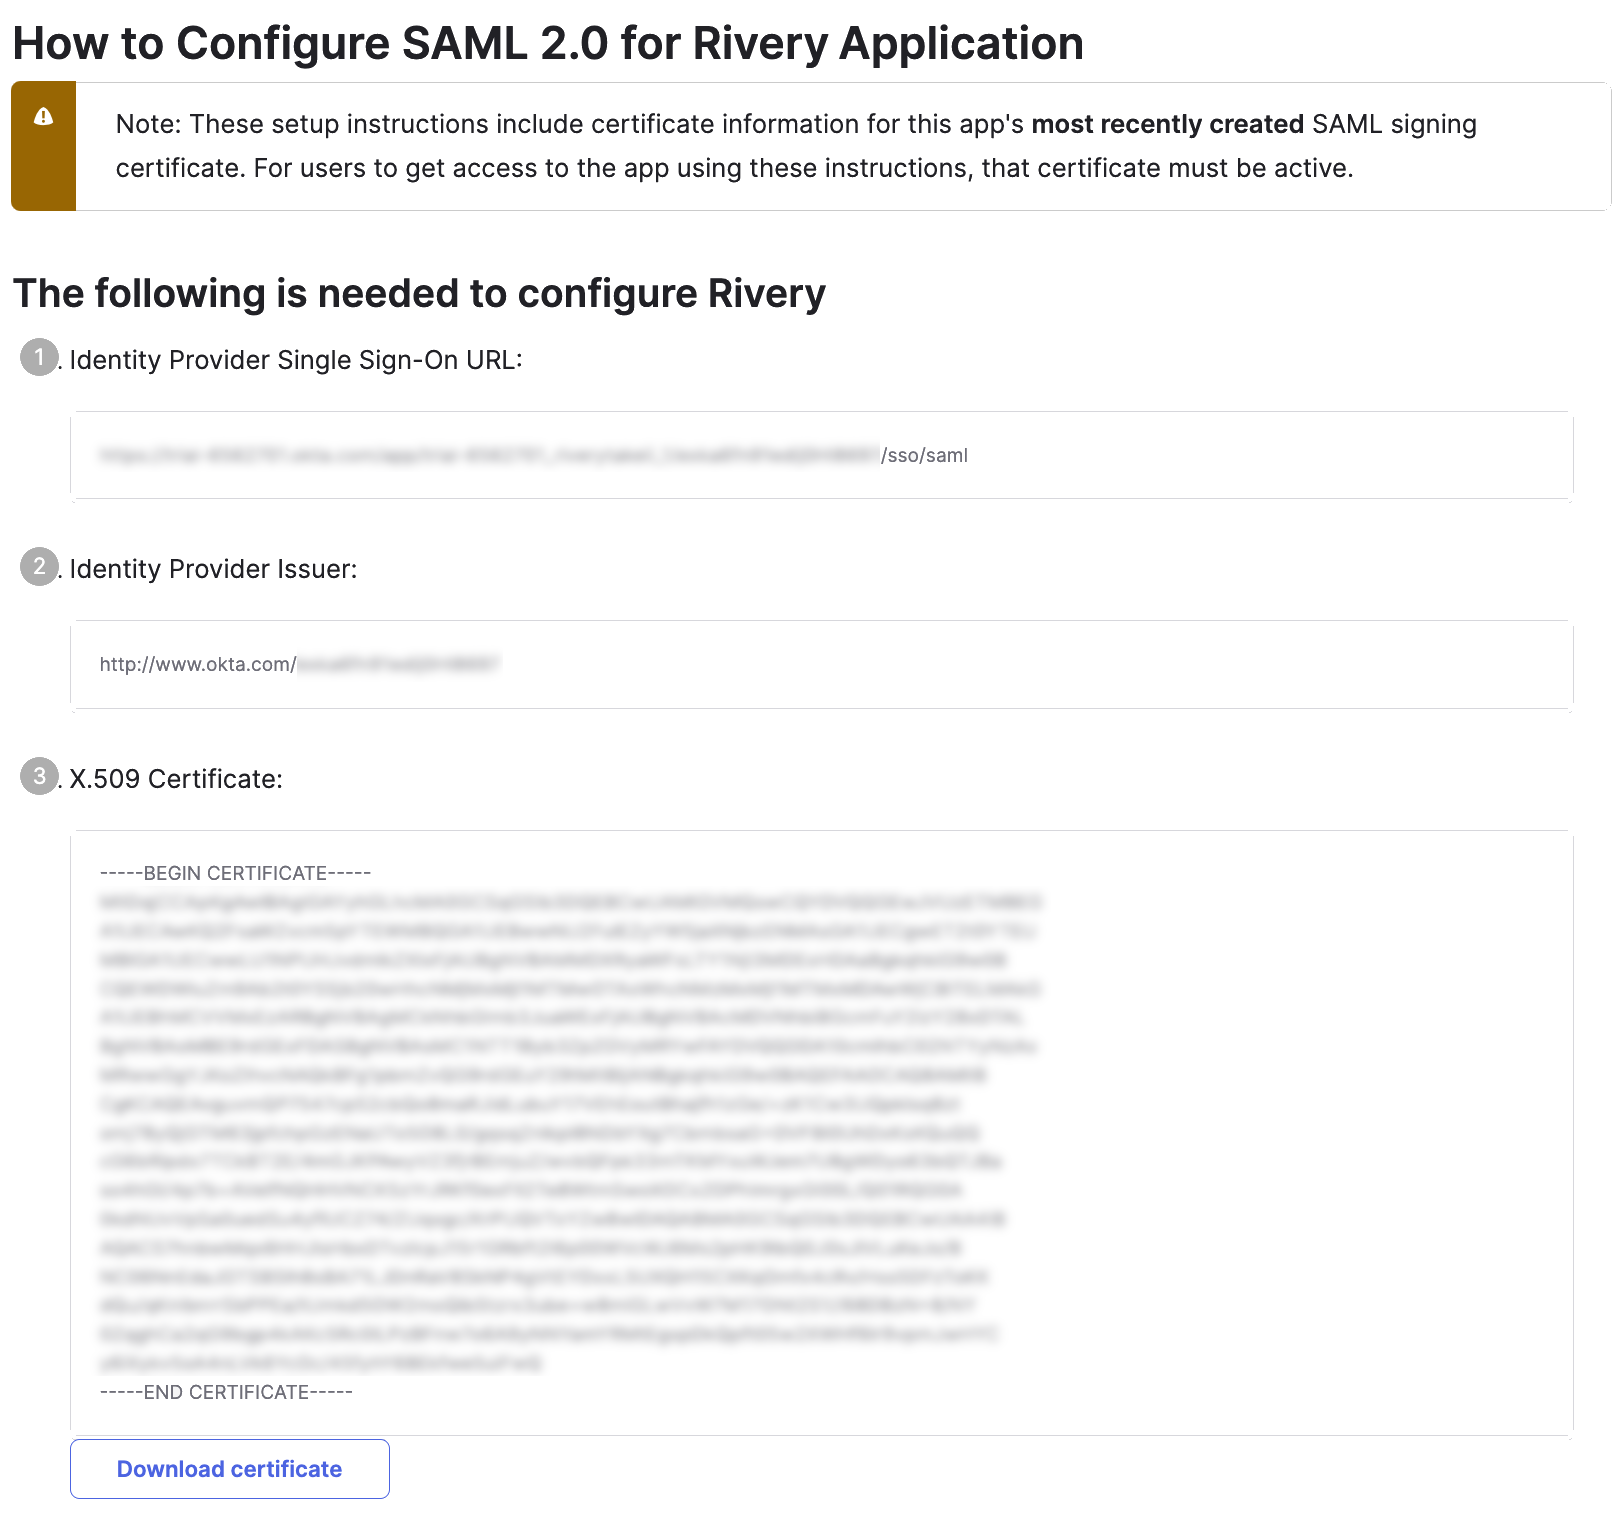
- Click on "View SAML setup instructions" in the pop-up window.
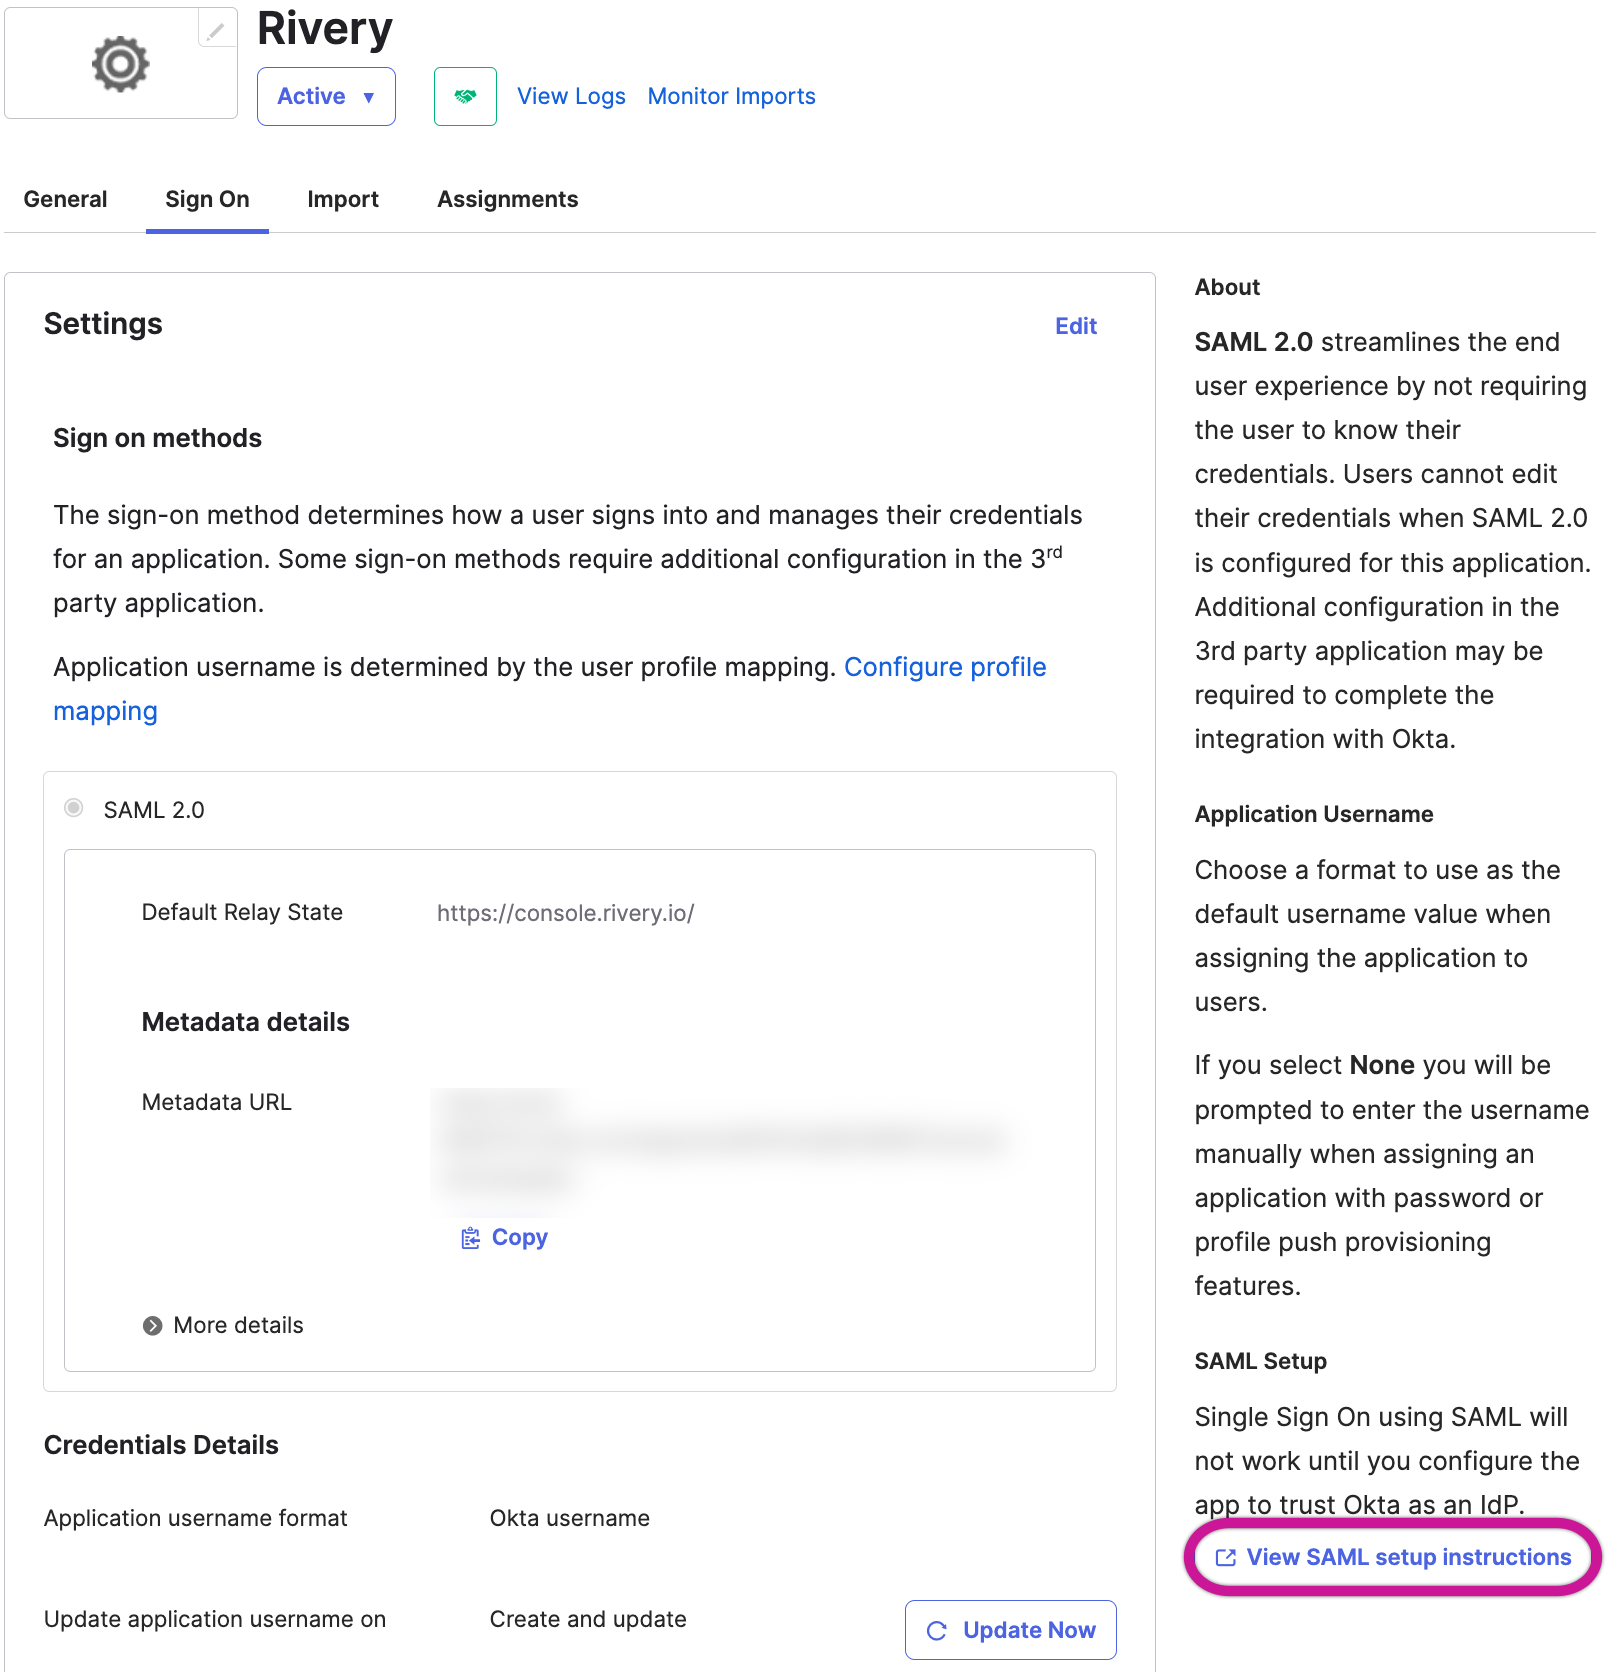
Submit Information to Rivery
To finalize the process, provide the following information to our Support team by submitting a Support Ticket.
- Identity Provider Single Sign-On URL
- Identity Provider Issuer
- X.509 Certificate.
- Specify the Default Role you prefer for newly introduced Rivery users upon logging in.
Please Note:
After setting up SSO, the default landing URL for your Rivery console will be https://console.rivery.io/home/[account_id]/default_env, indicating that all users have access permissions to the default Environment.
Was this article helpful?