SuccessFactors Walkthrough
- 4 Minutes to read
- Print
- DarkLight
- PDF
SuccessFactors Walkthrough
- 4 Minutes to read
- Print
- DarkLight
- PDF
Article summary
Did you find this summary helpful?
Thank you for your feedback!
SuccessFactors version 2 is currently being supported
This provides a general description of SuccessFactors and its capabilities.
Introduction
SAP SuccessFactors is a cloud-based Human Capital Management (HCM) software that provides businesses with tools to manage their workforce.
The ability to pull data from numerous tables and use it for reporting and analysis is one of this integration's primary capabilities.
Connection
To connect to SuccessFactors , follow our step-by-step tutorial.
Now that you've established a connection, here is the feature SuccessFactors offers for integrating data into a cloud target.
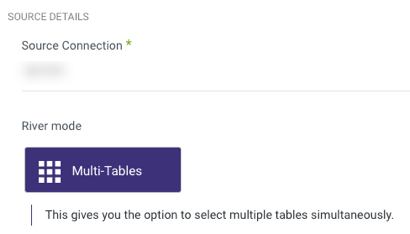
SuccessFactors provides a Multi-Tables mode for Standard Extractions that allows you to load multiple tables to your Target at once.
Multi-Tables Mode
To pull SuccessFactors data into a Target with Multi-Tables, follow the steps below:
Make sure 'Multi-Tables' is chosen in the Source tab before moving on to the Target tab.
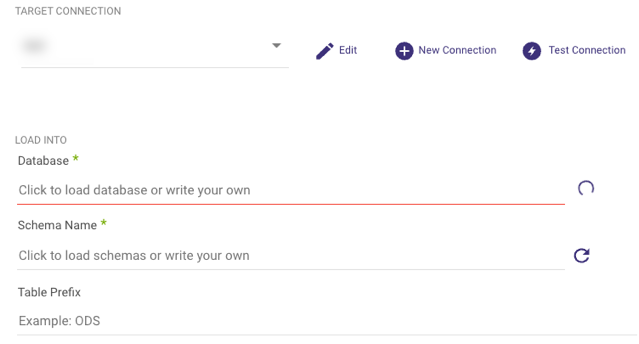
Select your Target:
- Select your Target Connection, then click the curved arrow next to Database and Schema on the right side of the row. After the refresh is complete, click the row and choose the Database and Schema where the data will be stored.
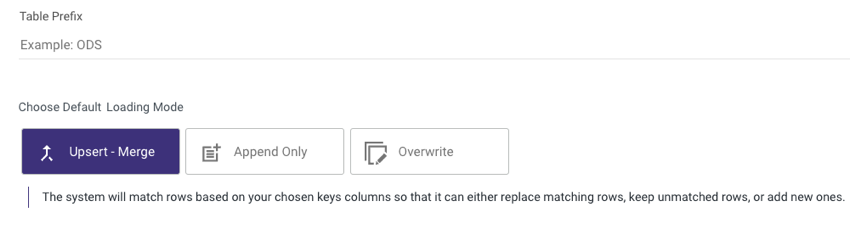
- Set the loading mode for your Multi-Tables migration.
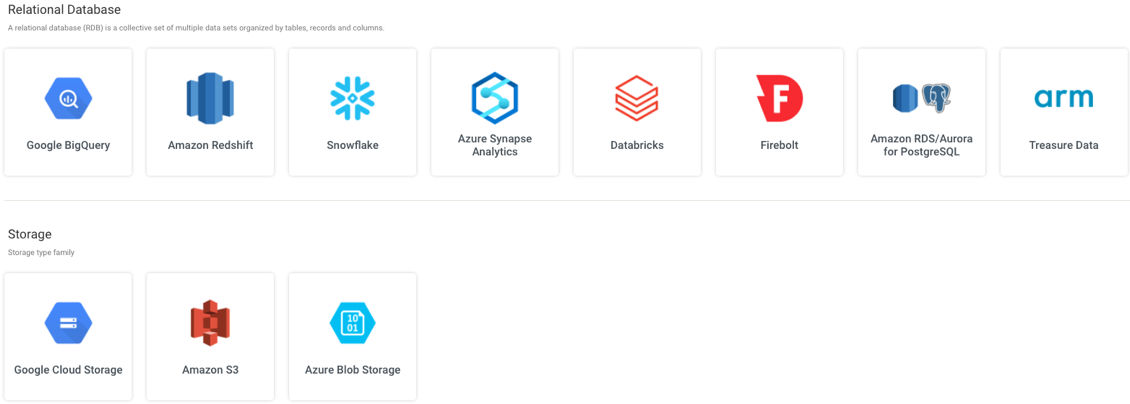
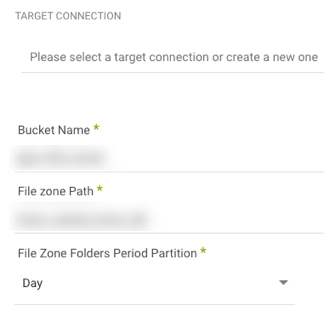
- For Storage Targets (Google Cloud Storage, Amazon S3, Azure Blob Storage), choose a bucket and a path for your data to land.
- To get the metadata of your database, navigate to the 'Schema' tab once your chosen Target location has been defined.
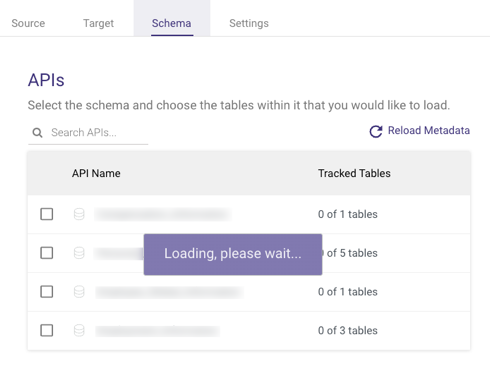
Click your desired API to get a list of its tables.
You can check the boxes next to individual tables to choose them, or you can check the box next to the 'Source Tables' heading to select all tables.
Note:
Even though there is a default Loading Mode defined in the Target tab, any individual table's loading mode can be changed by selecting the 'Edit' button on the far right.
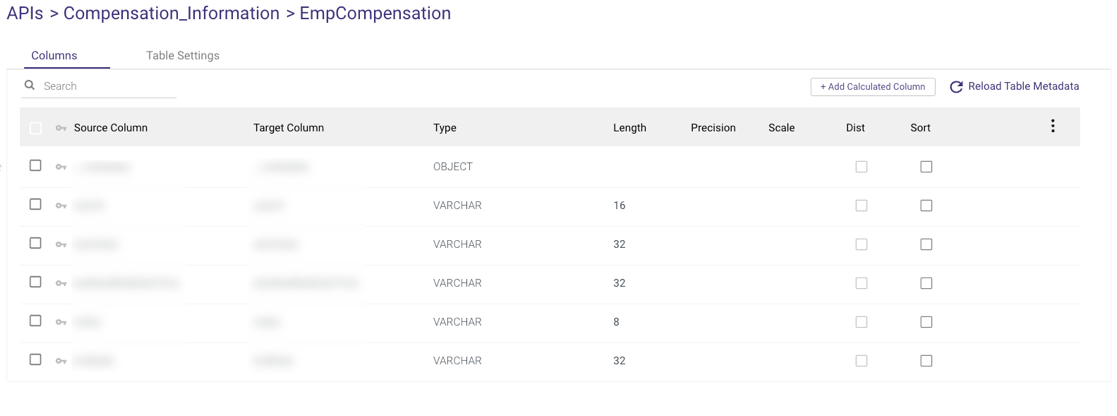
- After you've chosen your tables, they'll be displayed with further editing possibilities.
You can change the following on the 'Columns' tab:
- Check or uncheck the boxes next to the columns you want to include or exclude from the Target.
- In 'Target column,' rename the field by clicking the name and typing a new one.
- Double-click the current data type under 'Type' to change the field to a new data type.
- Change the field's mode under 'Mode'.
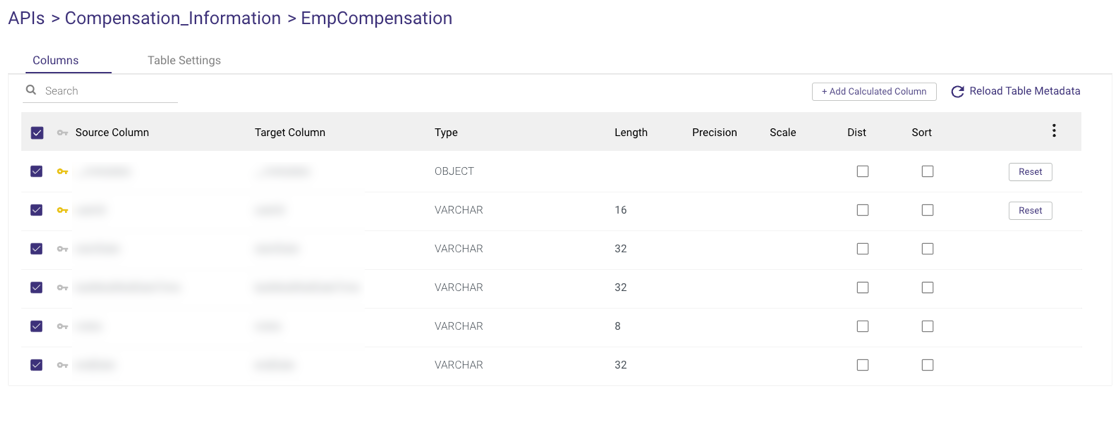
- By checking the 'Cluster Key' box, you can make a field a Cluster Key, which is used for partitioning.
- To make a field the key for Upsert-Merge, highlight it with the key to the left of the field name.
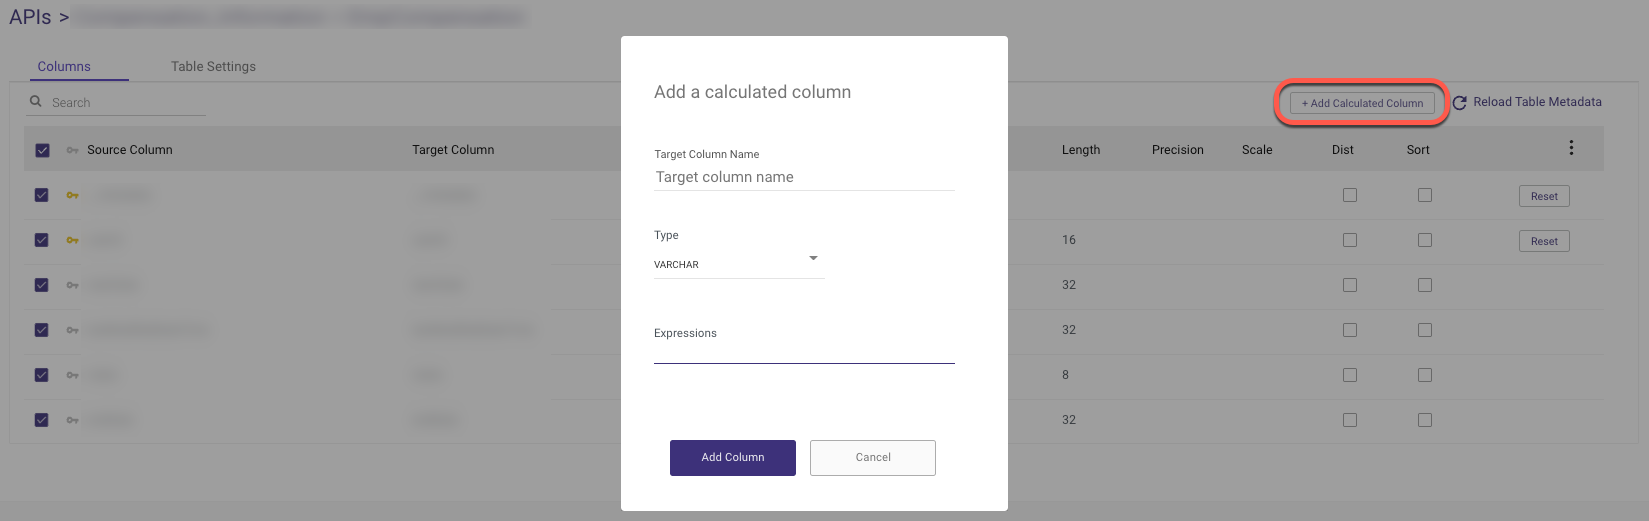
- A custom expression can be added to any target column by clicking '+ Add Calculated Column'.
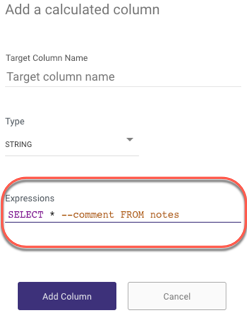
Please Note:
When adding a comment to an Expressions query, use /* "comment" */ rather than two hyphens (--) to prevent commands from being mistakenly interpreted as comments, as the query is converted to a single line.
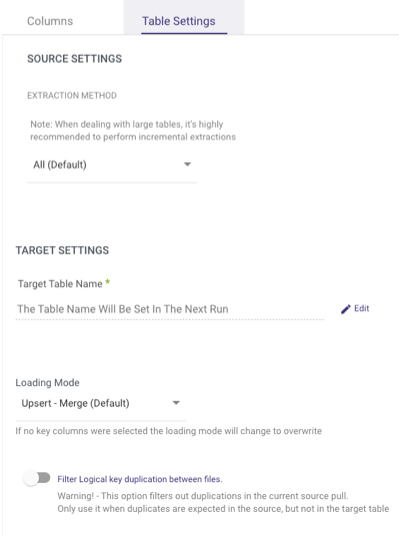
- On the 'Table Settings' tab you are able to edit the following:
You can extract data in two ways:
- All (Default)
- Incremental
If you choose 'Incremental,' you can specify which field will be used to define the increment.
Note:- Start Date is mandatory.
- Data can be retrieved for the date range specified between the Start and End dates.
- If you leave the end date blank, the data will be pulled at the current time of the River's run.
- Dates timezone: UTC time.
Select 'Edit' to change the Target Table Name.
Change the Merge Method and the Loading Mode
Filter logical key duplication between files - This option removes duplications from the current source pull.
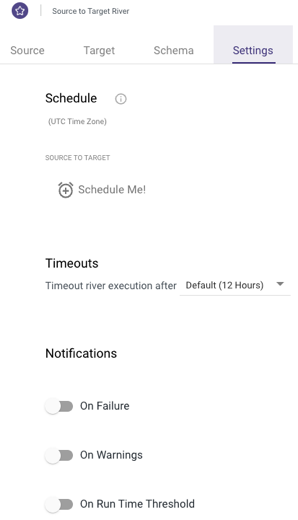
- To schedule your River, specify execution timeouts, and receive notifications, go to the 'Settings' tab.
- You can now click Run to run your River.
Include Effective Date Option
SuccessFactors has the ability to support Effective Dates in its APIs and entities.
Effective dates refer to the date when a change in an employee's record becomes effective. This allows for flexible effective dating, which means that changes to records can be made and the effective date for those changes can be set in the future or past.
Effective dates are essential for managing the employee lifecycle, ensuring accuracy in employee records, and complying with employment laws and regulations.
This section explains the concept of effective dates and how to use them in SuccessFactors.
Using Effective Dates in SuccessFactors
Using effective dates allows for accurate tracking of employee record changes. For example, if an employee's salary is updated over time, each change will have an associated effective date. This information can be useful for payroll processing, reporting, and compliance purposes.
Adding Effective Dates to an API Entity
To add effective dates to a supported API entity in SuccessFactors, follow these steps:
Navigate to the Schema tab → APIs
Select an API (e.g. Employment Information)
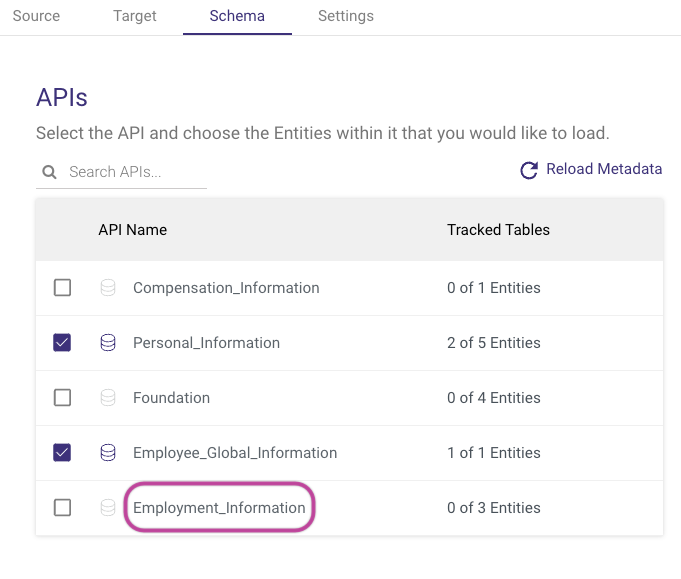
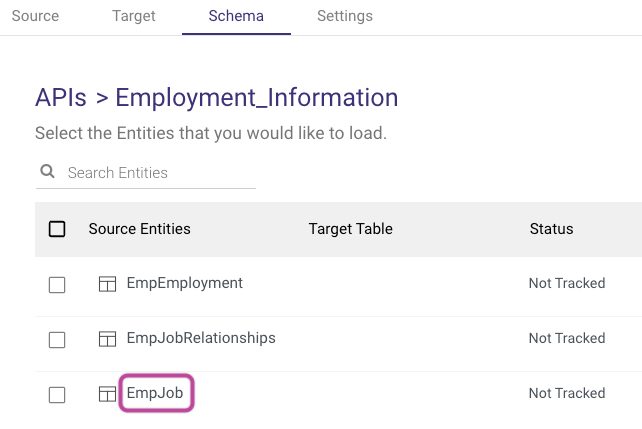
Select an API entity (e.g. EmpJob)
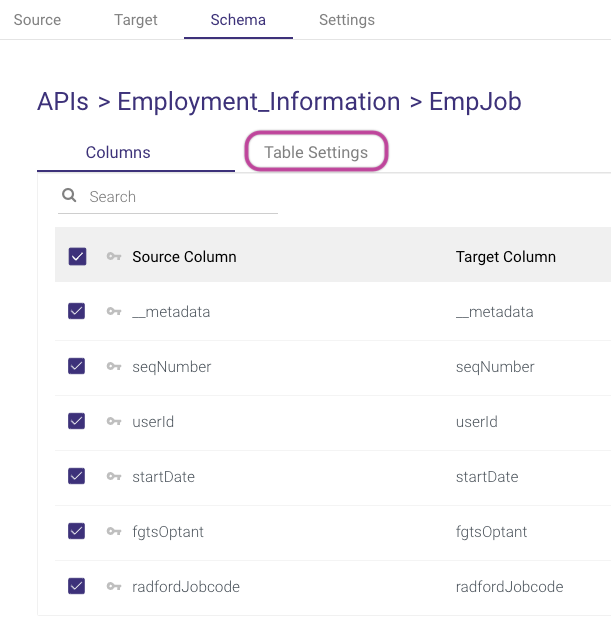
Go to Table Settings
Check the "Include Effective Date" box.
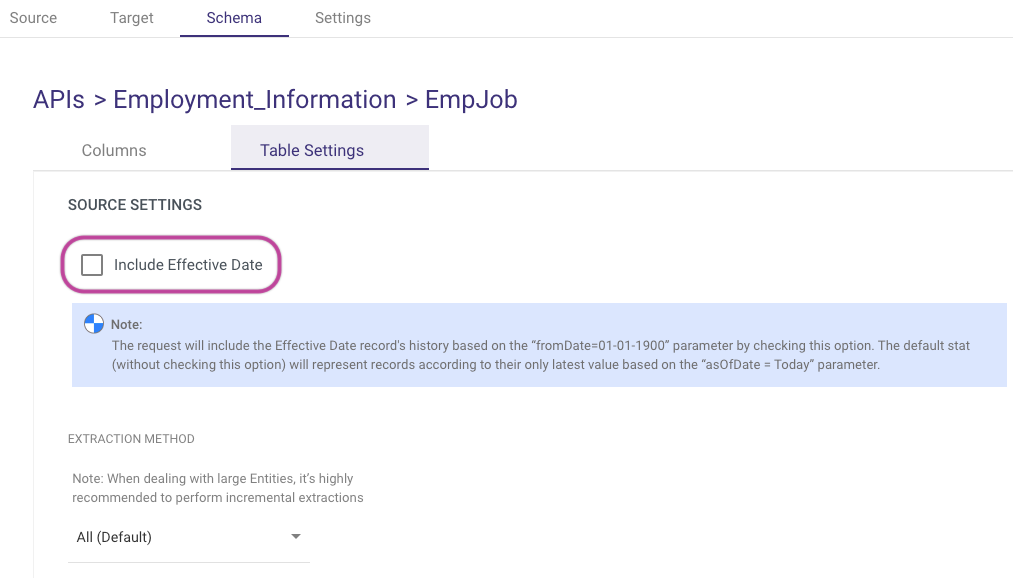
Please Note:
If you select the option, the request will incorporate the complete history of the Effective Date record, using the "fromDate=01-01-1900" parameter. On the other hand, if you don't select the option (default), the request will only display the latest value of the record based on the "asOfDate = Today" parameter.
Was this article helpful?