Adjust Walkthrough
- 3 Minutes to read
- Print
- DarkLight
- PDF
Adjust Walkthrough
- 3 Minutes to read
- Print
- DarkLight
- PDF
Article summary
Did you find this summary helpful?
Thank you for your feedback!
Introduction
This document outlines the steps to pull data from the Adjust platform into Rivery. The process involves selecting the appropriate Adjust connection, choosing the desired report type, configuring settings such as app tokens and time intervals, and filtering the data as needed.
Follow these steps to efficiently integrate Adjust data into your Rivery workflows.
Establish a Connection
Ensure you have an Adjust connection set up in Rivery.
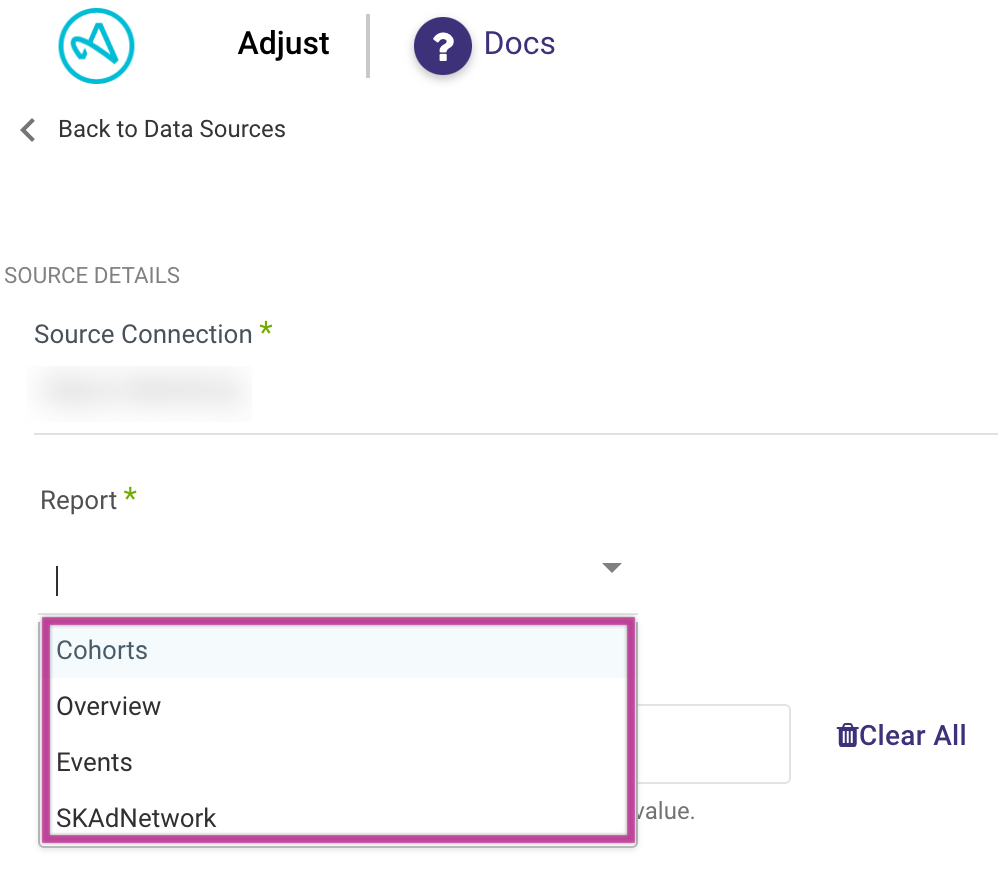
Reports
Select the type of report you want to pull from Adjust. You can choose from Cohorts, Overview, Events, and SKDaNetwork reports.
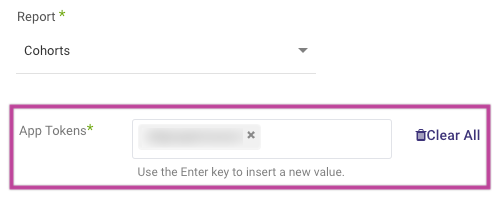
Configure App Tokens
Insert the required App Tokens for the report. Copy the app token from your Adjust platform and paste it into Rivery. You can insert multiple app tokens to generate separate reports for each token.
Set Time Period
Specify the time period for the report by entering the start date, end date, and days back (optional). Use the interval chunks size input for pulling data over long periods effectively.
Please Note:
- Start Date is mandatory.
- Data can be retrieved for the date range specified between the start and end dates.
- If you leave the end date blank, the data will be pulled at the current time of the river's run.
- Dates timezone: UTC time.
- The Start Date will not be updated if a River run fails. To change this default behavior, navigate to More Options and select the checkbox to advance the Start Date even if the River run is unsuccessful (Not recommended).

- Use the Last Days Back For Each Run option to gather data from a specified number of days prior to the selected start date.

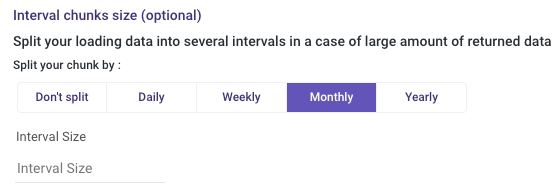
Select Interval Chunks (Optional)
If necessary, specify the interval size to split the data retrieval into smaller chunks. This improves performance when dealing with large data sets from Adjust.
Choose Report Metrics and Dimensions
Select the columns (KPIs and Grouping/Dimensions) you want to include in the report. Ensure you select the date column for time dimension, especially when using interval chunks.
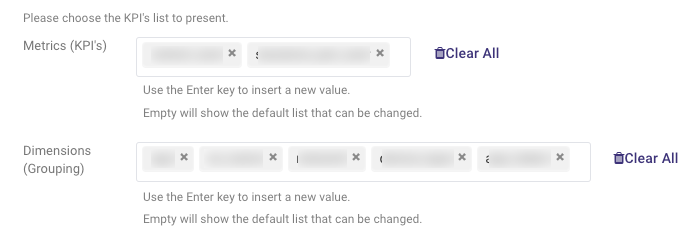
Please note:
These fields must be filled in.
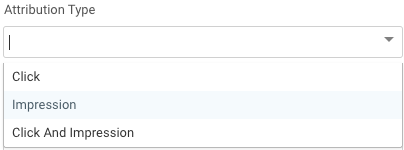
Define Attribution Type
Select the attribution type (Clicks, Impressions, or both) for the report as per your requirements.
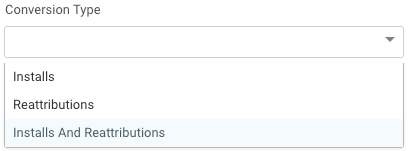
Specify Conversion Type
Choose the conversion type (Installs, Reattributions, or both) for the report based on your analysis needs.
Set Period Resolution
Define the period resolution to set the time calculation of the metrics in the report.
Cohort Period Resolution Field Specifications
The cohort period resolution field includes the following parameters:
- After Install Days: Accepts numerical input within the range of 0 to 120. Users enter a single number representing the number of days.
- After Install Weeks: Accepts numerical input within the range of 0 to 52. Users input a single number representing the number of weeks.
- After Install Months: Accepts numerical input within the range of 0 to 36. Users input a single number representing the number of months.
Day cohort periods are calculated as follows:
D0 = 24 hours after install
D1 = 48 hours after install
D2 = 72 hours after install.
A week is calculated as 7 days. This means that weekly cohort periods are calculated as follows:
W0 = D0 to D6
W1 = D7 to D13
W2 = D14 to D20.
A month is calculated as 30 days. This means that monthly cohort periods are calculated as follows:
M0 = D0 to D29
M1 = D30 to D59
M2 = D60 to D89.
Filter Options
Filter the report based on OS Names, Device Types, and Events Tokens.
Insert the token of the required application for filtering.
Events KPIs
For reports that include Events, access the Events KPIs by clicking on the input to view all available KPIs.
Adjust View in Overview and Events Reports
Check the "Base Impressions" checkbox in Overview and Events reports to modify the report view accordingly.
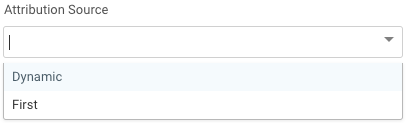
Attribution Source (Overview Report)
In the Overview report, select the attribution source as either dynamic (default) or first. This choice determines how in-app activity is attributed to user install sources.
Was this article helpful?