AppsFlyer Walkthrough
- 2 Minutes to read
- Print
- DarkLight
- PDF
AppsFlyer Walkthrough
- 2 Minutes to read
- Print
- DarkLight
- PDF
Article summary
Did you find this summary helpful?
Thank you for your feedback!
AppsFlyer Pull API version 5 is currently supported
This provides a general description of AppsFlyer and its capabilities.
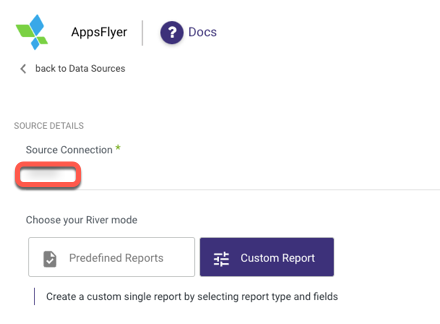
Connection
Follow our detailed tutorial to connect to AppsFlyer.
Choose a Source connection after you've created a connection, as seen here:
Reports
In AppsFlyer, there are two types of reports available:
Predefined Reports
Click here to view Predefined Reports.
Custom Reports
Select a specific report to pull data from the AppsFlyer API v5 after you've established a connection.
The following image provides an overview of the various custom reports:
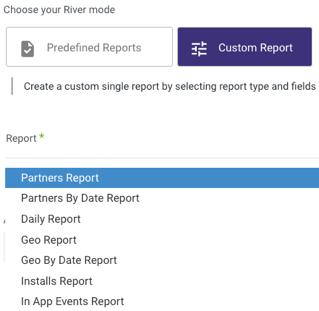
The user can access 10 distinct reports using Rivery:
- Partners
- Partners by date
- Daily
- Geo
- Geo by Date
- Installs
- In-App events
- Uninstalls
- Organic Installs
- Organic In-App Events
Please note:
The default fields are unique to each AppsFlyer report, therefore there might be some differences between reports.
To use the report capabilities, proceed with the next steps:
- From your AppsFlyer platform, copy the app ID.
Please note:
Make sure you copy the app ID and not the app name.
It is essential to include the "id".
Add as many app ID's as necessary. Each token will have a separate report generated by Rivery, which will then put all of the data into your target database.

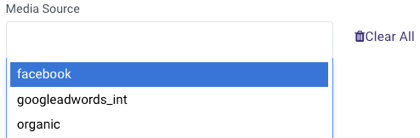
- Choose the report's Media Source. You have the option of choosing multiple media sources.
Please Note:
If a media source isn't listed in the drop-down menu, just enter it manually. For example, to filter on Apple Search Ads, enter "Apple Search Ads" in the media source form.
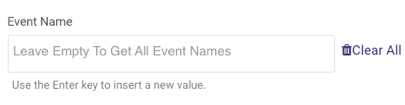
You have the option to filter your raw data reports (events reports) in order to avoid returning large amounts of data. The filter can handle up to 100 events per run.
Choose the report's time period.

Note:
Start Date is mandatory.
Data can be retrieved for the date range specified between the start and end dates.
If you leave the end date blank, the data will be pulled at the current time of the river's run.
Dates timezone: UTC time.
The Start Date won't be advanced if a River run is unsuccessful.
If you don't want this default setting, click More Options and check the box to advance the start date even if the River run is unsuccessful (Not recommended).

Use the Last Days Back For Each Run option to gather data from a specified number of days prior to the selected start date.
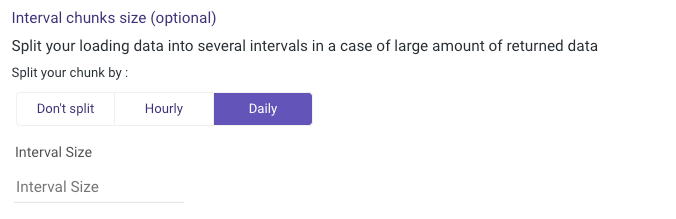
Due to AppsFlyer's potential difficulties in providing very large volumes of data, splitting the requests into smaller chunks can be helpful. The "Interval chunks size" option can be used to segment the data. The data will be calculated using the start date and end date provided for shorter time frames by doing this.
Please Note:
Whether you pull the data with interval chunks or without, the outcomes will be just the same. This is simply done to enhance the connection's performance with the AppsFlyer API.
Limitations
You must ensure that your Appsflayer subscription permits pulling Raw Data Reports otherwise you will receive a 'Raw Data' error while running the River.
AppsFlyer's Main Limitations Are:
1. 200,000 rows is the maximum report size. In the event that you exceed this limit, Rivery offers a workaround by splitting the requests into shorter time periods with less data using the interval chunks input.2. Limits on the volume of requests per account and per application.
3. If there are any errors caused by AppsFlyer limits, they will be indicated in Rivery.
For further information, consult the AppsFlyer API policy.
Was this article helpful?