BlueSnap Walkthrough
- 1 Minute to read
- Print
- DarkLight
- PDF
BlueSnap Walkthrough
- 1 Minute to read
- Print
- DarkLight
- PDF
Article summary
Did you find this summary helpful?
Thank you for your feedback!
Introduction
This guide walks you through the process of pulling data from BlueSnap into Rivery. It covers the steps to create a river, select reports, and configure time periods.
Prerequisites
- A valid BlueSnap connection must be established in Rivery.
How to Pull Data from BlueSnap Using Rivery
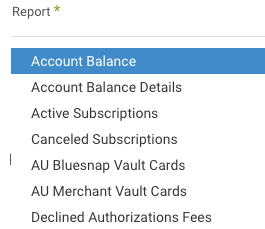
Report Selection
- Select the specific report you want to pull from BlueSnap:

Configuring the Report's Time Period
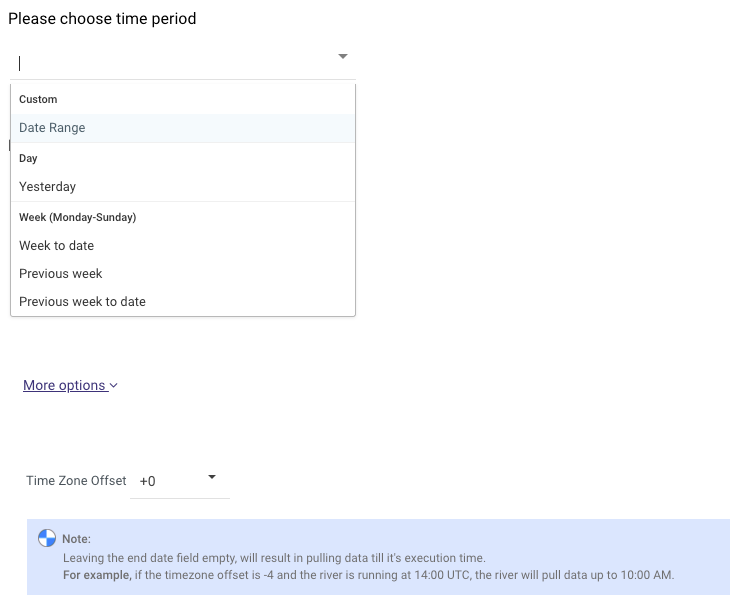
You can configure the report to pull data for a specific time period. BlueSnap reports in Rivery support two types of time periods:
- Date Range:
- Pulls data between a start date and end date, inclusive of the end date.
- A start date is required.
- Leaving the end date empty will pull data up to the current time when the river runs.
- You can set a timezone offset to adjust the time period for your specific time zone.
- Use the "Last Days Back For Each Run" option to backfill data by pulling a certain number of days prior to the specified start date.
- Predefined Date Range:
Alternatively, you can use predefined date ranges offered by Rivery:
- Day: Yesterday
- Week: Week to date, Previous week, Previous week to date (Monday to Sunday)
- Month: Month to date, Previous month, Previous month to date
- Year: Year to date

Was this article helpful?

