Coupa Walkthrough
- 3 Minutes to read
- Print
- DarkLight
- PDF
Coupa Walkthrough
- 3 Minutes to read
- Print
- DarkLight
- PDF
Article summary
Did you find this summary helpful?
Thank you for your feedback!
Coupa is currently available in Beta Stage, with support for API version R38
Introduction
Coupa is a cloud-based spend management platform that helps organizations effectively control their expenses, and invoicing processes.
This document provides an overview of Coupa and its capabilities, focusing on its integration features and how to leverage them for efficient data management.
Reports Overview
Details regarding the Reports can be found within Coupa's documentation:
Connection
To establish a connection with Coupa , follow our step-by-step tutorial.
Now that you have successfully established a connection, let's explore the features Coupa offers for integrating data into a cloud target.
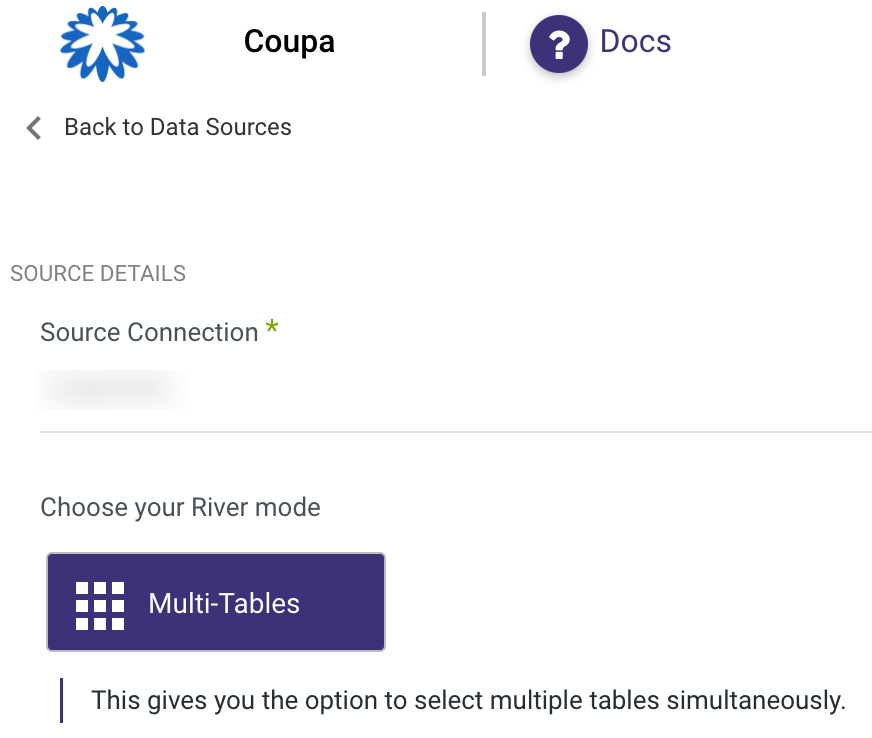
Coupa provides a Multi-Tables mode for Standard Extractions, enabling you to load multiple tables to your target simultaneously.
How to Work With Coupa Integration
Coupa provides a Multi-Tables mode for Standard Extractions, enabling you to load multiple tables to your target simultaneously.
To pull data from Coupa into your Target using Multi-Tables mode, follow these steps:
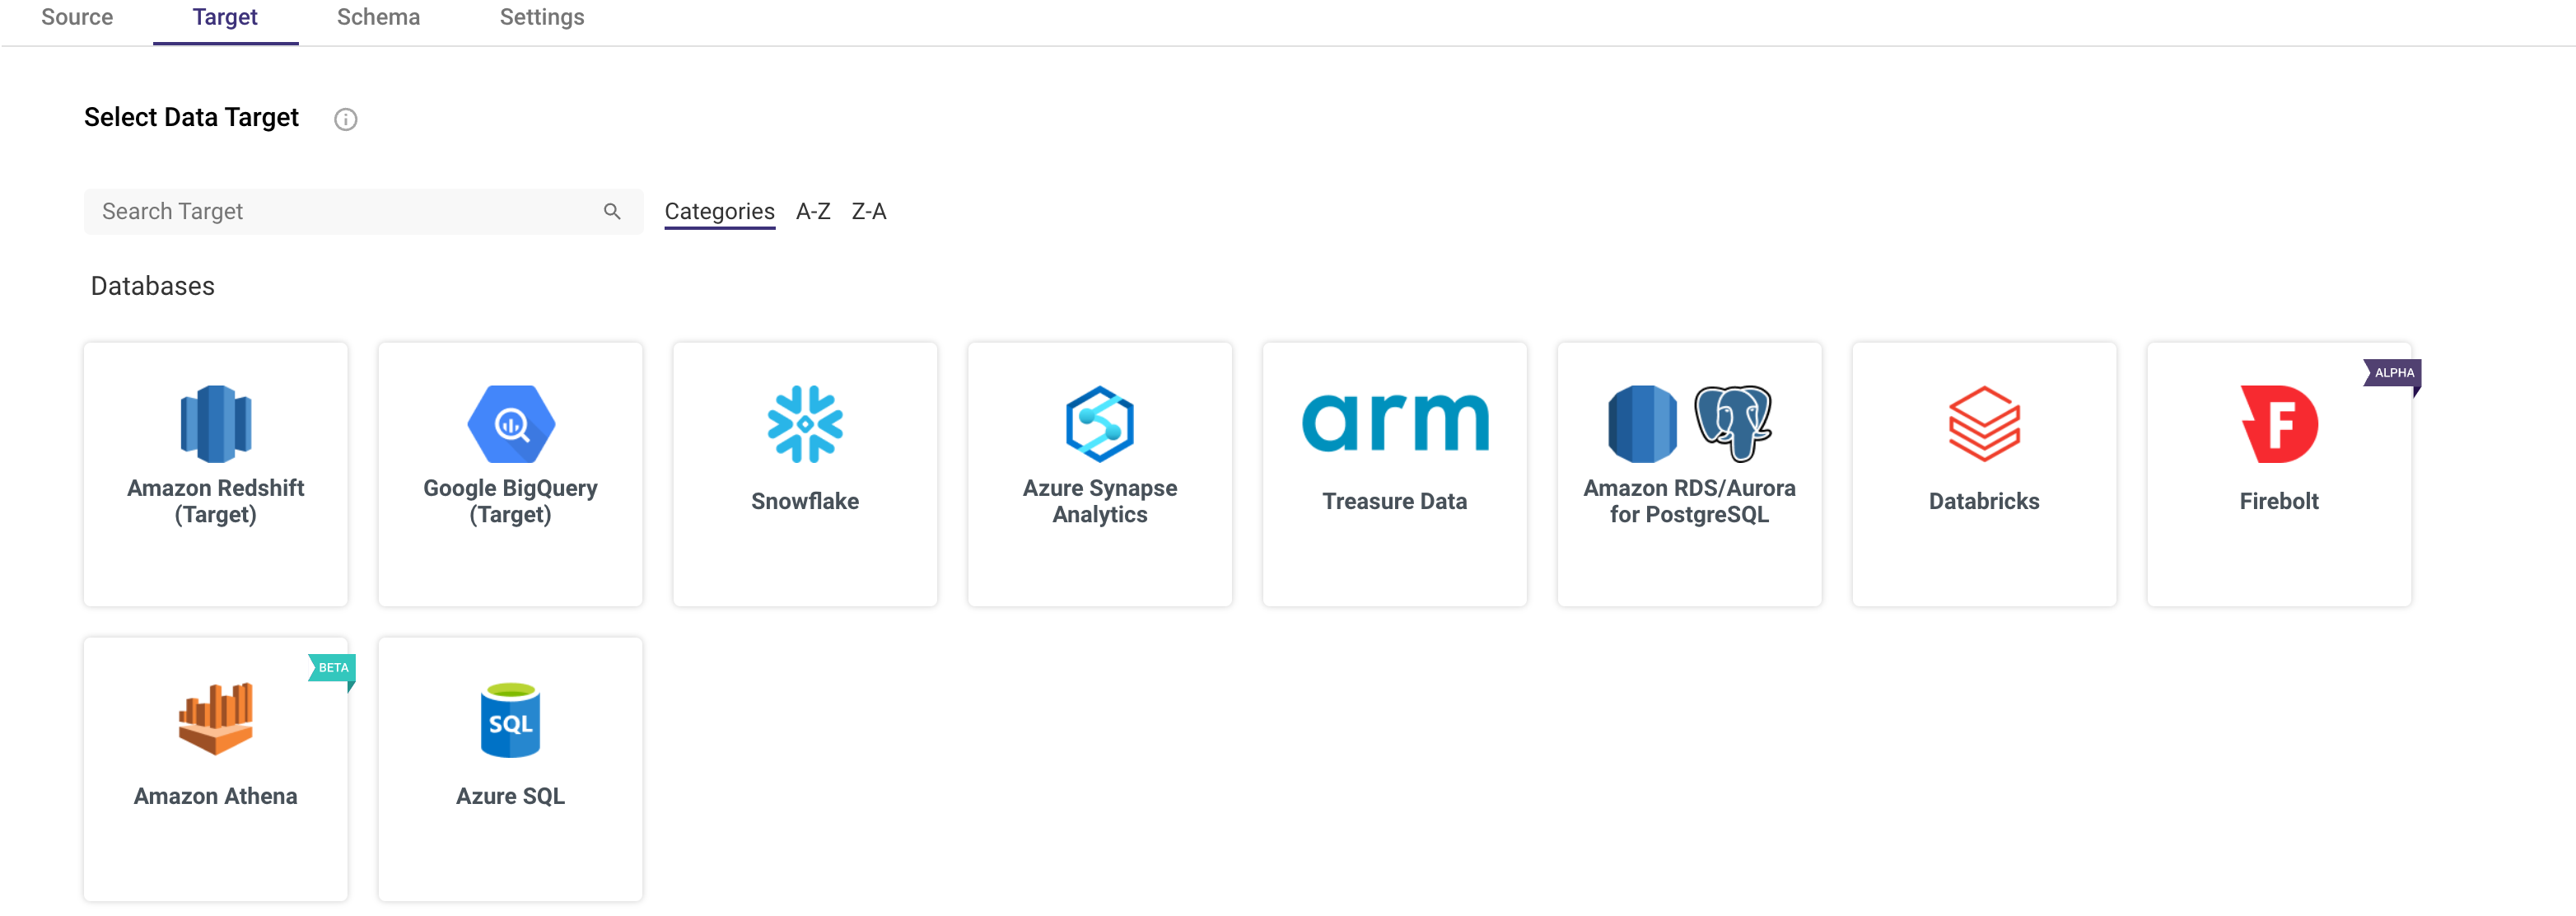
- Choose your Target destination:
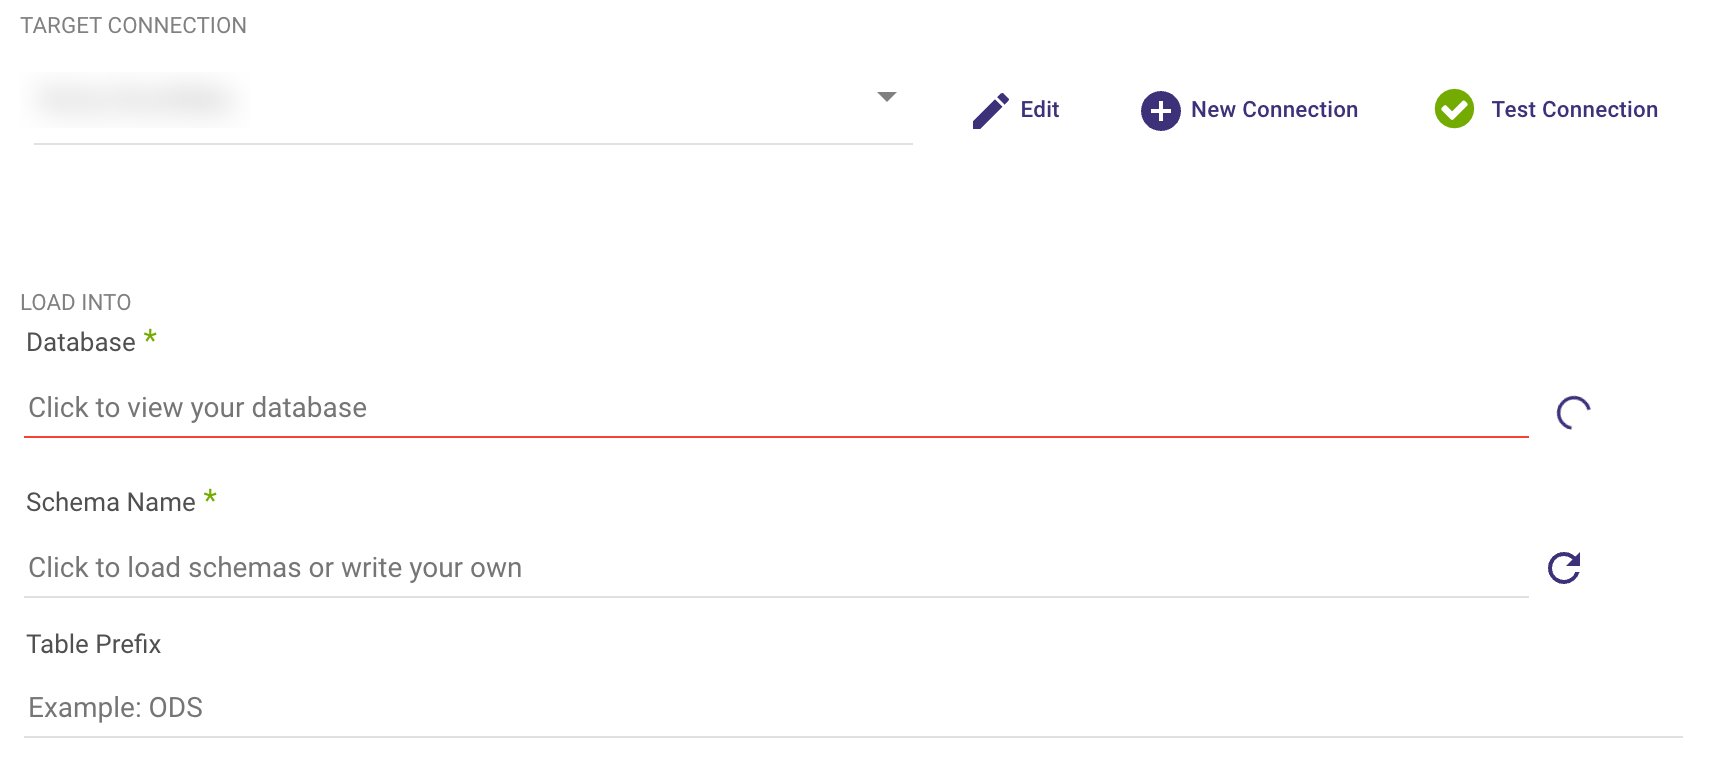
- Select your Target Connection, then click the curved arrow next to Database and Schema on the right side of the row. Once the refresh is complete, choose the Database and Schema where you want the data to be stored.
- Set the loading mode for your Multi-Tables migration.

Please Note:
While there's a default Loading Mode defined in the Target tab, you can modify the loading mode for individual tables by clicking the 'Table Setting' tab.

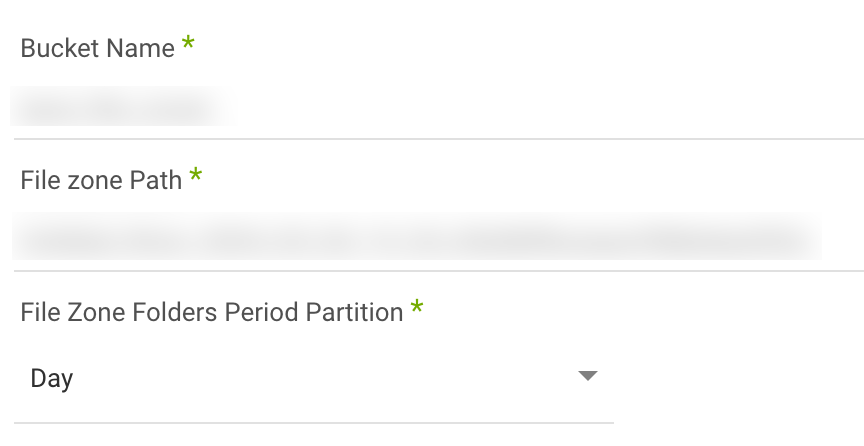
- For Storage Targets (e.g., Google Cloud Storage, Amazon S3, Azure Blob Storage), choose a bucket and a path for your data to land.
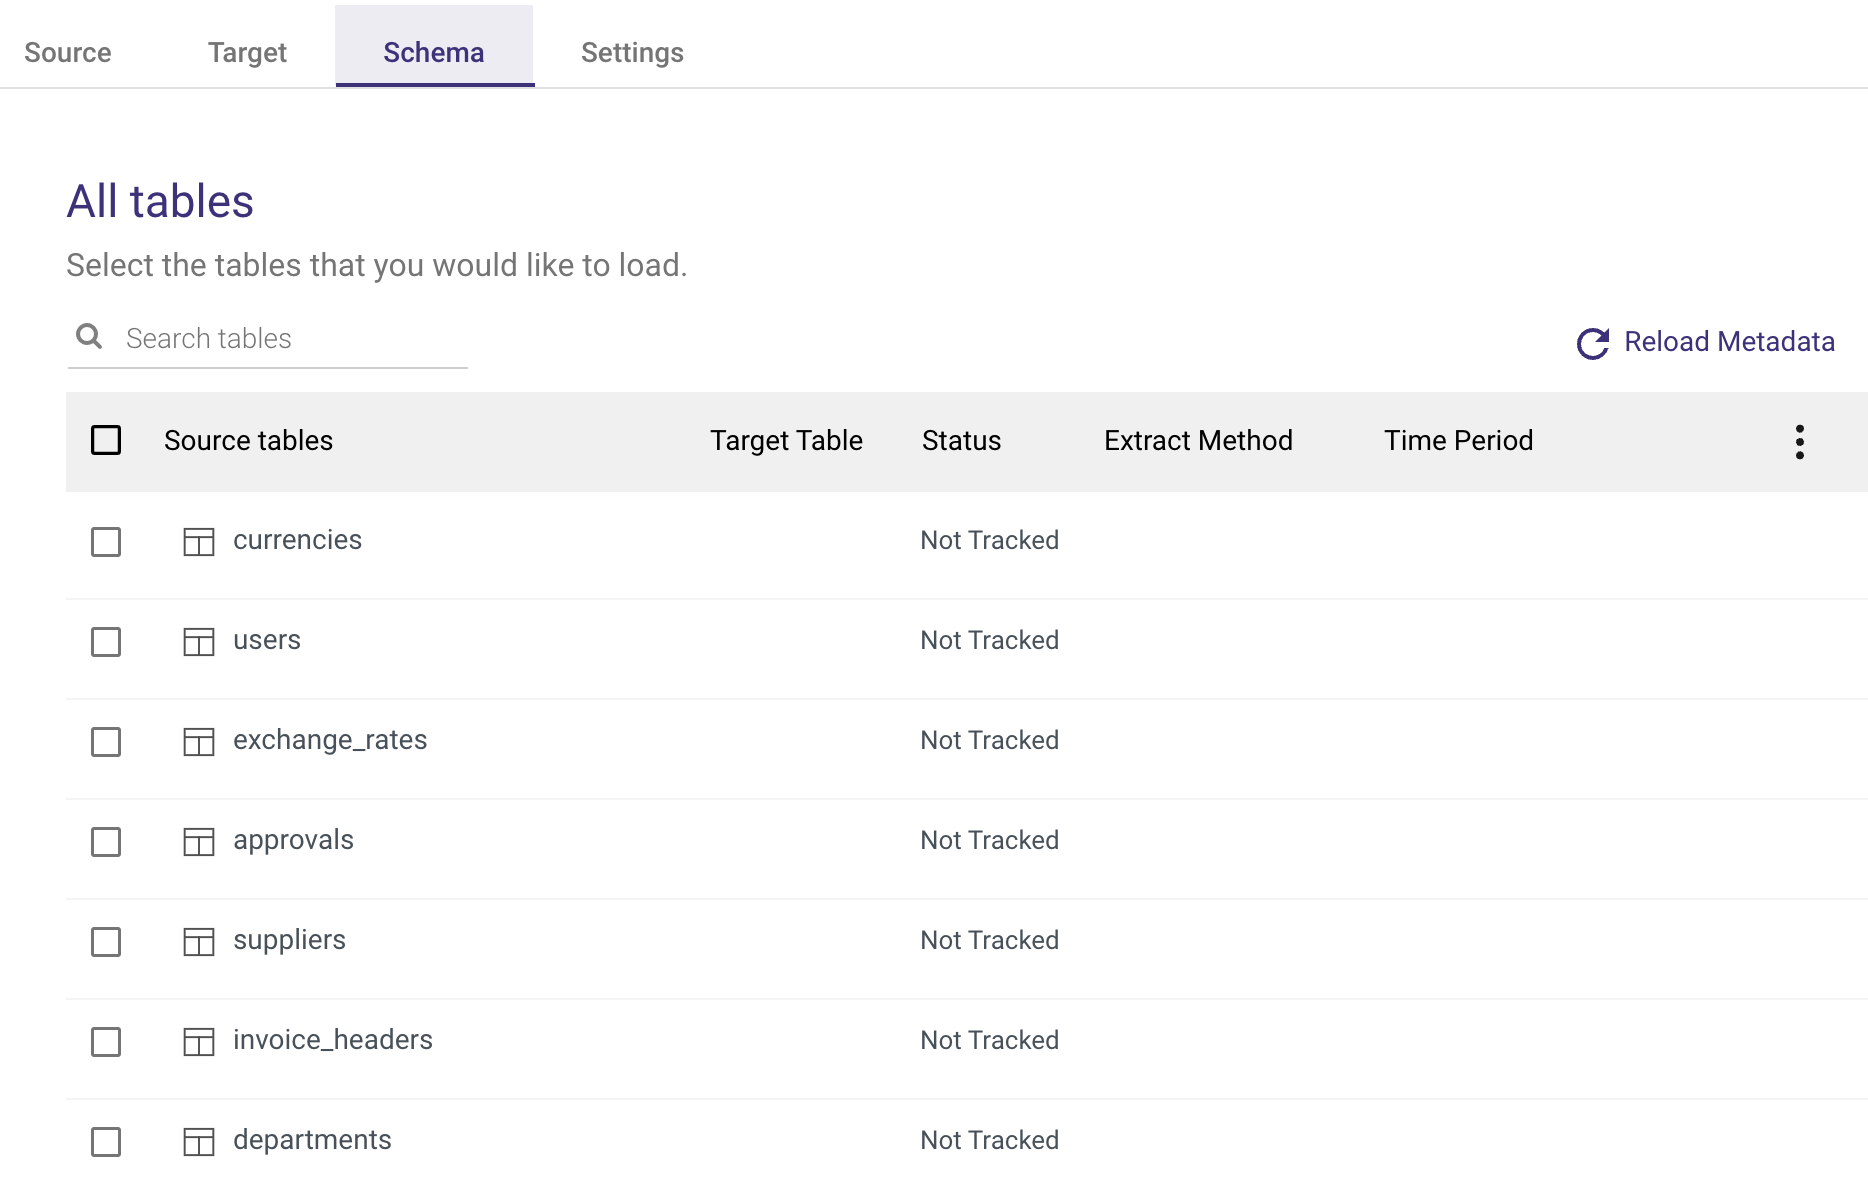
To access your database's metadata, simply head to the 'Schema' tab. In Coupa, utilizing an API Get call fetches all the reports and organizes them into tables within the Schema tab.
It's important to highlight that for all tables to appear in the schema tab, the connection must be successful.Choose the Reports you want to include by selecting the checkboxes next to them, or select all tables by checking the box next to the 'Source Tables' heading.
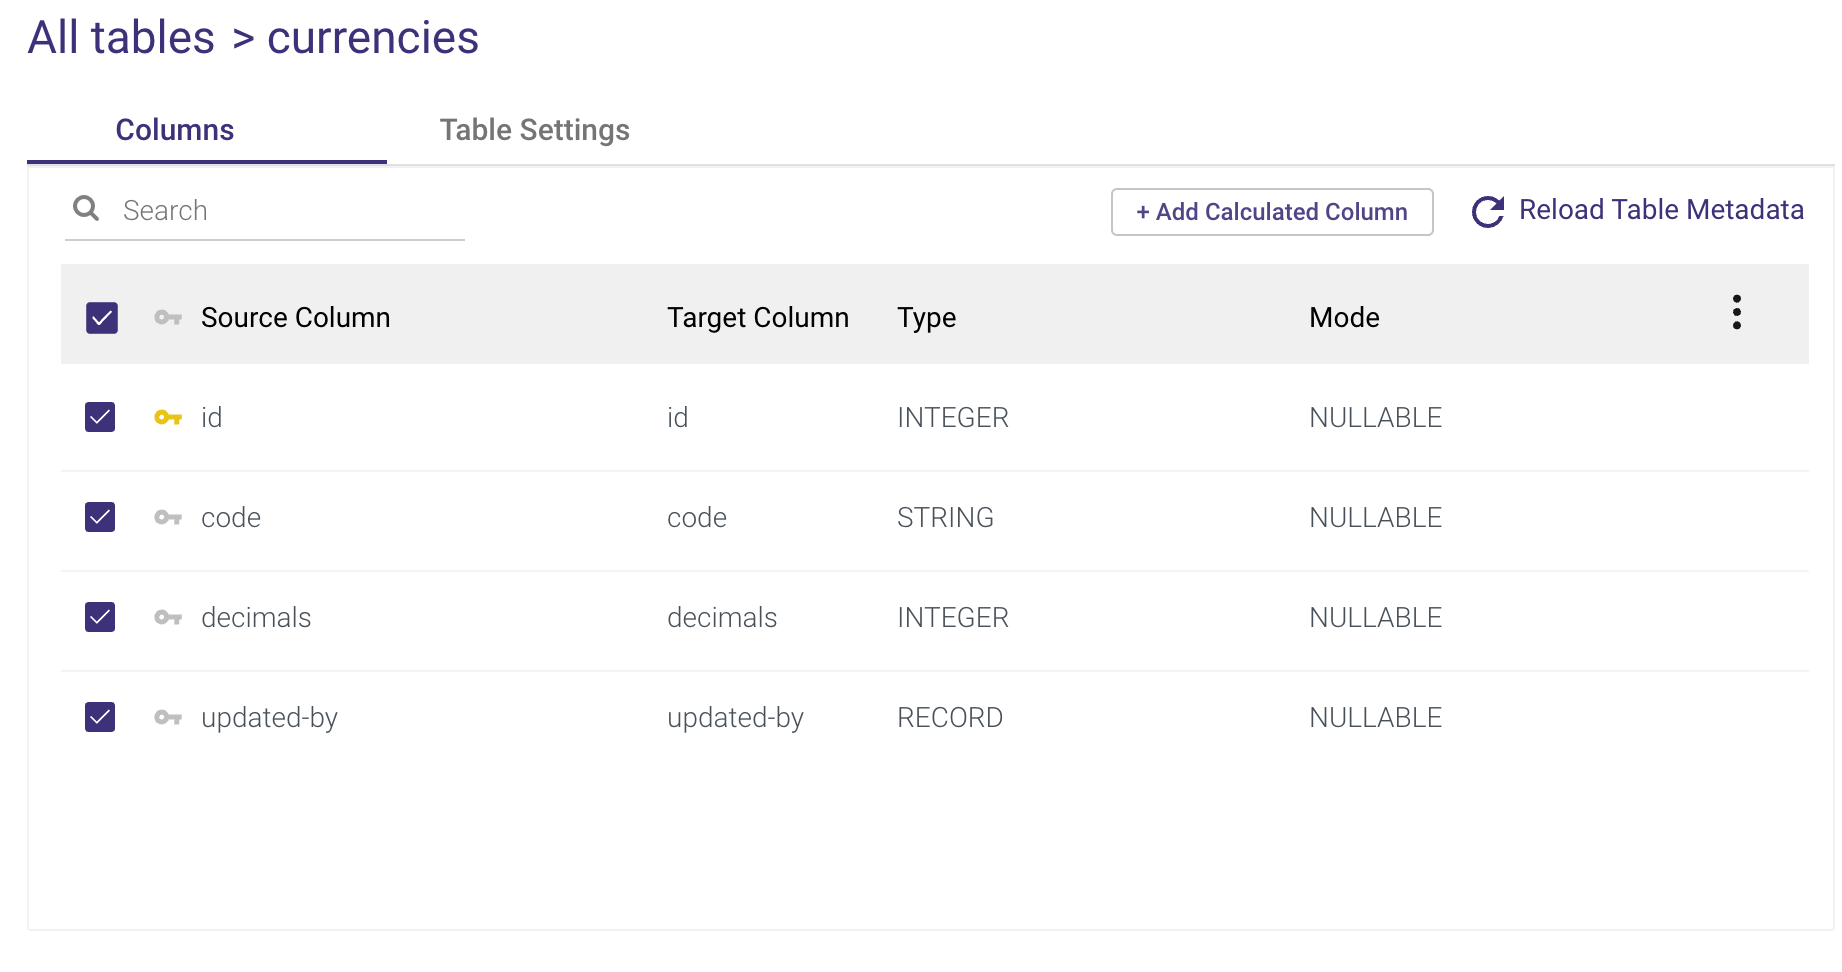
- After you've chosen your tables, they'll be displayed with further editing possibilities.
You can change the following on the 'Columns' tab:
- Check or uncheck the boxes next to the columns you want to include or exclude from the Target.
- In 'Target column,' rename the field by clicking the name and typing a new one.
- Double-click the current data type under 'Type' to change the field to a new data type.
- Please Note: Nested fields will receive the Variant data type, indicating that the columns are not flattened.
- Change the field's mode under 'Mode'.
- To make a field the key for Upsert-Merge, highlight it with the key to the left of the field name.
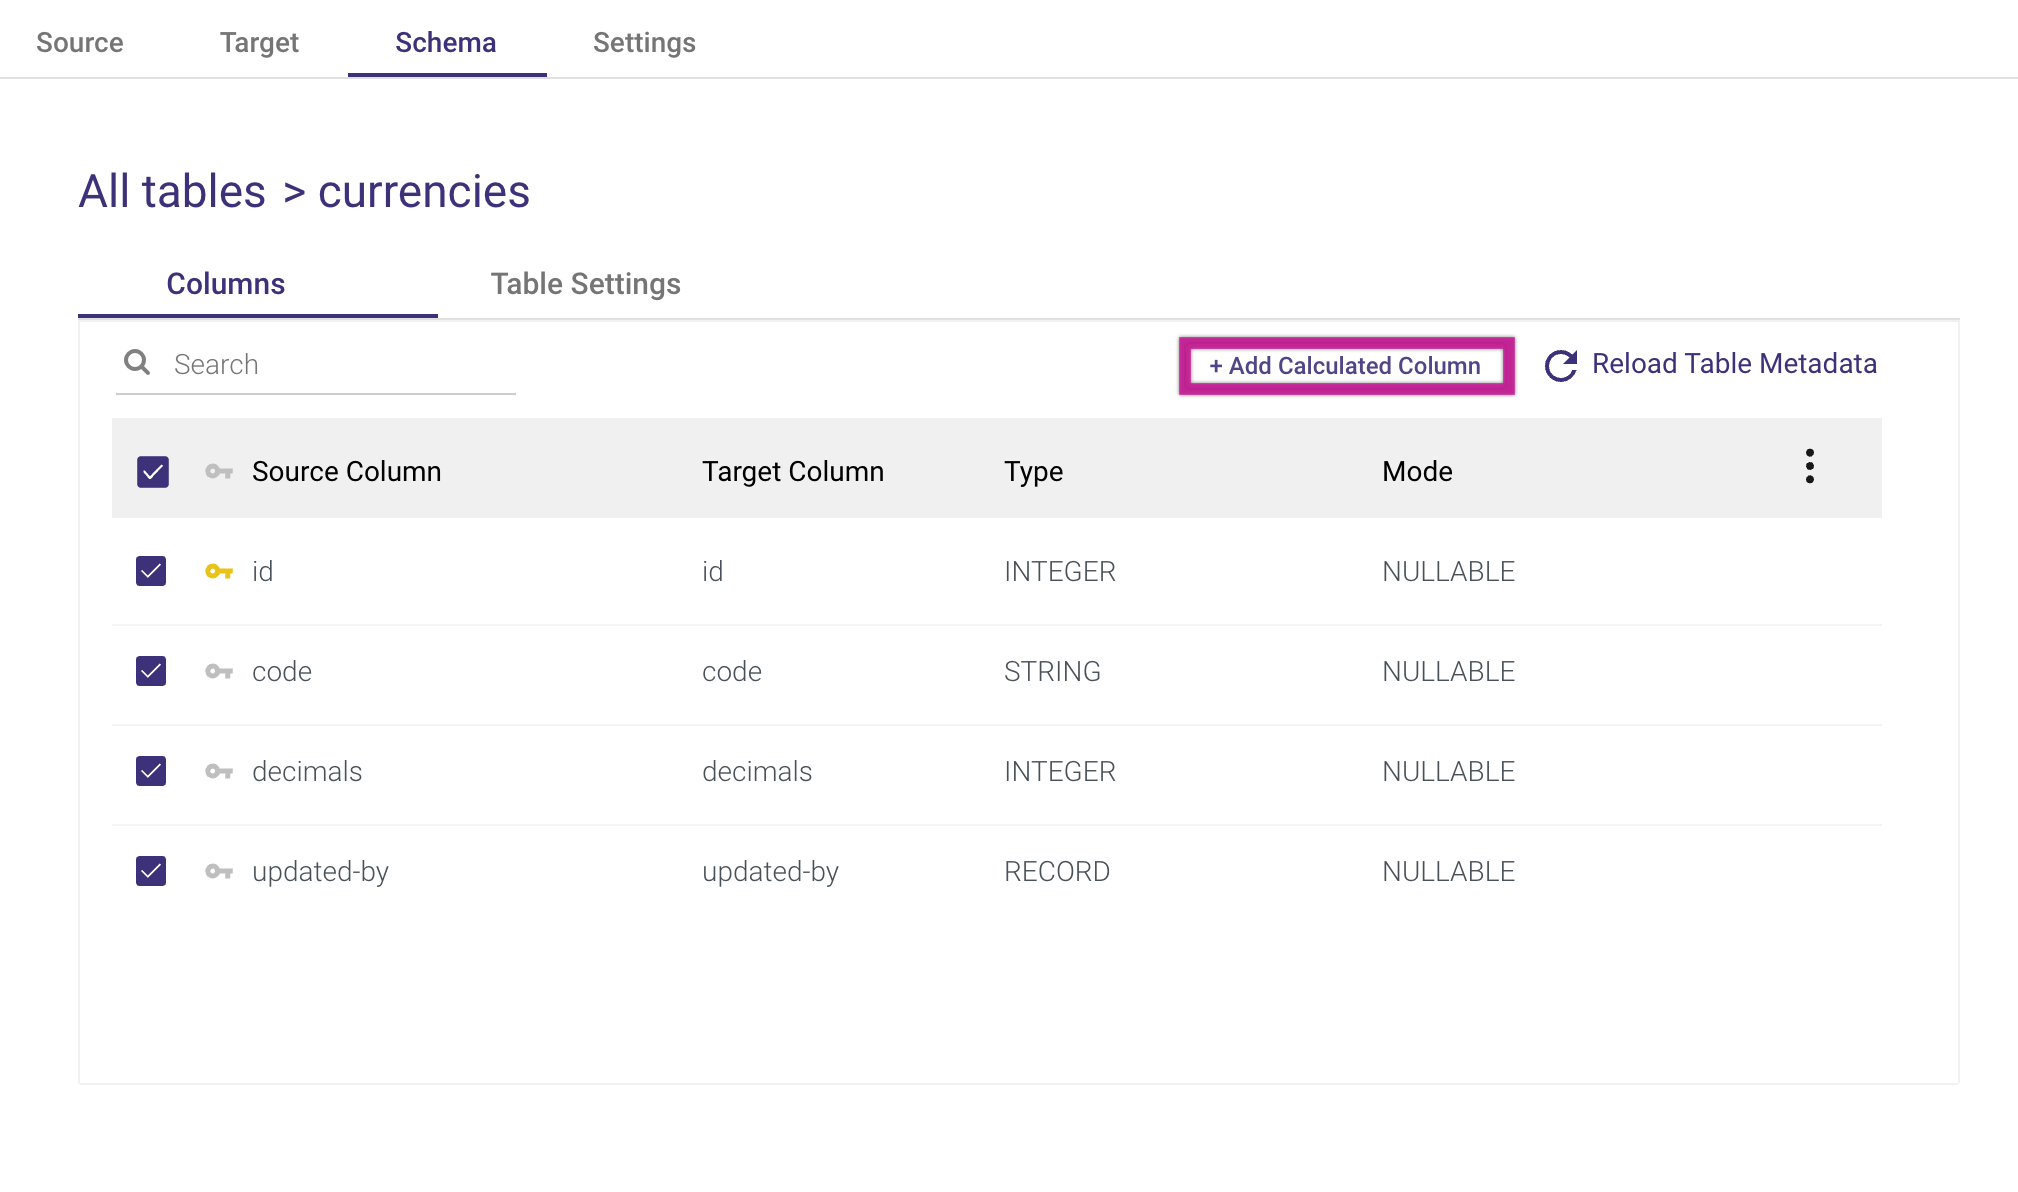
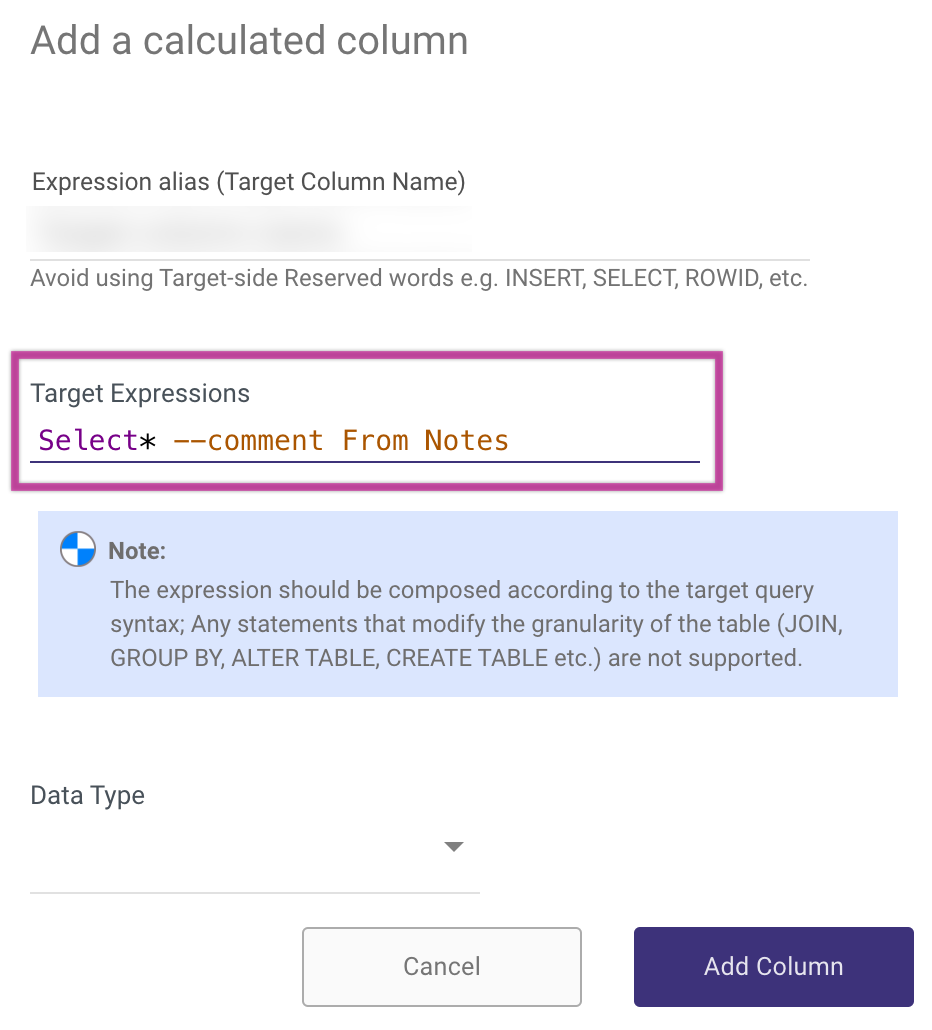
- A custom expression can be added to any target column by clicking '+ Add Calculated Column'.
Please Note:
When adding comments to Expressions queries, use /* "comment" */ rather than two hyphens (--) to prevent commands from being mistakenly interpreted as comments, as the query is converted to a single line.
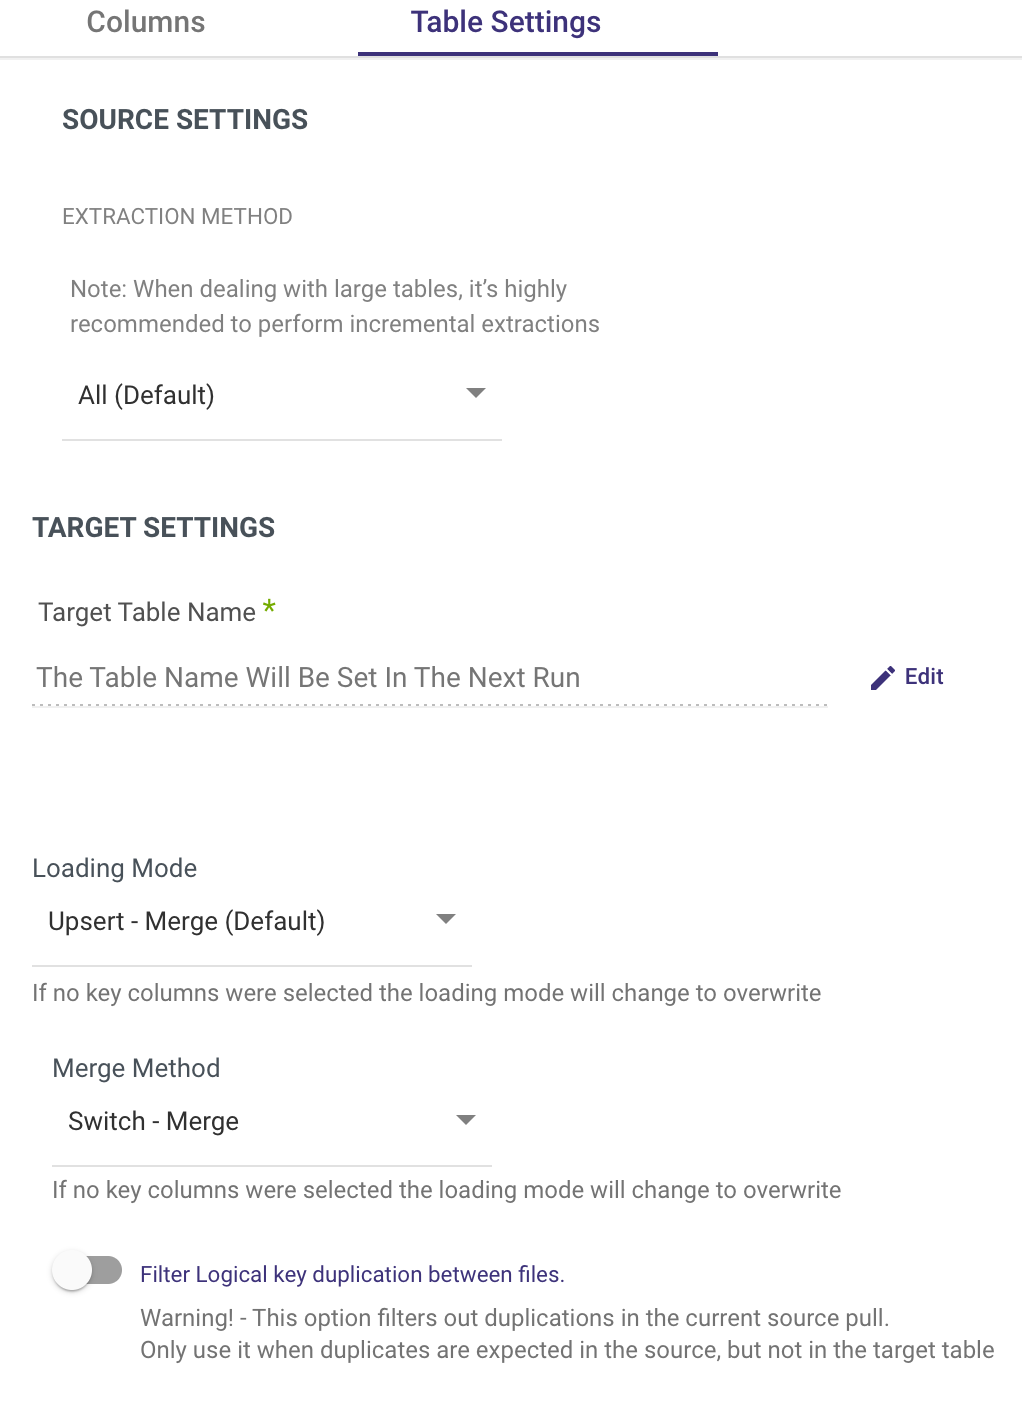
- On the 'Table Settings' tab you are able to edit the following:
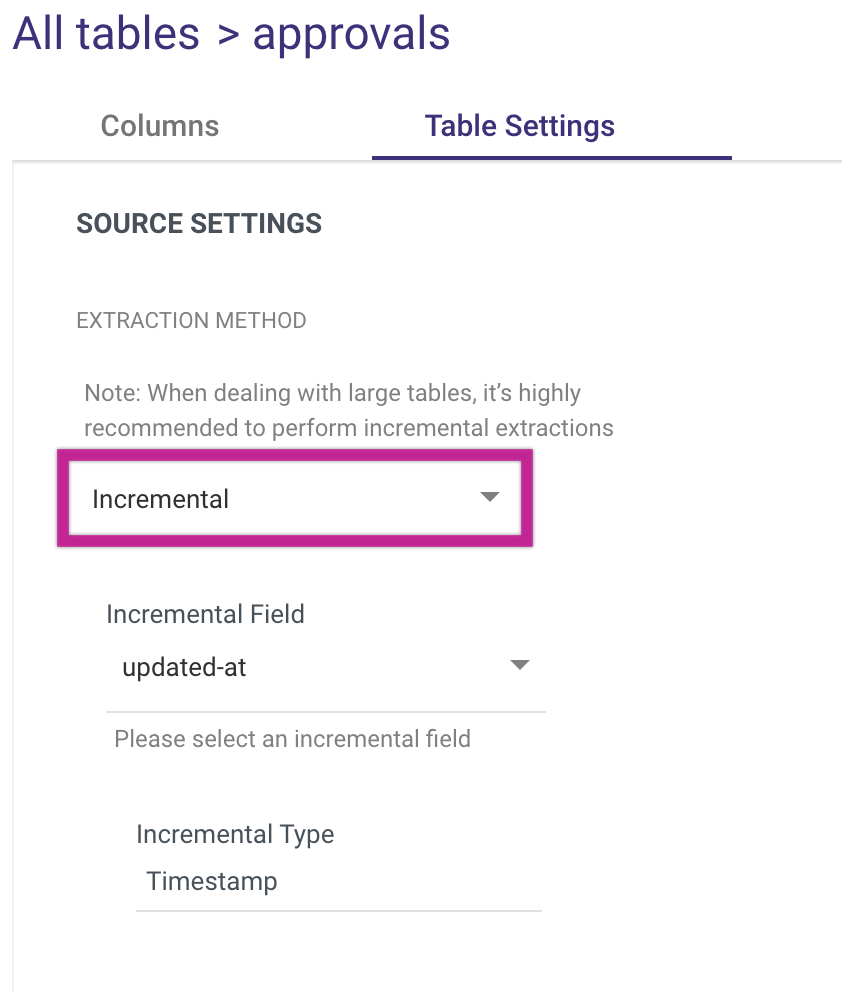
- You can extract data in 2 ways:
- All
- Incremental
If you choose 'Incremental,' you can specify which field will be used to define the increment.
Please Note:
- Start Date is mandatory.
- Data can be retrieved for the date range specified between the Start and End dates.
- If you leave the end date blank, the data will be pulled at the current time of the River's run.
- Dates timezone: UTC time.
- The Incremental extraction mode is strongly advised for Approvals and Invoice Headers Reports.
- Select 'Edit' to change the Target Table Name.
- Change the Merge Method and the Loading Mode
- Filter logical key duplication between files - This option removes duplications from the current source pull.
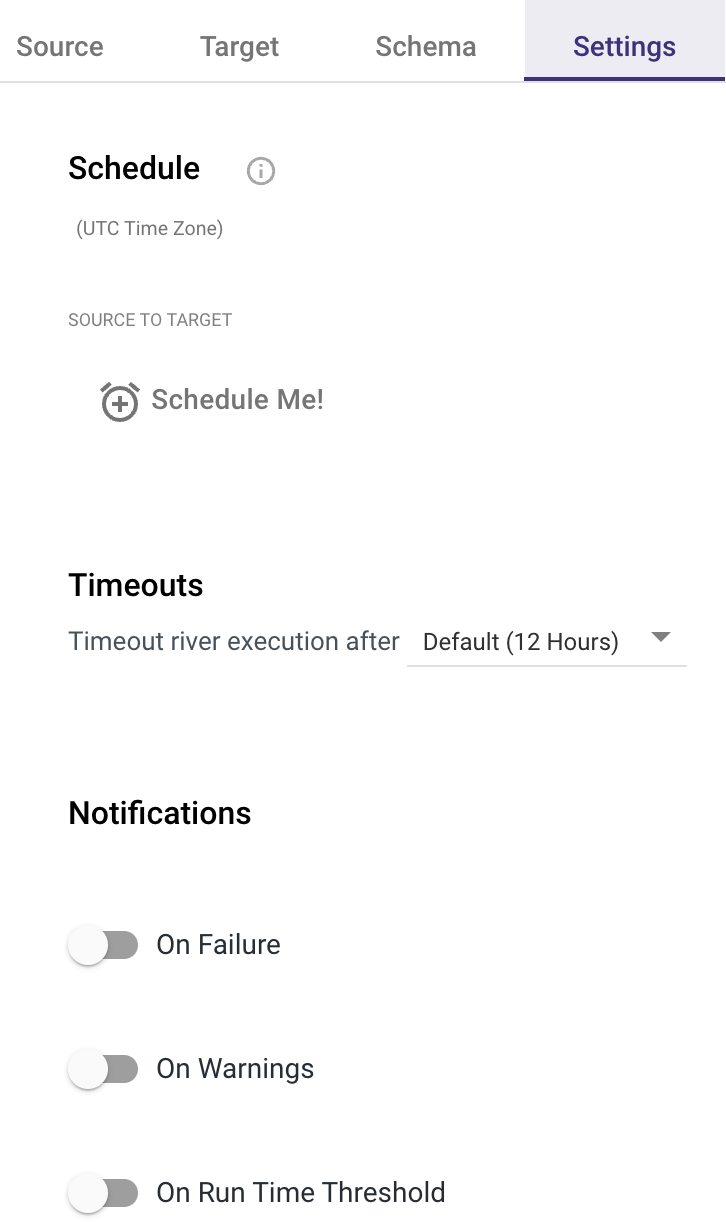
- To schedule your River, specify execution timeouts, and receive notifications, go to the 'Settings' tab.
- You can now click Run to run your River.
Was this article helpful?