Display & Video 360 Walkthrough
- 3 Minutes to read
- Print
- DarkLight
- PDF
Display & Video 360 Walkthrough
- 3 Minutes to read
- Print
- DarkLight
- PDF
Article summary
Did you find this summary helpful?
Thank you for your feedback!
Currently Supported:
Display & Video API Version 2
Bid Manager API Version 2
Introduction
This guide will walk you through the process of integrating data from Display & Video 360 API (version 2) into Rivery. Follow the steps to set up connections, create queries, and manage reports efficiently.
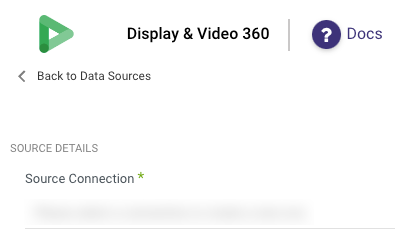
Connection
To connect Display & Video 360 API with your destination, follow our step-by-step tutorial.
Choose a Source connection after you've created a connection, as seen here:
Working with Display & Video 360 Integration
The ability to pull data from Display & Video 360 is categorized into 3 options:
- Creating a New Query in Rivery
- Run Existing Query
- Entity
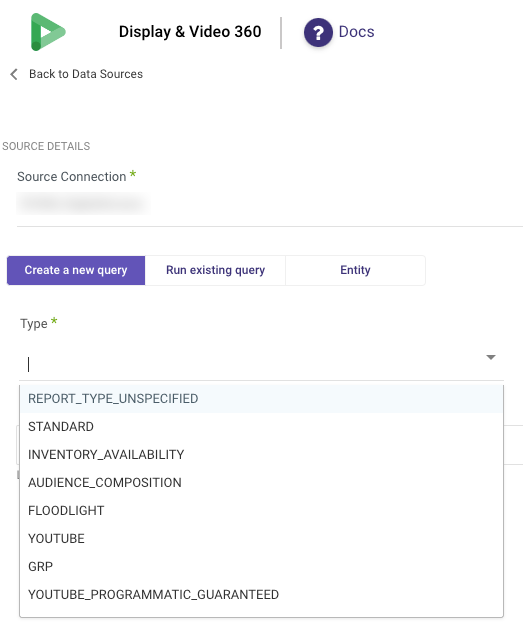
Create a New Query in Rivery
- Click on the option to create a new query.
- Configure Query Parameters:
Report Type
Select a report type:
REPORT_TYPE_UNSPECIFIED
STANDARD
INVENTORY_AVAILABILITY
AUDIENCE_COMPOSITION |
FLOODLIGHT
YOUTUBE
GRP
YOUTUBE_PROGRAMMATIC_GUARANTEED
REACH
UNIQUE_REACH_AUDIENCE
Partners
Select the 'Auto Complete Partners' option to see a list of all partners. Choose one or more, or leave empty to pull data for all partners.
If prompted with an error message to enter partner IDs manually, you can find your partner IDs here.

Filters
Add filters by clicking 'add filters', then select a filter name and value.
Enable 'Add filter to result columns (group by)' to include the filter in the results as a column.

Dimensions
Group data by the filters listed in this field.

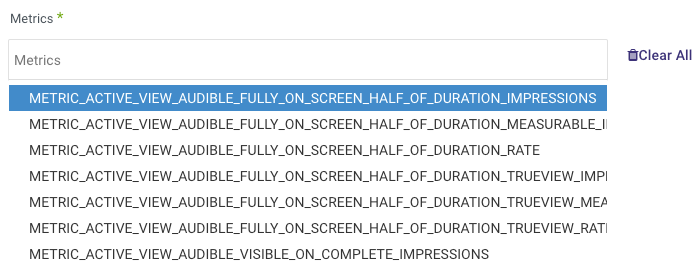
Metrics
Choose the metrics to include as columns in your report. Refer to the metrics documentation.
- Set the Query's Time Period:
Date Range
Pulls data between the start and end dates provided.
Ensure a start date is selected.
You can leave the end date empty to pull data up to the current time of the river's run.
Optionally, set a timezone offset.
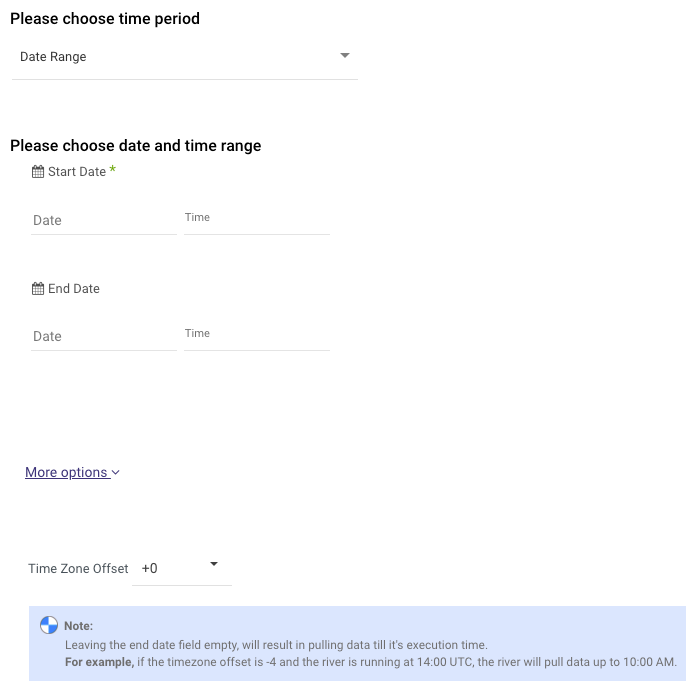
Predefined Date
Choose from predefined ranges such as Yesterday, Week to date, Previous week, Month to date, Previous month, or Year to date.
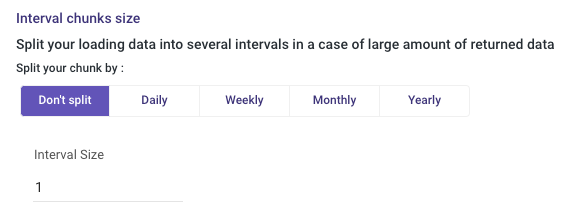
Interval Chunks Size
Choose how Rivery should chunk the data for efficiency:
- Don't Split: Pulls data in one bulk.
- Daily: Chunks data daily.
- Monthly: Chunks data monthly.
- Yearly: Chunks data yearly (less recommended).
Keep Query
Decide whether to keep the query in Display & Video 360:
If 'keep report' is enabled, provide a query title.
The query will be saved in Display & Video 360 with the same configurations after each run.
Scheduling and Running Queries
Important Notice About Scheduling
When scheduling the River:
A new query will be created and executed at each scheduled interval.
If 'keep query' is enabled, a new query will be saved in Display & Video 360 for each run.
To avoid excessive queries, disable 'keep query' when scheduling recurring reports.
Run an Existing Query
Load and select a predefined saved query from your Display & Video 360 console.

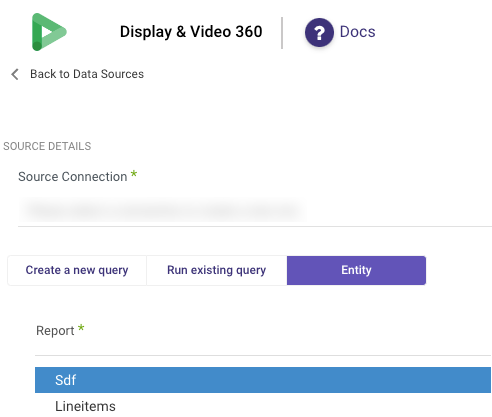
Entity
Rivery supports entity reports such as SDF (Structured Data Files) and Line items entities:
SDF Report
Select the file type and filters. At least one ID is required, and only one ID is allowed for ADVERTISER_ID.
Line Items Report
Filter and retrieve line items by specifying filter types and IDs.
Validating Combinations of Metrics and Dimensions
To validate possible combinations of metrics and dimensions in Google Display & Video 360, follow these steps:
- Access the Display & Video 360 User Interface: Navigate to the reporting section.
- Create a Demo Report: Initiate the creation of a report where you can select your desired combination of fields.
- Select Fields and Set Options: Choose the metrics and dimensions you want to include in your report, and configure any additional options as necessary.
- Validate Selections: If any invalid combinations are selected, the system will notify you when you attempt to save the report.
- Correct Invalid Options: Adjust your selections according to the feedback provided by Display & Video 360. The report cannot be saved until all chosen options are valid.
Was this article helpful?