Kochava Walkthrough
- 2 Minutes to read
- Print
- DarkLight
- PDF
Kochava Walkthrough
- 2 Minutes to read
- Print
- DarkLight
- PDF
Article summary
Did you find this summary helpful?
Thank you for your feedback!
Kochava API version 1.4 is currently supported
This provides a general description of Kochava and its capabilities.
Introduction
Kochava aids in the creation of brand identities, the identification and activation of target audiences, and the measurement and optimization of marketing campaigns across linked devices.
Connection
To connect to Kochava with your destination, follow our step-by-step tutorial.
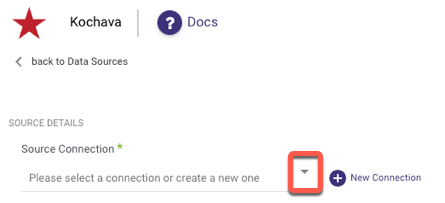
Choose a Source connection after you've created a connection, as seen here:
Reports
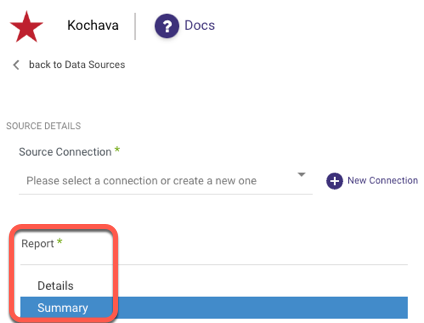
Select a specific report to pull data from the Kochava after you've established a connection.
The following image provides an overview of the 2 reports in Kochava:
Each report has 4 primary parameters:
Please note:
The default fields are unique to each report, therefore there might be some differences between reports.
App Guide List
Choose the applications you want to pull data from, or leave it blank to get data from all applications.Traffic Type
Traffic Including
Which will provide detailed information on the types of traffic.Time Zone
In the target data, there are two timezone columns. One will be in UTC, and if another time zone was selected, it will be listed under "Adjusted."
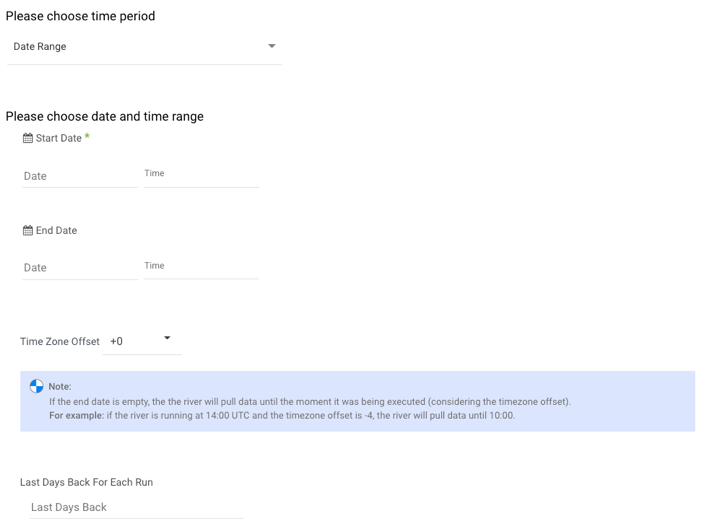
Additionaly, You can obtain information for a specific date range:
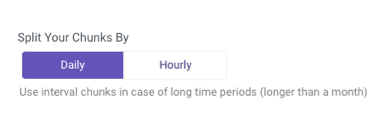
When the data you're fetching is large, especially if you're reaching size or timeout constraints, "Split your chunks by" is an option that may be used to split the data by chunks.
Note:
- Start Date is mandatory.
- Data can be retrieved for the date range specified between the start and end dates.
- If you leave the end date blank, the data will be pulled at the current time of the river's run.
- Dates timezone: UTC time.
- Use the Last Days Back For Each Run option to gather data from a specified number of days prior to the selected start date.
Limitations
The provided Traffic Types will determine the Traffic Grouping input in the Summary Report with the following limitations:
When Traffic Type = Skadnetwork, the following Traffic Grouping parameters apply:
- “advertiser_app_store_id”
- “bid_amount”
- “bid_currency”
- “bid_strategy”
- “bid_type”
- “campaign_id”
- “campaign_name”
- “campaign_objective”
- “campaign_status”
- “conversion_model”
- “conversion_value”
- “conversion_value_description”
- “country”
- “creative_id”
- “creative_name”
- “date_range_utc”
- “engagement_count”
- “events”
- “exchange_id”
- “keyword”
- “ko_account_id”
- “ko_account_name”
- “ko_app_guid”
- “ko_app_id”
- “ko_app_name”
- “ko_media_partner_id”
- “ko_media_partner_name”
- “measurement_window”
- “partner_events”
- “revenue_max”
- “revenue_min”
- “site_id”
- “sk_ad_network_id”
- “sk_campaign_id”
- “sk_country”
- “sk_install_matched_to_click”
- “sk_install_matched_to_impression”
- “sk_version”
- “sub_campaign_id”
- “sub_campaign_name”
- “sub_site_id”
- “sk_publisher_app_store_id”
If you selected multiple traffic types, including ‘Skadnetwork’, the only option for traffic grouping is ‘Country’.
The Traffic Grouping options are as follows for any other scenarios:
- “country”
- “network”
- “site”
- “campaign”
- “segment”
- “tracker”
- “creative”
- “state”
- “dma”
- “city”
- “cp_0”
- “cp_1"
- “cp_2”
- “cp_3"
- “cp_4”
- “cp_5"
- “cp_6”
- “cp_7"
- “cp_8”
- “cp_9"
Was this article helpful?