Quickbooks Walkthrough
- 1 Minute to read
- Print
- DarkLight
- PDF
Quickbooks Walkthrough
- 1 Minute to read
- Print
- DarkLight
- PDF
Article summary
Did you find this summary helpful?
Thank you for your feedback!
Quickbooks is currently in Beta, with support for API version 3
This provides a general description of Quickbooks and its capabilities.
Introduction
QuickBooks is a full-featured business and financial management suite that includes tools for accounting, inventory, payroll, tax filing, invoicing, bank account tracking and reconciliation, expense management, budgeting, payment processing, and accounts receivable and payable management.
Connection
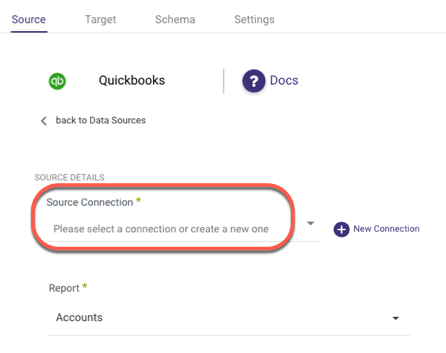
To connect to Quickbooks, follow our step-by-step tutorial.
Choose a Source connection after you've created a connection, as seen here:
Reports
There are various types of reports available in Quickbooks.
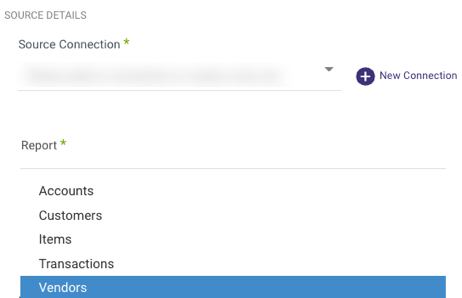
After you've established a connection, select a specific report to pull data from Quickbooks:
The image below depicts an overview of the reports:
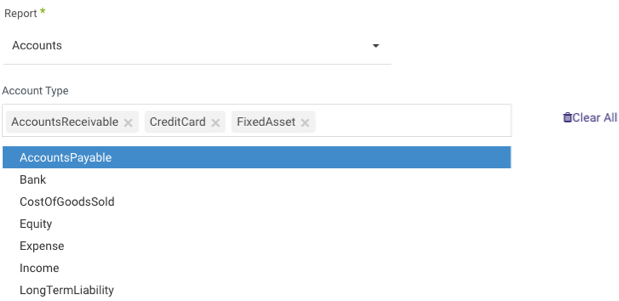
Each report has particular fields, which are displayed beneath the report itself.
Some reports include a field for selecting the report type. Choose the desired report, and simply select which types to use and which to discard.
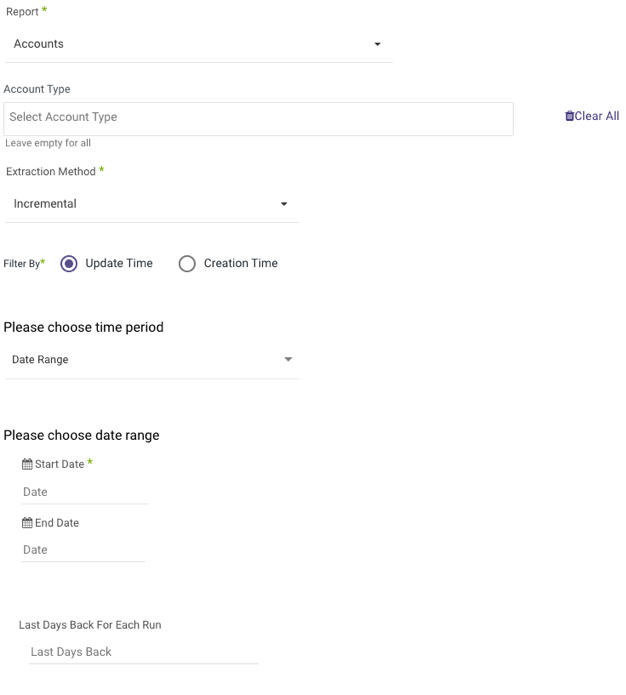
The date range of your report can be adjusted incrementally for all reports:
Here's an example:
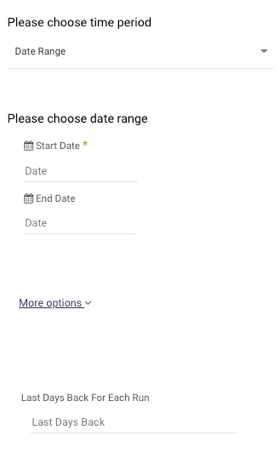
Note:
- Start Date is mandatory.
- The Start Date will not be updated if a River run fails. To change this default behavior, navigate to More Options and select the checkbox to advance the Start Date even if the River run is unsuccessful (Not recommended).

- Data can be retrieved for the date range specified between the Start and End dates.
- If you leave the end date blank, the data will be pulled at the current time of the river's run.
- Dates timezone: UTC time.
- Use the Last Days Back For Each Run option to gather data from a specified number of days prior to the selected start date.
Was this article helpful?