Netsuite Walkthrough
- 4 Minutes to read
- Print
- DarkLight
- PDF
Netsuite Walkthrough
- 4 Minutes to read
- Print
- DarkLight
- PDF
Article summary
Did you find this summary helpful?
Thank you for your feedback!
Prerequisite
- Working NetSuite connector in Rivery. If you don't have a connection, follow the steps here.
Netsuite Data into a Target
Using Rivery, you can pull data from Netsuite and send that data into your target database.
First, select 'Create' from the top menu bar of the Rivery screen.
Create source to target River.
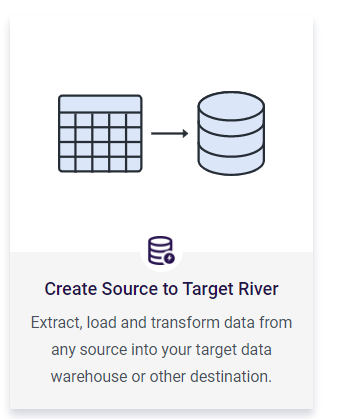
Choose 'Data Source to Target' as your river type.
In the 'General Info' tab, name your river and give it a description. Next, navigate to the 'Source' tab.
Find Netsuite in the list of data sources and select it:
Define a Netsuite Connection (this will be the connection created earlier in the process).
Configuring a Netsuite River
Choose your River mode.

- Multi-Tables: Load multiple tables (entities) simultaneously from Netsuite to your target.
- Legacy River: Choose a single table (entity) or a custom query to load into a single target.
Multi-Table Mode
Load multiple tables simultaneously from Netsuite to your target.
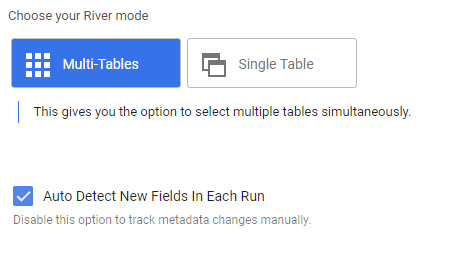
# Auto-Detect New Fields in Each Run
By default, Rivery will update the extracted tables metadata before each run execution. New fields will be added automatically when pulling the data by the river.
Disabling this option will make the river run according to its saved metadata without updating it before executing the data. You can track metadata updates manually by clicking the Reload Metadata in the mapping tab (and saving the river afterward).
When new fields are added to the column mapping, existing target names/data types for mappings will be kept.
Mapping
In the Mapping tab, select the tables to load.
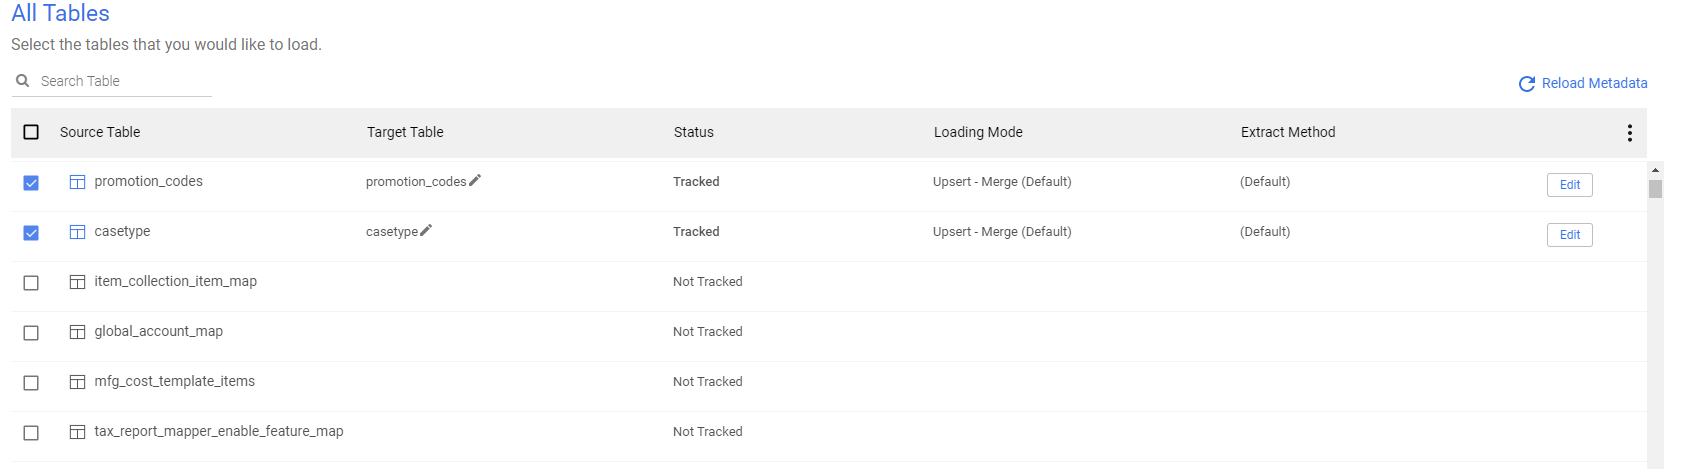
Click the 'Edit' button on the right to edit individual tables' table settings.
Table Settings in a Multi-Table Mode
On the 'Table Settings' tab you are able to edit the following:
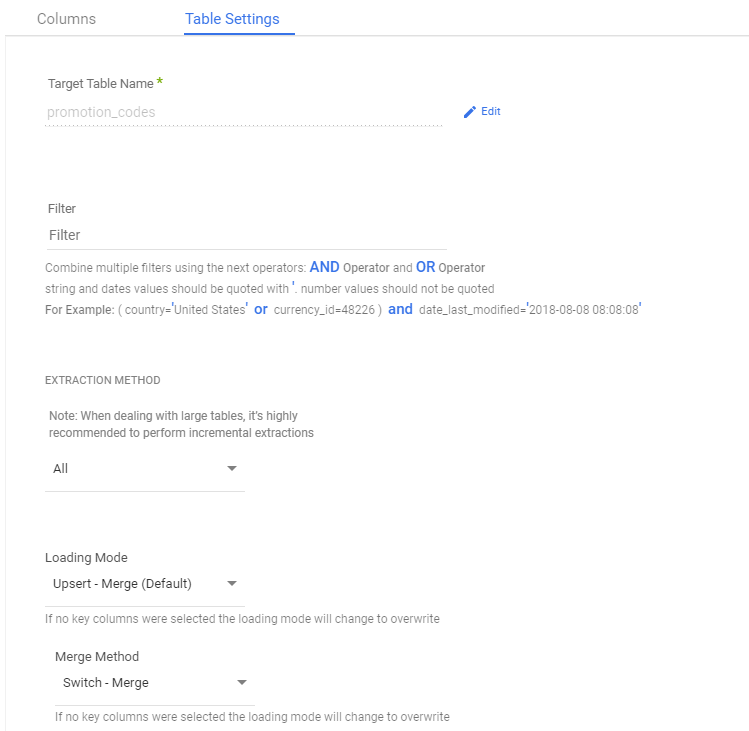
- Change the loading mode
- Change the extraction method. If 'Incremental' is selected, you can then define which field will be used to define the increment.
- Filter by an expression that will be used as a WHERE clause to fetch the selected data from the table.
Filter
Add any filter to act as a WHERE clause for pulling the data.
Important:
If you decide to use the filters in Netsuite it is important to keep the syntax of the filters as supported in Netsuite.
Combine multiple filters using the next operators: AND Operator and OR Operator
String and dates values should be quoted with " ' ", number values should not be quoted.
For example:
(country ='United States' or curreny_id=482) and date_last_modified='2021-07-04- 08:00:00'
Legacy River Mode
This river mode allows for a load of a single source table or a custom query into a single target table.
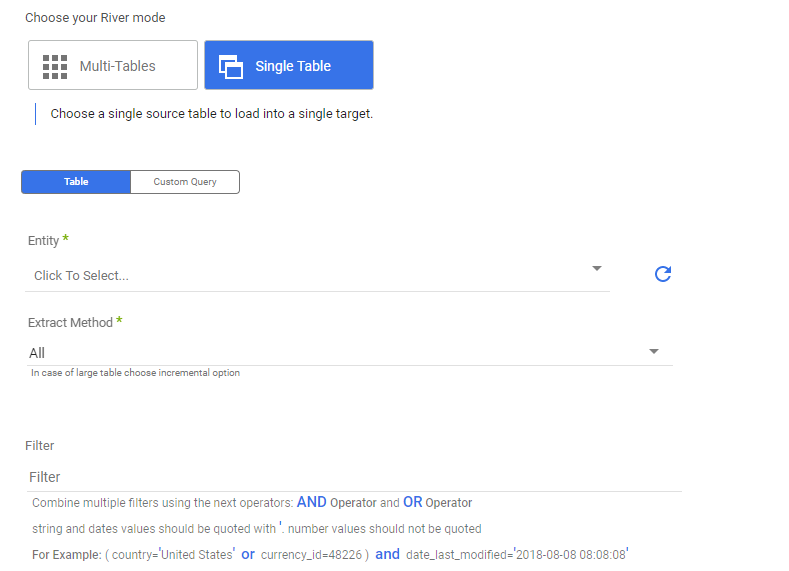
Select the connection.
Click on the entity input box to pull all the available tables for that connection and select the desired table.

Choose an extract method. There are two methods available:
- All: extracts all the data in the table, recommended for smaller tables.
- Incremental: Running over an increment for bigger tables and frequent runs.
Insert a filter to slice the returned data by fields conditions.
- The condition should be a 'where' clause using NetSuite query language.
- Combine multiple filters using the next operators: AND/ OR/BETWEEN
- string and date values should be quoted with ' .
- Number values should not be quoted
For Example:- ( country=' United States ' or currency_id=48226) and date_last_modified=' 2018-08-08 08:08:08 '
- date_last_modified between '2018-12-09 23:00:00' and '2018-12-10 01:00:00'
Incremental Runs require additional settings
- Incremental Type: The type of the field to increment over, Timestamp and Running number available.
- Incremental Field: Click on the Incremental Field box to pull all possible columns from the selected Incremental Type to increment over
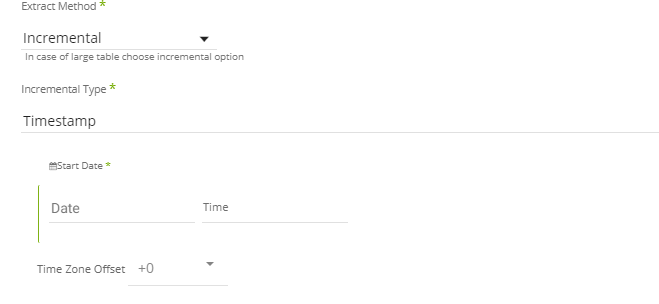
- Incremental Type - Timestamp:
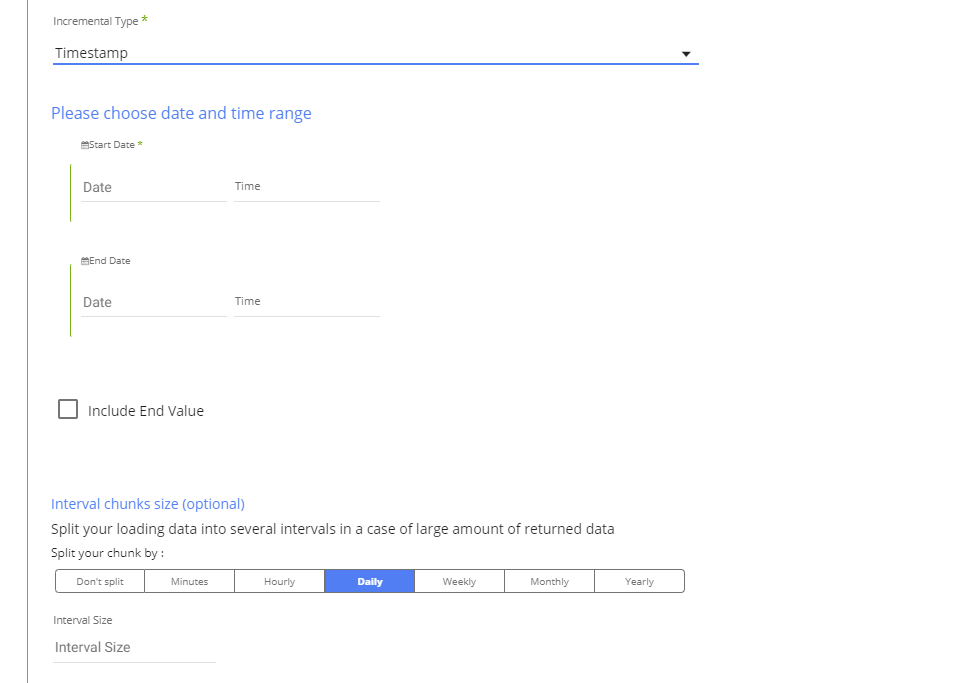
Select a start and end date.
The river will pull until, and not including the end date unless the "include End Value" Checkbox is selected.
Interval chunks size:
An optional setting to split the data into intervals, useful when dealing with large amounts of data.Interval Size:
The interval size will split the calls for the data with the selected size.
For example, a Daily chunk with an interval size of 3 will split the date range to calls of 3 days in each request.Incremental Type - Running Number:
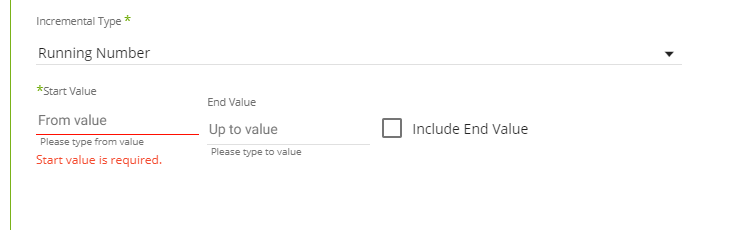
Select a start and end value.
If the end value is left empty the river will pull data until the maximum id in the table.
Please note:
The Start Date won't be advanced if a River run is unsuccessful.
If you don't want this default setting, click More Options and check the box to advance the start date even if the River run is unsuccessful (Not recommended).

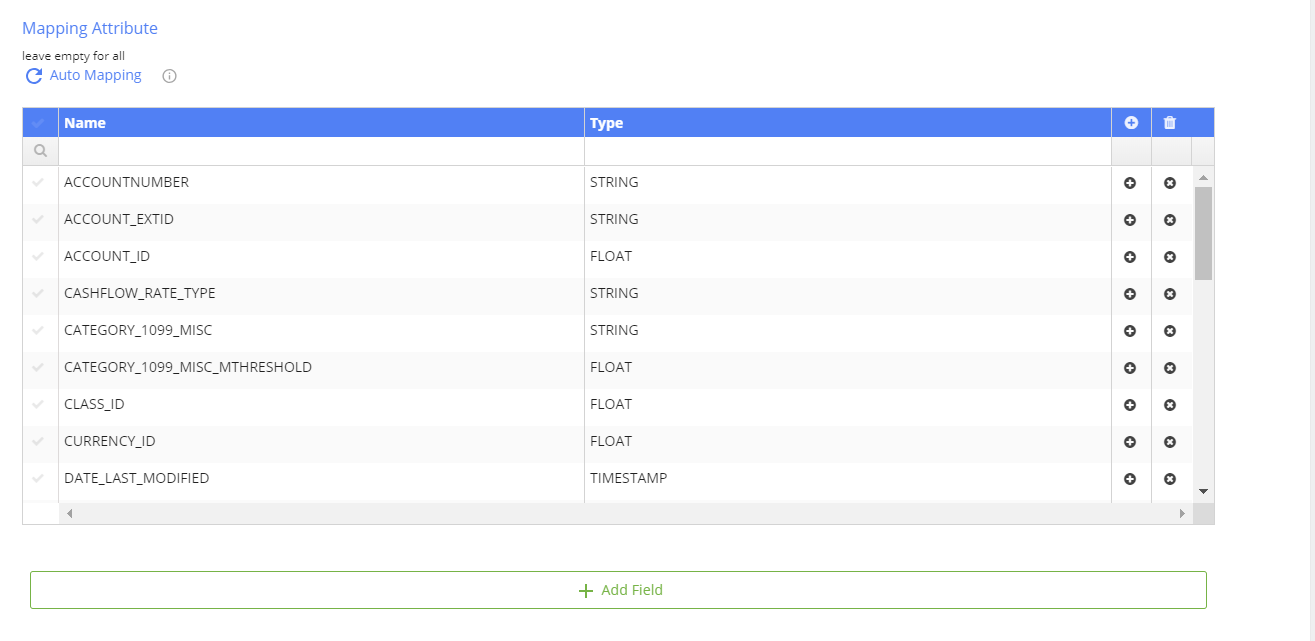
- Mapping Attributes:
Click the 'auto mapping' to get the source mapping for your table.
You can delete multiple fields by selecting the desired fields using the "v" button and remove them using the "trash can" button.
Single field deletion can be done by clicking the "x" button for the specific field.
- If your target destination is a database (after completing step2) go to step3 (columns mapping) and click the 'auto mapping' to convert the NetSuite mapping to the desired database mapping
*Note: known as SuiteAnalytics connect
Was this article helpful?