Shopify Walkthrough
- 1 Minute to read
- Print
- DarkLight
- PDF
Shopify Walkthrough
- 1 Minute to read
- Print
- DarkLight
- PDF
Article summary
Did you find this summary helpful?
Thank you for your feedback!
Shopify API version 2024-10 is currently supported
Introduction
Integrating Shopify with Rivery centralizes and automates e-commerce data, enhancing reporting and analytics. Businesses can consolidate sales, customer, and product data, streamline data processes, and gain insights to optimize strategies and drive growth.
Connection
To connectShopify with your destination, follow our step-by-step tutorial.
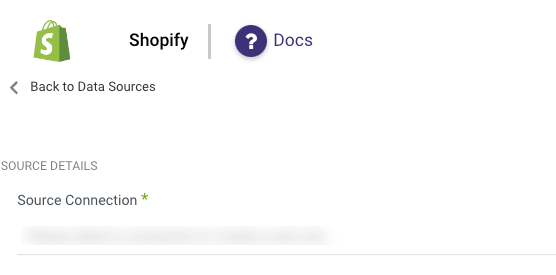
Choose a Source connection after you've created a connection, as seen here:
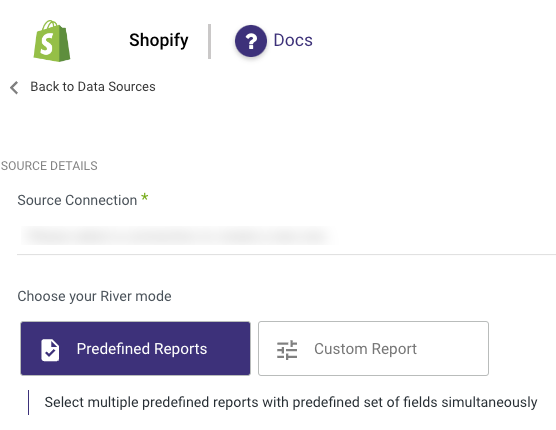
Predefined Reports
Rivery provides a convenient entry point and recommended approach for accessing a range of predefined reports for your use. Each report includes a concise data description, a list of customizable fields (if applicable), and the schema mapping.
Since these reports follow a standardized format, specific fields are restricted and can only be accessed through Custom Reports.
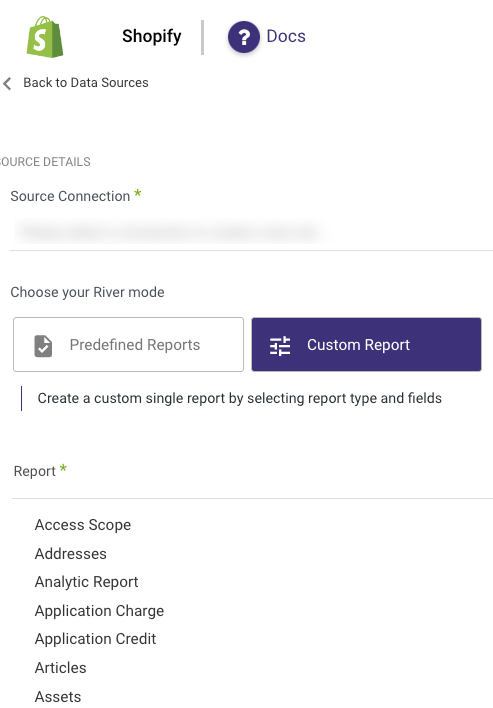
Custom Reports
Create custom reports, and select a specific report to pull data from Shopify after you've established a connection.
The following section provides an overview and the API endpoints for the various custom reports:
- Access Scope
- Addresses
- Application Charge
- Application Credit
- Articles
- Assets
- Assigned Fulfillment Order
- Balance
- Blogs
- Carrier Service
- Checkouts
- Collection Listing
- Collection Product
- Collects
- Currencies
- Current User -GET https://[Username].myshopify.com/admin/api/2024-10/users/current.json'
- Custom Collection
- Customer Saved Search -GET 'https://[Username].myshopify.com/admin/api/2024-10/customer_saved_searches.json'
- Customers
- Discount Code
- Disputes
- Draft Order
- Events
- Fulfillment Order
- Fulfillment Service -GET 'https://[Username].myshopify.com/admin/api/2024-10/fulfillment_services.json'
- Gift Card
- Inventory Item
- Inventory Level
- Location
- Marketing Event
- Metafields
- Order Transaction
- Orders
- Pages
- Payouts
- Policies
- Price Rule
- Product Image
- Product Metafields
- Products
- Recurring Application Charge
- Redirects
- Refunds
- Resource feedback
- Risks
- Script Tag
- Shop
- Smart Collection
- Storefront Access Token
- Usage Charge
- Users
- Variants
- Webhooks
- Blog Metafields
- Smart Collection Metafields
- Customer Metafields
- Draft Orders Metafields
- Locations Metafields
- Pages Metafields
- ShopMetafields
- OrdersMetafields
- ArticlesMetafields
Access Requirements for Location Report
The Location report requires the "read_locations" access scope permission.
In Shopify, the Incremental field allows you to control your reports based on their 'start date' field using one of two input options.
1. Updated at - in order to obtain updated reports.
2. Created at - in order to obtain created reports.
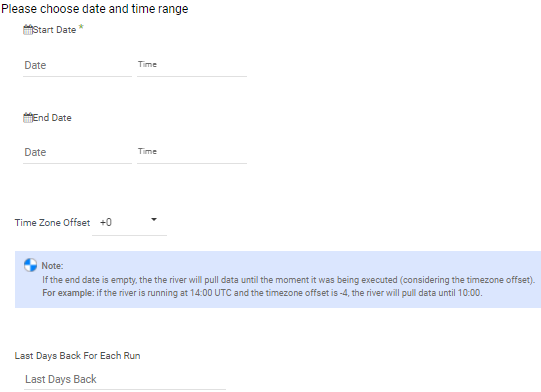
Note:
- Start Date is mandatory.
- Data can be retrieved for the date range specified between the start and end dates.
- If you leave the end date blank, the data will be pulled at the current time of the river's run.
- Dates timezone : UTC time.
- Use the Last Days Back For Each Run option to gather data from a specified number of days prior to the selected start date.
- The Start Date won't be advanced if a River run is unsuccessful.
If you don't want this default setting, click More Options and check the box to advance the start date even if the River run is unsuccessful (Not recommended).

When the data you're fetching is large, especially if you're reaching size or timeout constraints, "Split your chunks by" is an option that may be used to split the data by chunks.
Was this article helpful?